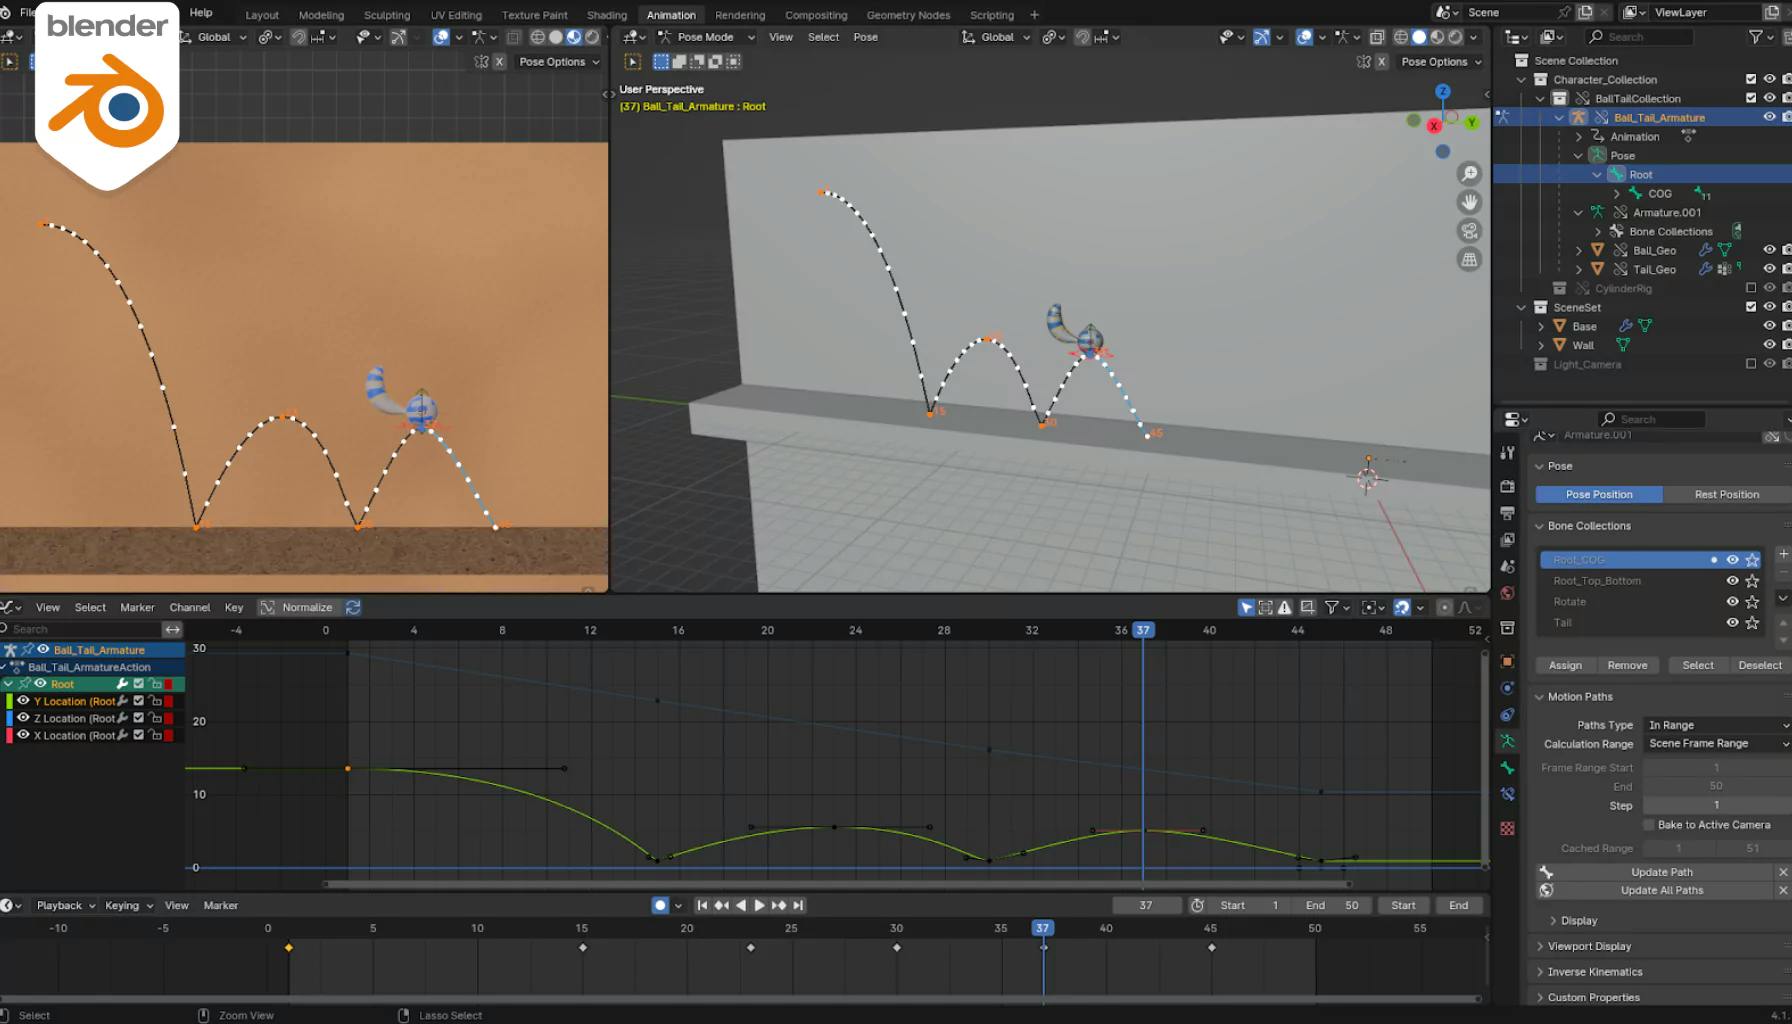
Blender create a motion path for animated object


Creating a motion path in Blender can be an invaluable technique for animators and 3D designers. This tutorial will guide you through the simple steps to visualize the trajectory of an object's movement in your scene, using Blender’s powerful tools. Follow these detailed steps to ensure your animations benefit from precise and smooth motion paths.
Start by selecting the object or controller whose path you want to visualize. Ensure that you're in the correct animation frame where the motion begins.

Navigate to the Object Data Properties tab which can be found in the properties panel. Here, look for the Motion Paths section and click on Calculate. This will generate the motion path based on the object's keyframes and current animation settings.

Once calculated, Blender will automatically display the motion path on your screen. This visualization helps in understanding how your object moves through 3D space over time, which is crucial for refining animations.

By following these steps, you can effectively create and utilize motion paths in Blender to enhance your animation projects. If you found this guide helpful, be sure to check out our other tutorials for more tips and techniques in Blender.