Blender Fast 3D Character Modeling
Option 1: Using a Plane
M, and choose Merge at Center. This will leave you with a single vertex.Or
Option 2: Adding a Single Vertex
Ctrl + A, then choose Single Vertex to add just one vertex.Now that you have your starting point, it’s time to add some crucial modifiers that will help you shape the character:
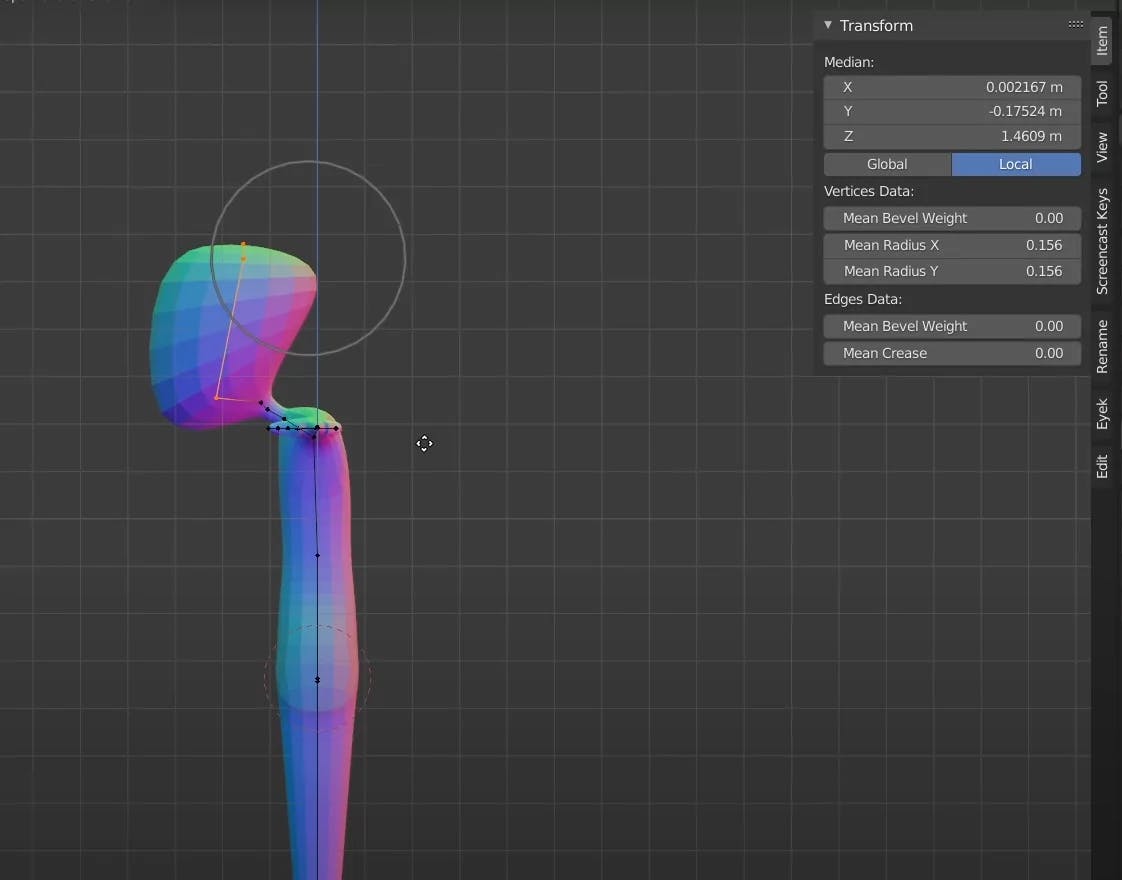
For a better user experience while modeling, activate MatCap. MatCap will enhance the viewport shading and help you see the 3D form more clearly.

Once the modifiers are applied, you can begin shaping your character:
Ctrl + A to scale individual points, adjusting the thickness and size of different parts of the character.E to extrude new geometry, adding limbs or additional sections as needed.
Continue extruding, scaling, and modifying until your character takes shape. By using the Mirror, Skin, and Subdivision Surface modifiers together, you can create a basic 3D character model quickly and efficiently.
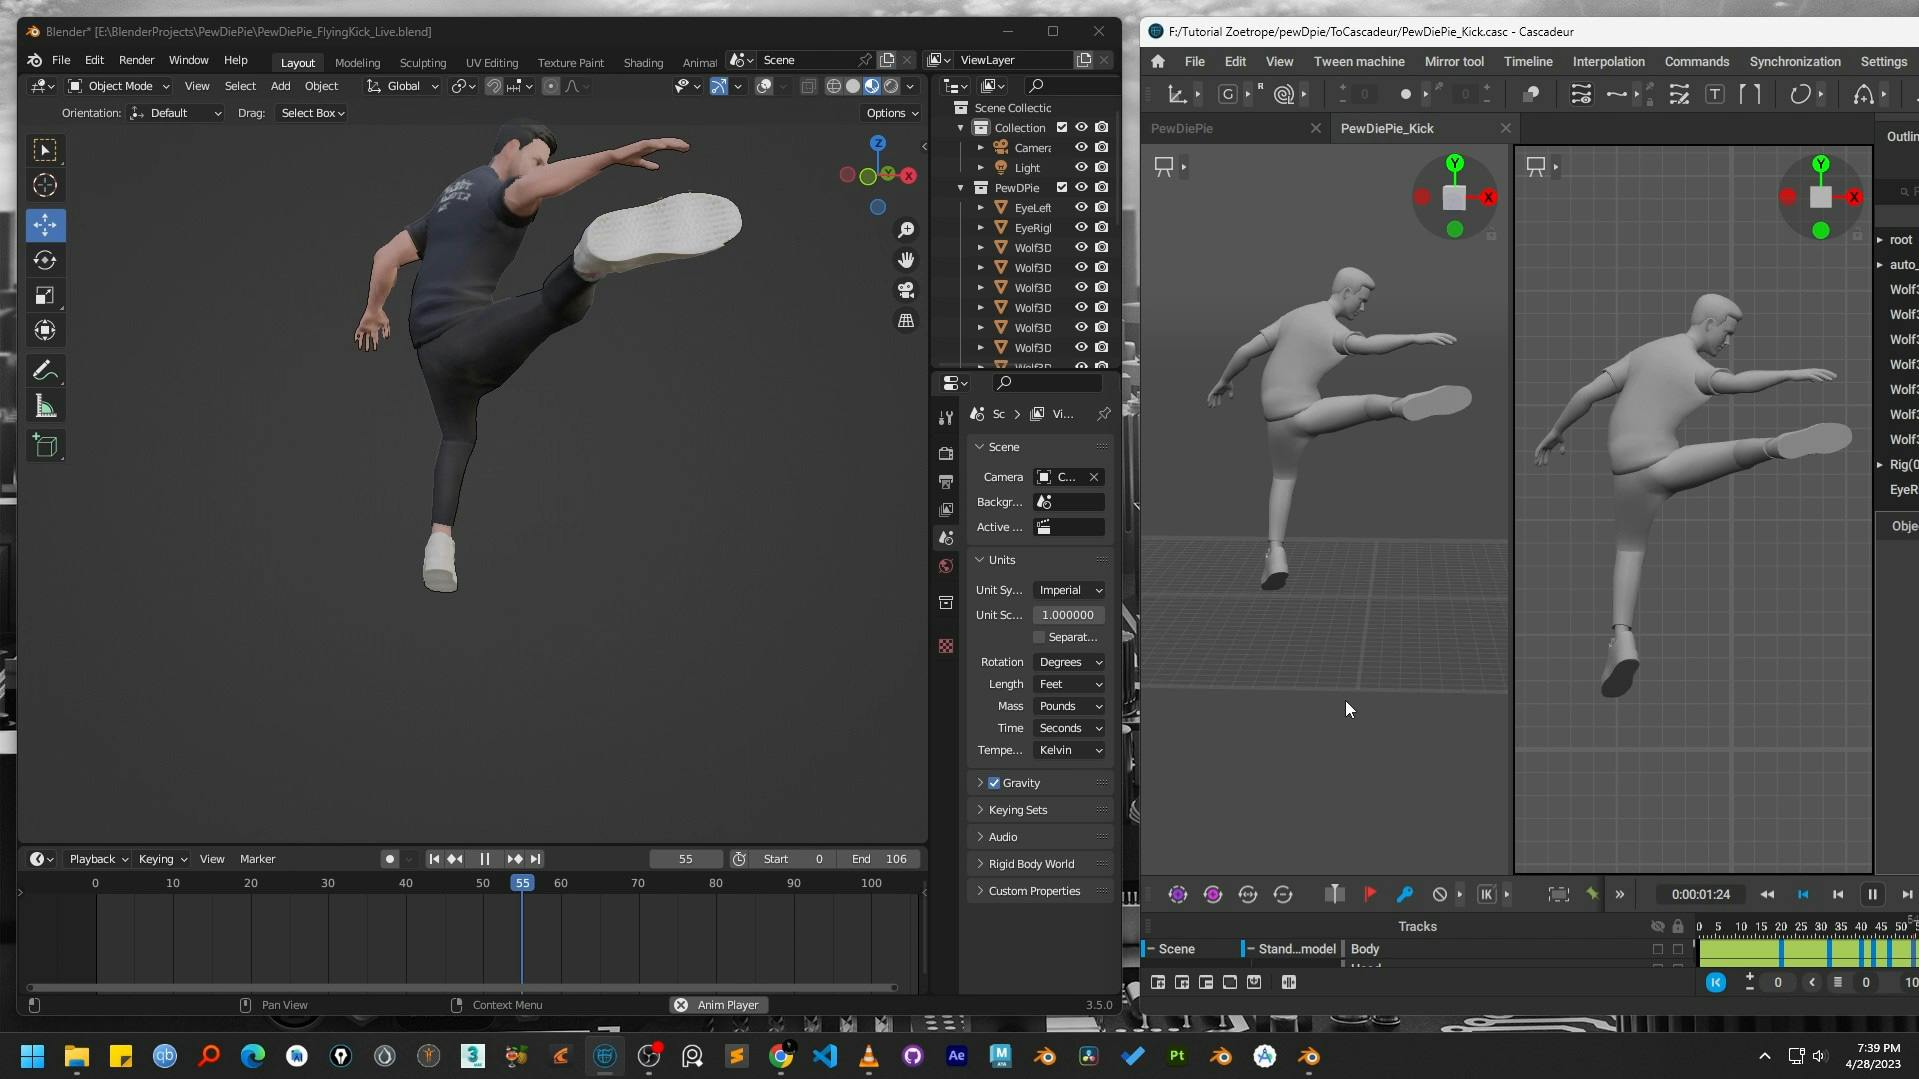
Learn the step-by-step process to retarget character animations from Cascadeur to Blender using the powerful Auto-Rig Pro addon. A complete workflow guide.
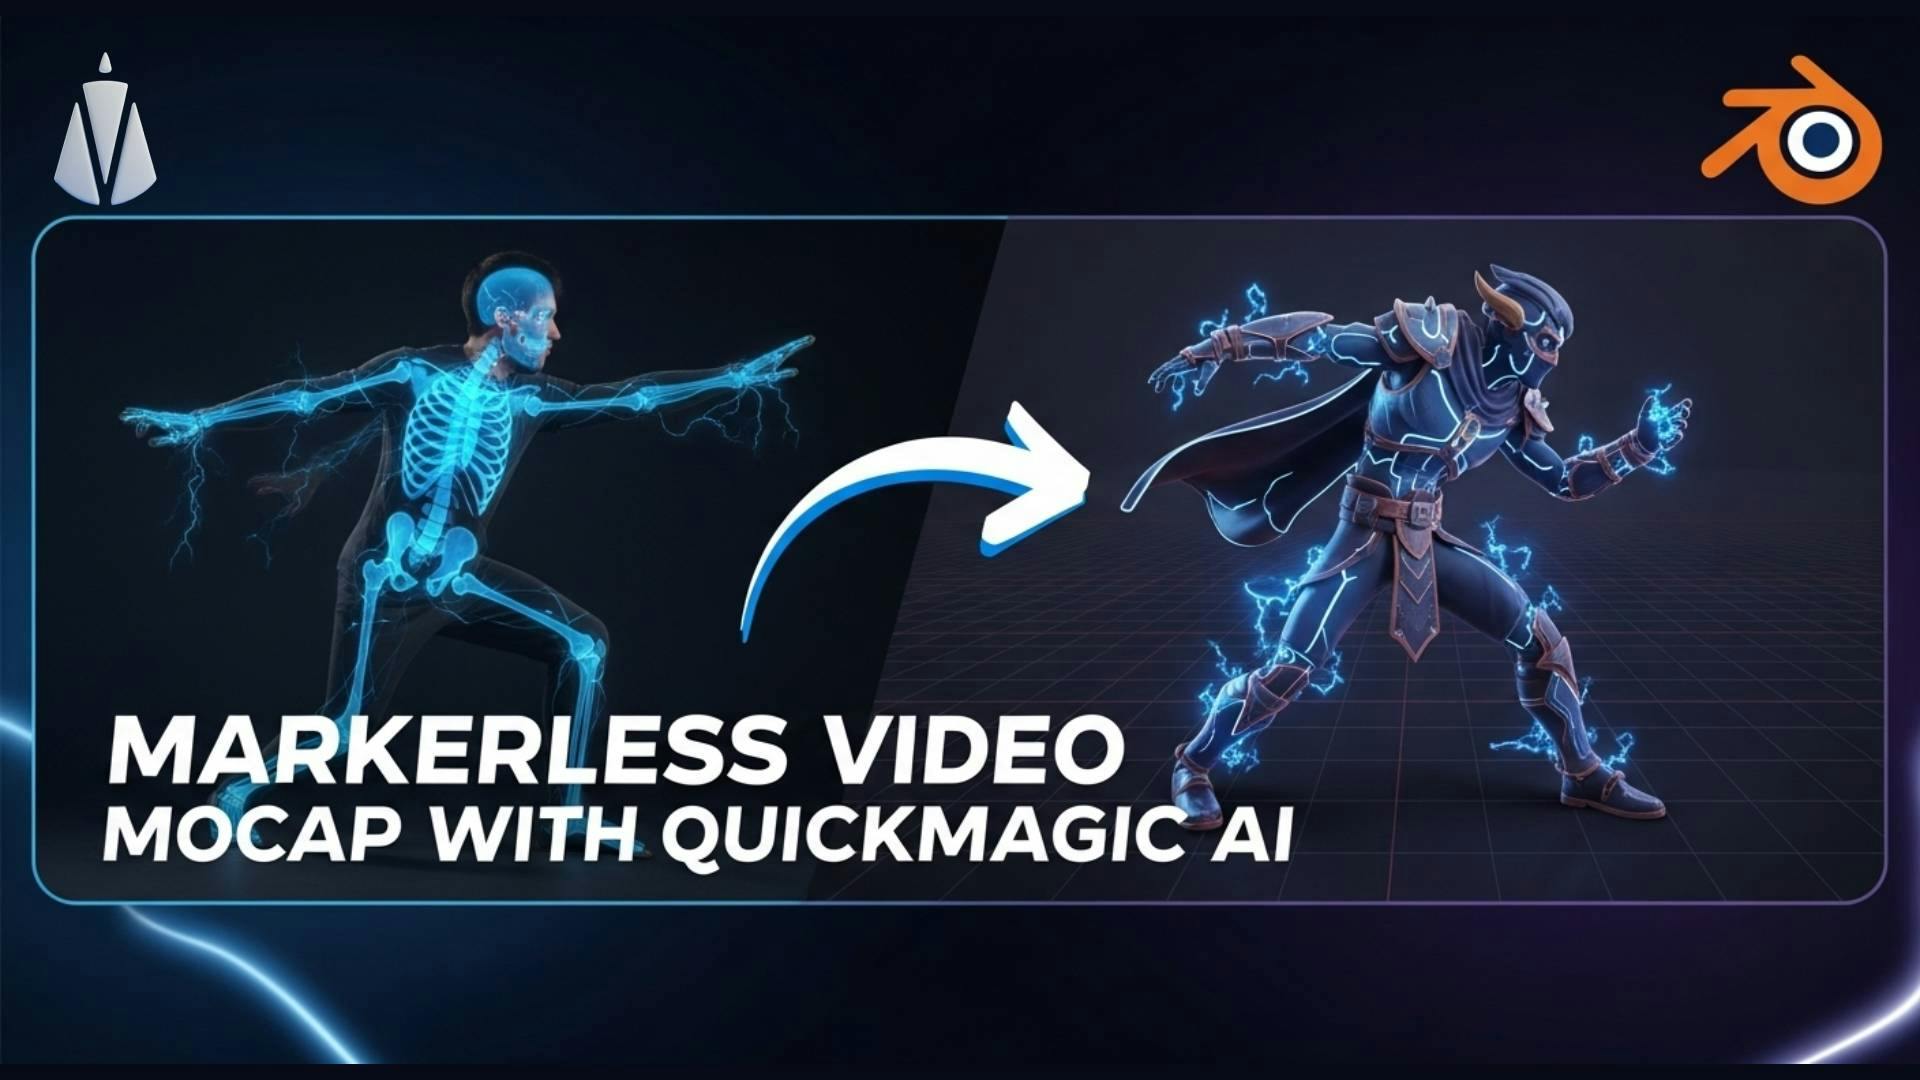
Tired of expensive mocap suits? Discover the power of QuickMagic AI for markerless motion capture and level up your Blender animations.

Learn the full 3D animation pipeline! This guide shows you how to take a Ready Player Me character, rig it in Blender with Auto-Rig Pro, and create stunning animations in Cascadeur