Cascadeur From Blocking to Final Animation
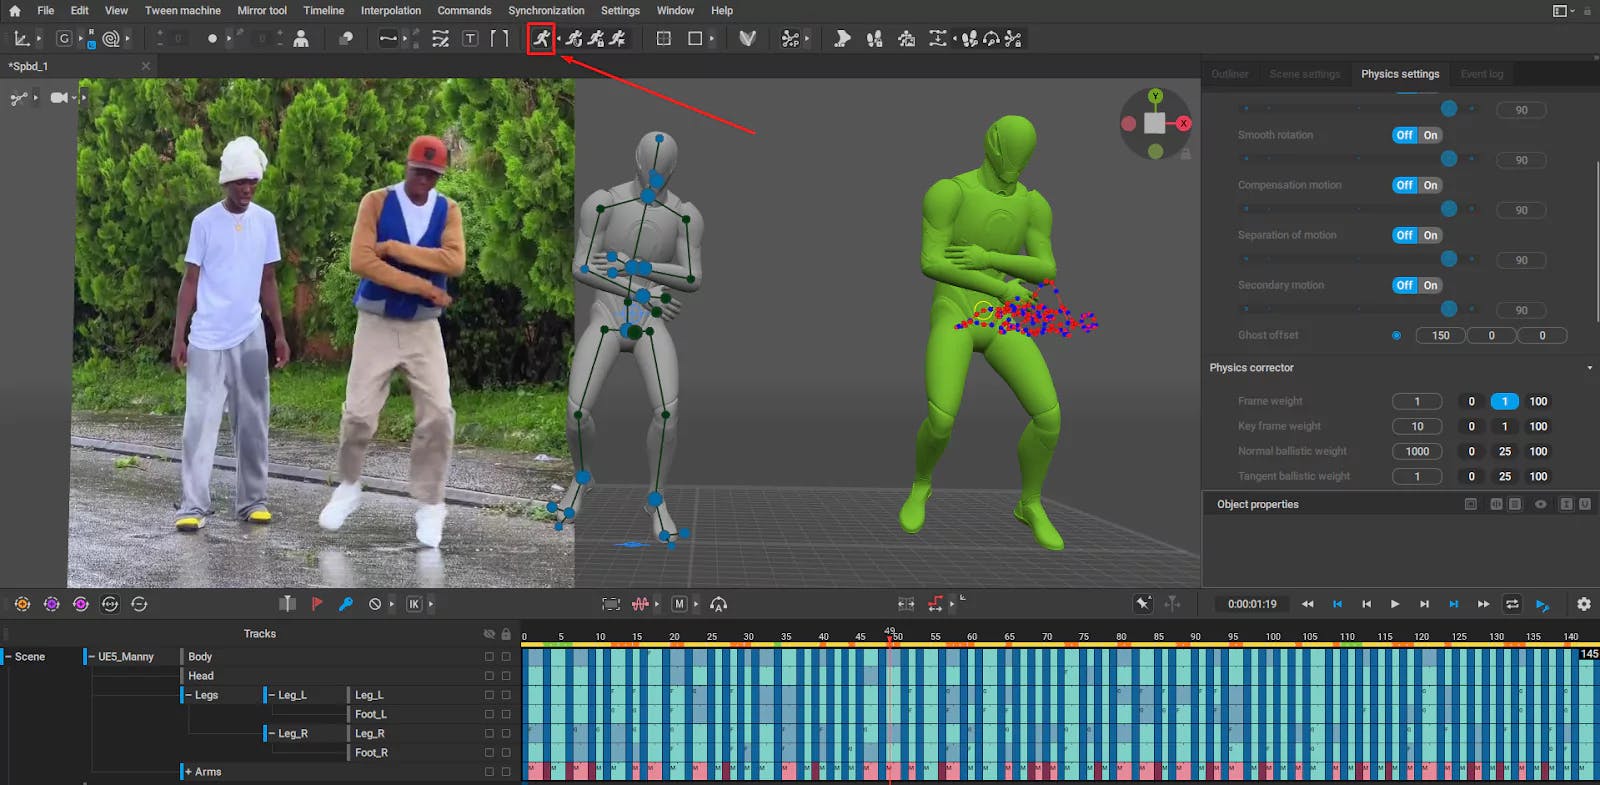

Animation in Cascadeur goes through various stages, from blocking to final touches. In this guide, we’ll explore essential steps like maintaining key poses, adding auto physics, controlling interpolation, and adjusting fulcrum points to perfect your animation.
To begin, focus on maintaining the key pose and silhouette. Blocking is a critical step where you establish the fundamental actions and timing, providing a strong foundation for the animation's flow.
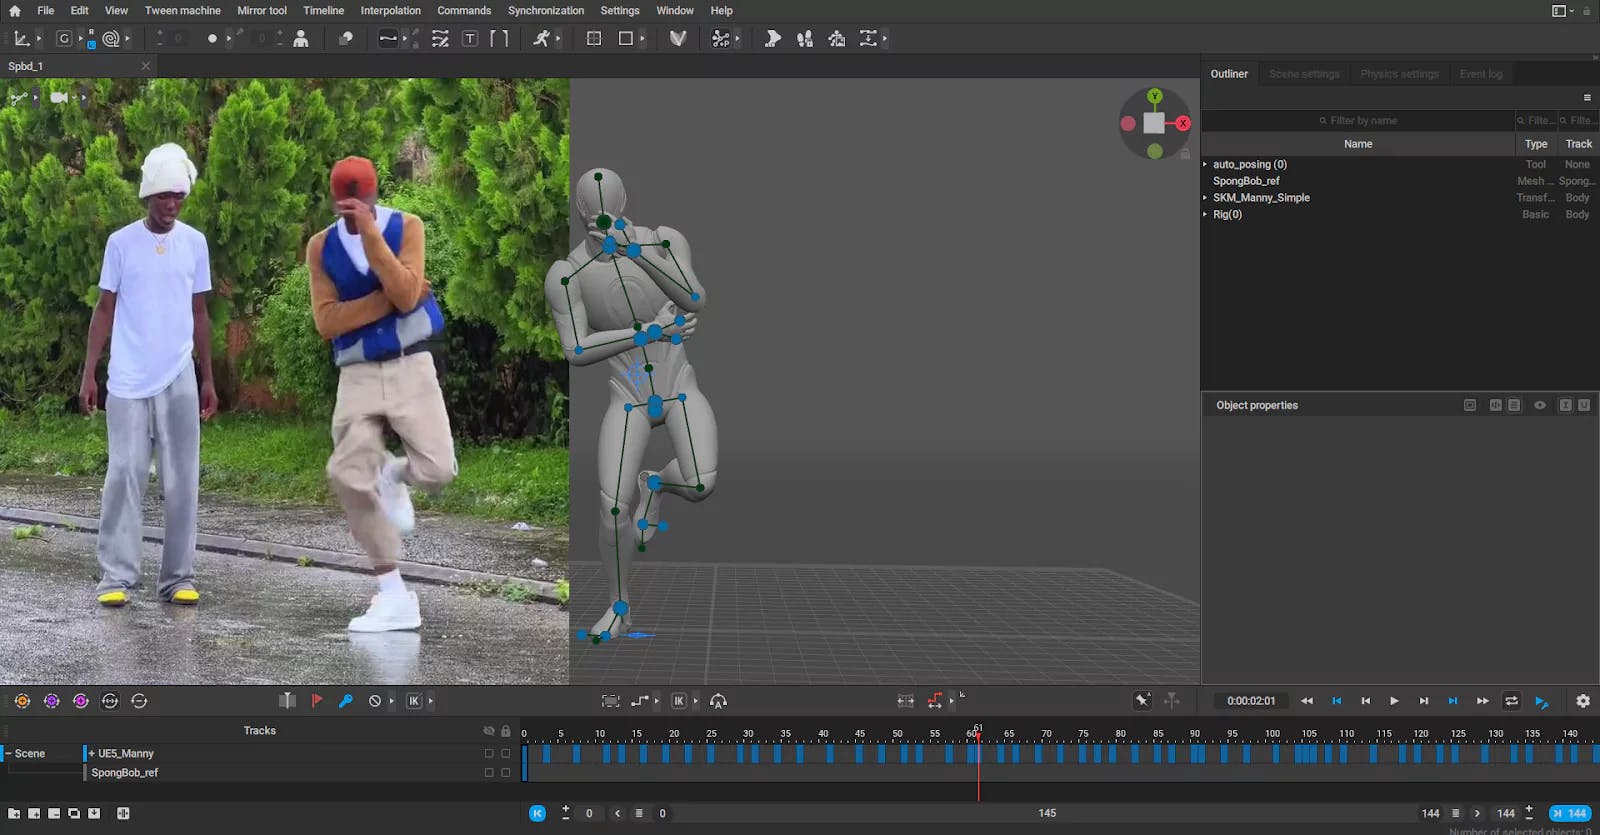
Once the key poses are set, select the timeline or specific sections and use the Animation Unbaking feature.
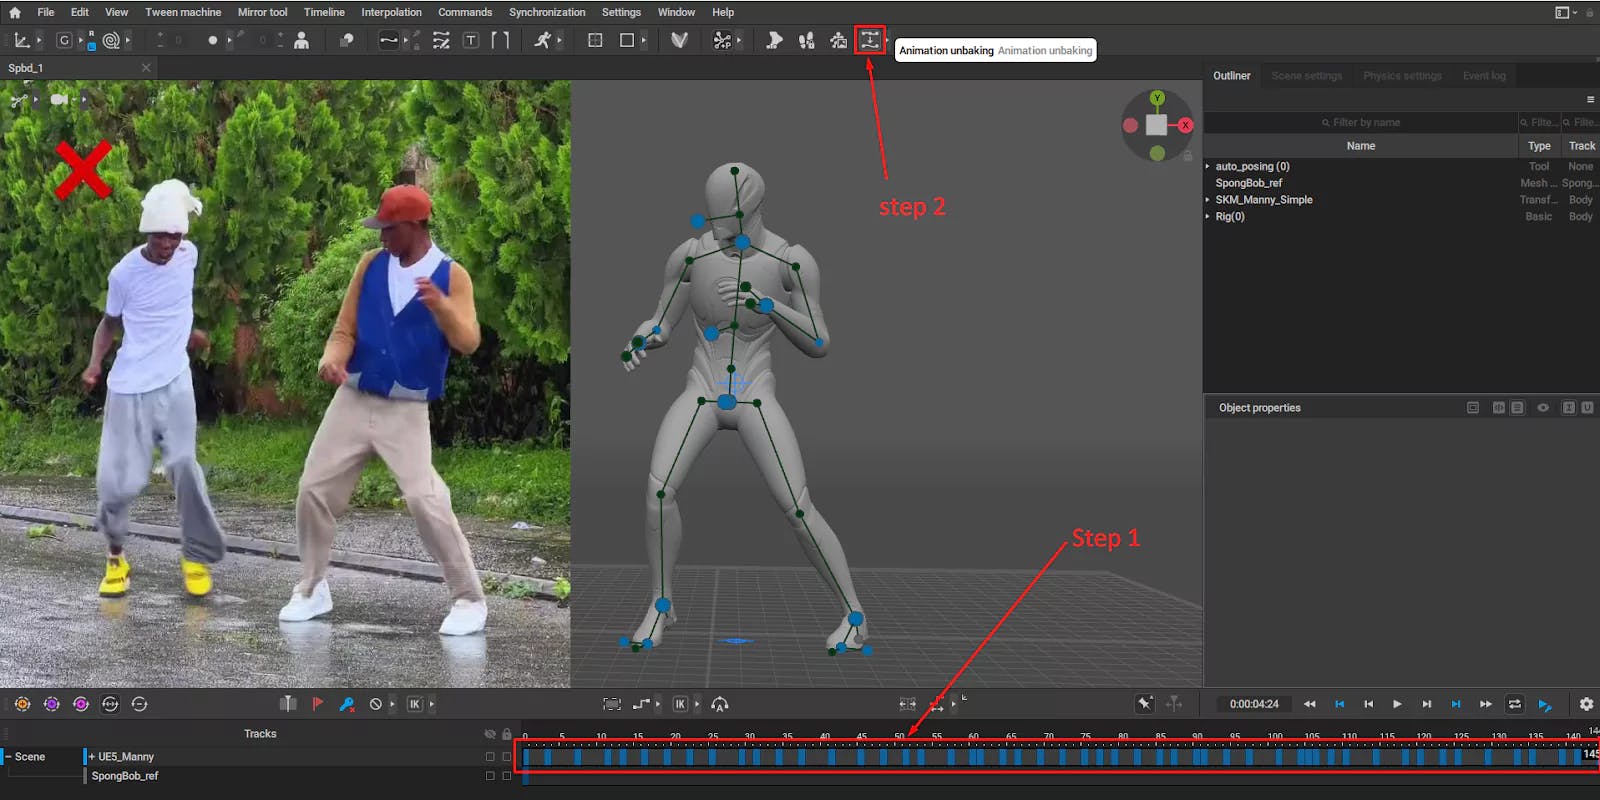
Cascadeur will process and apply appropriate interpolation modes across keyframes. This step smooths out the motion, making transitions between poses more fluid.

Next, add Auto Physics to incorporate realistic physics into your animation. However, be mindful: while this adds stability, it might make the animation feel overly stable in some cases.

To refine the animation further, revert to the blocking phase if needed. Then, select the timeline section again, go to Scene Settings, and adjust the following parameters to suit your animation needs:
Experiment with these values to meet the specific requirements of your animation.

After making the adjustments, press Animation Unbaking to finalize the interpolation.