How to Add an Outline to any alpha media in Da Vinci Resolve Fusion
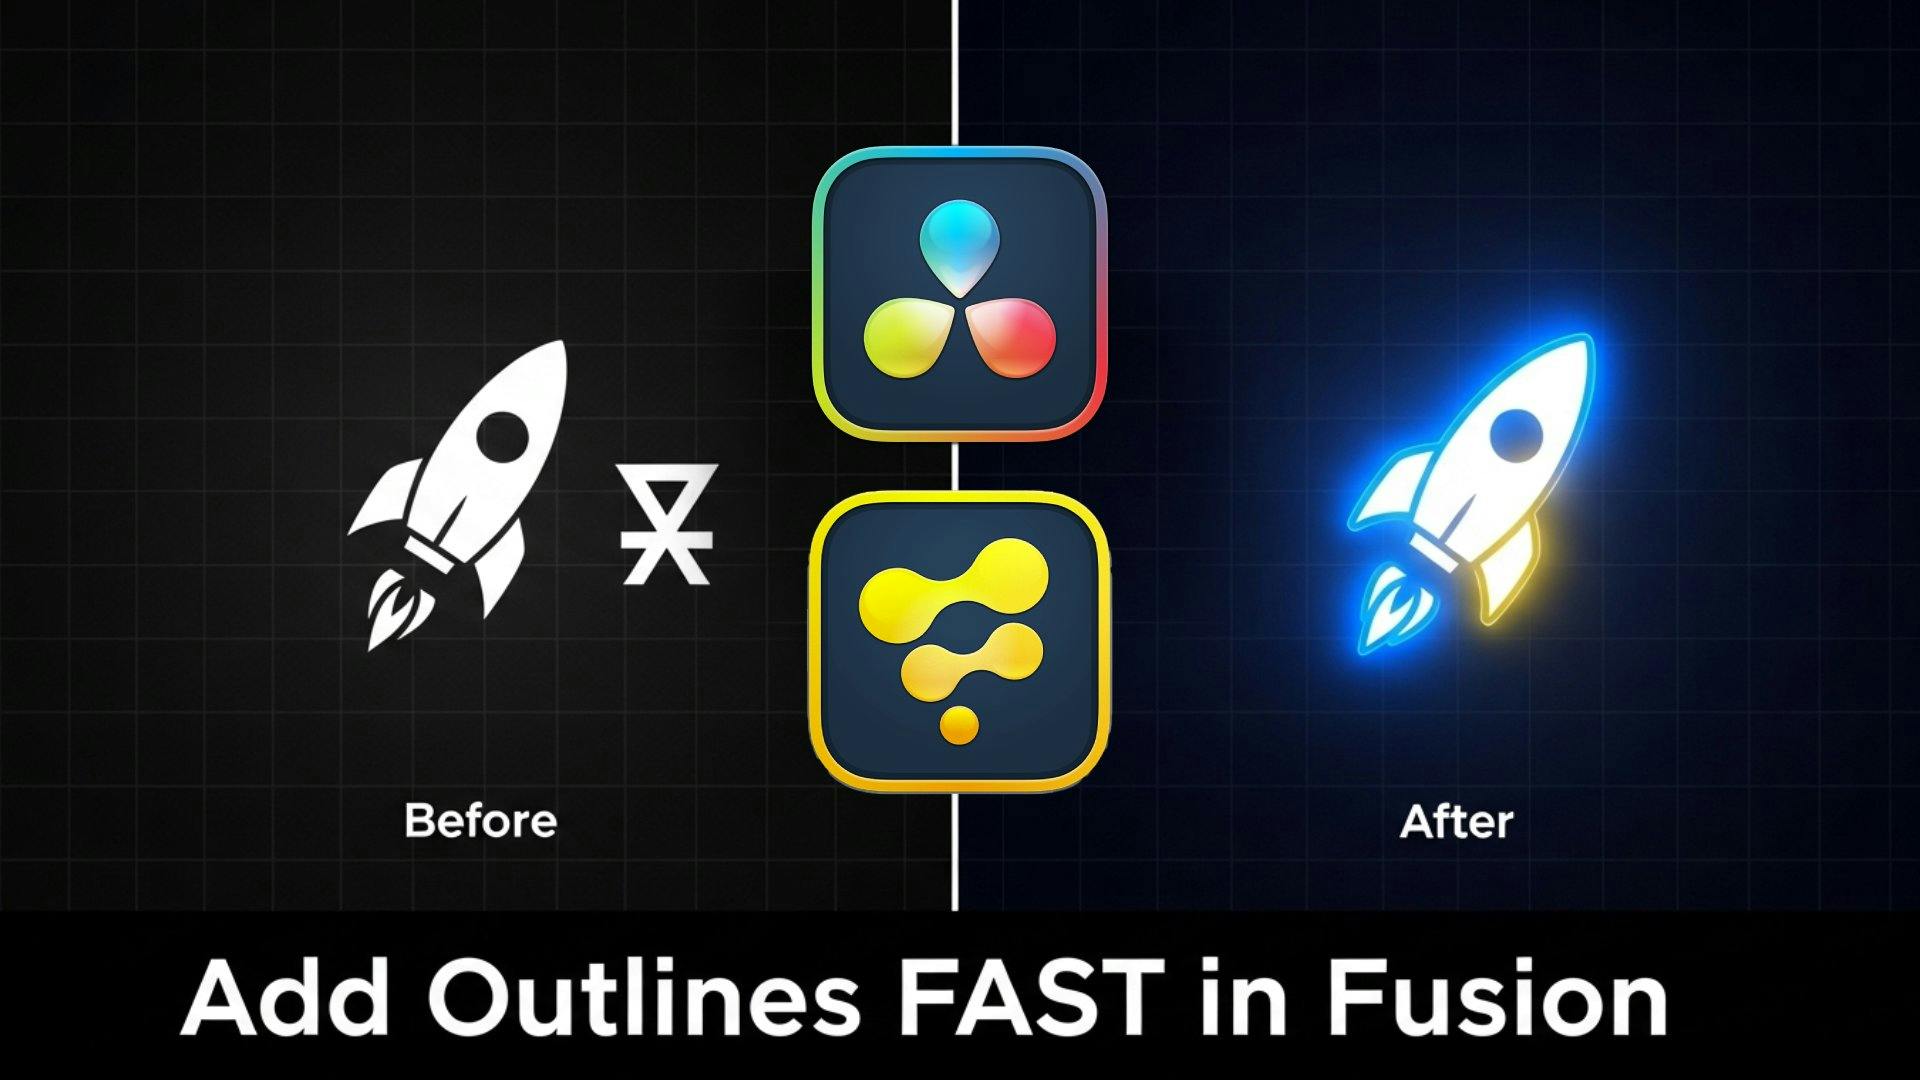
Need to add a crisp outline to a logo or graphic in DaVinci Resolve Fusion? You might think of complex multi-node setups, but there's a surprisingly fast way to get it done using a tool you might not expect: the Delta Keyer.
While it's famous for pulling greenscreens, the DeltaKeyer has powerful Matte controls that are perfect for creating procedural outlines. This tutorial will show you how to add an outline to any image that already has an alpha channel (like a PNG logo).
Let's get started! 💡
First, bring your image or video with an alpha channel into your Fusion composition. This will create a MediaIn node.
For this demonstration i am using an alpha image.
Add a background node and merge the media and background.
Note: Press
Ctrl + Tto swap the top and bottom layer while theMergenode/ tool is selected.
Next, add a DeltaKeyer node. With your MediaIn node selected, press Shift + Space and search for "Delta Keyer," or find it in your toolbar. Connect your MediaIn node to the input of the DeltaKeyer.
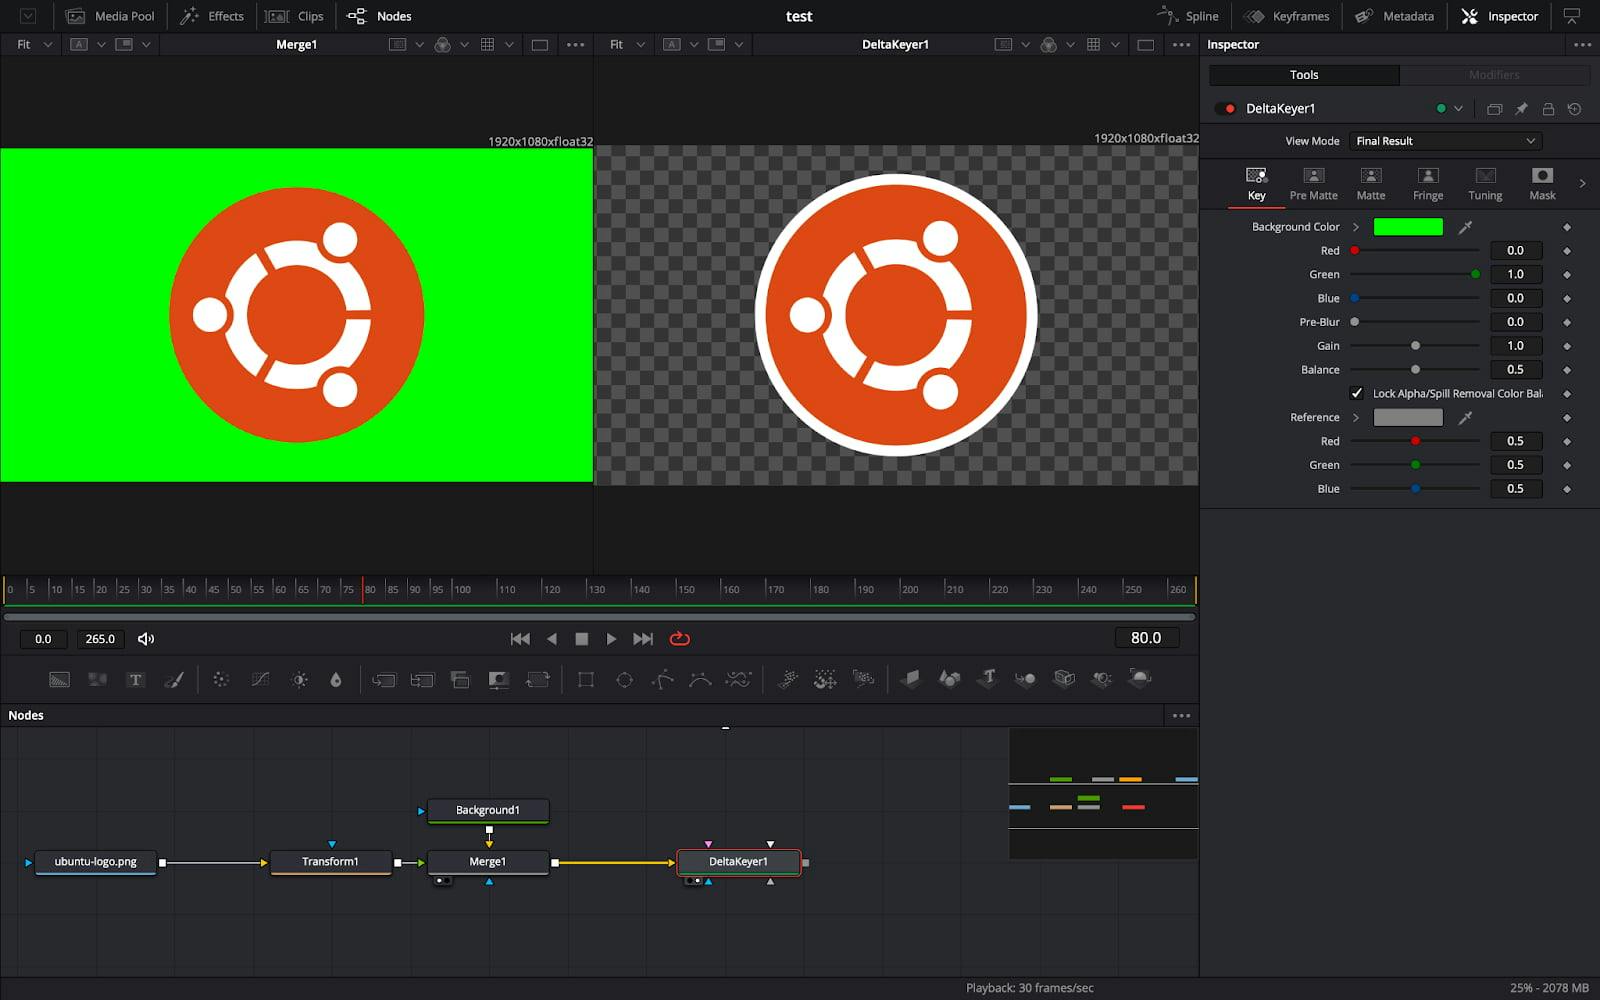
Select the deltaKeyer node/ tool & Inside the Key tab select the background color to remove the background
This is where the magic happens! ✨ Select your DeltaKeyer node to open it in the Inspector panel.

0.005 or 0.01). You won't see a change yet, but this is "growing" your alpha channel behind your original image.None.
Discover how to group your controls into neat, drop-down accordion sections in DaVinci Resolve Fusion. Stop scrolling and start organizing today

Learn how to create dynamic, character-by-character text animations in DaVinci Resolve Fusion using the Follower modifier, Path keys, and Spline tool

Stop sharing raw .setting files! Discover the professional way to bundles your DaVinci Resolve transitions, effects, and titles into a single, easy-to-install .drfx file