How to Replace a Clip in DaVinci Resolve
Sometimes, you may need to replace a clip in your project—whether it's to update visuals, improve timing, or swap in a better shot. Here’s a quick guide on how to replace the sad emoji clip (or any clip) in Da Vinci Resolve.
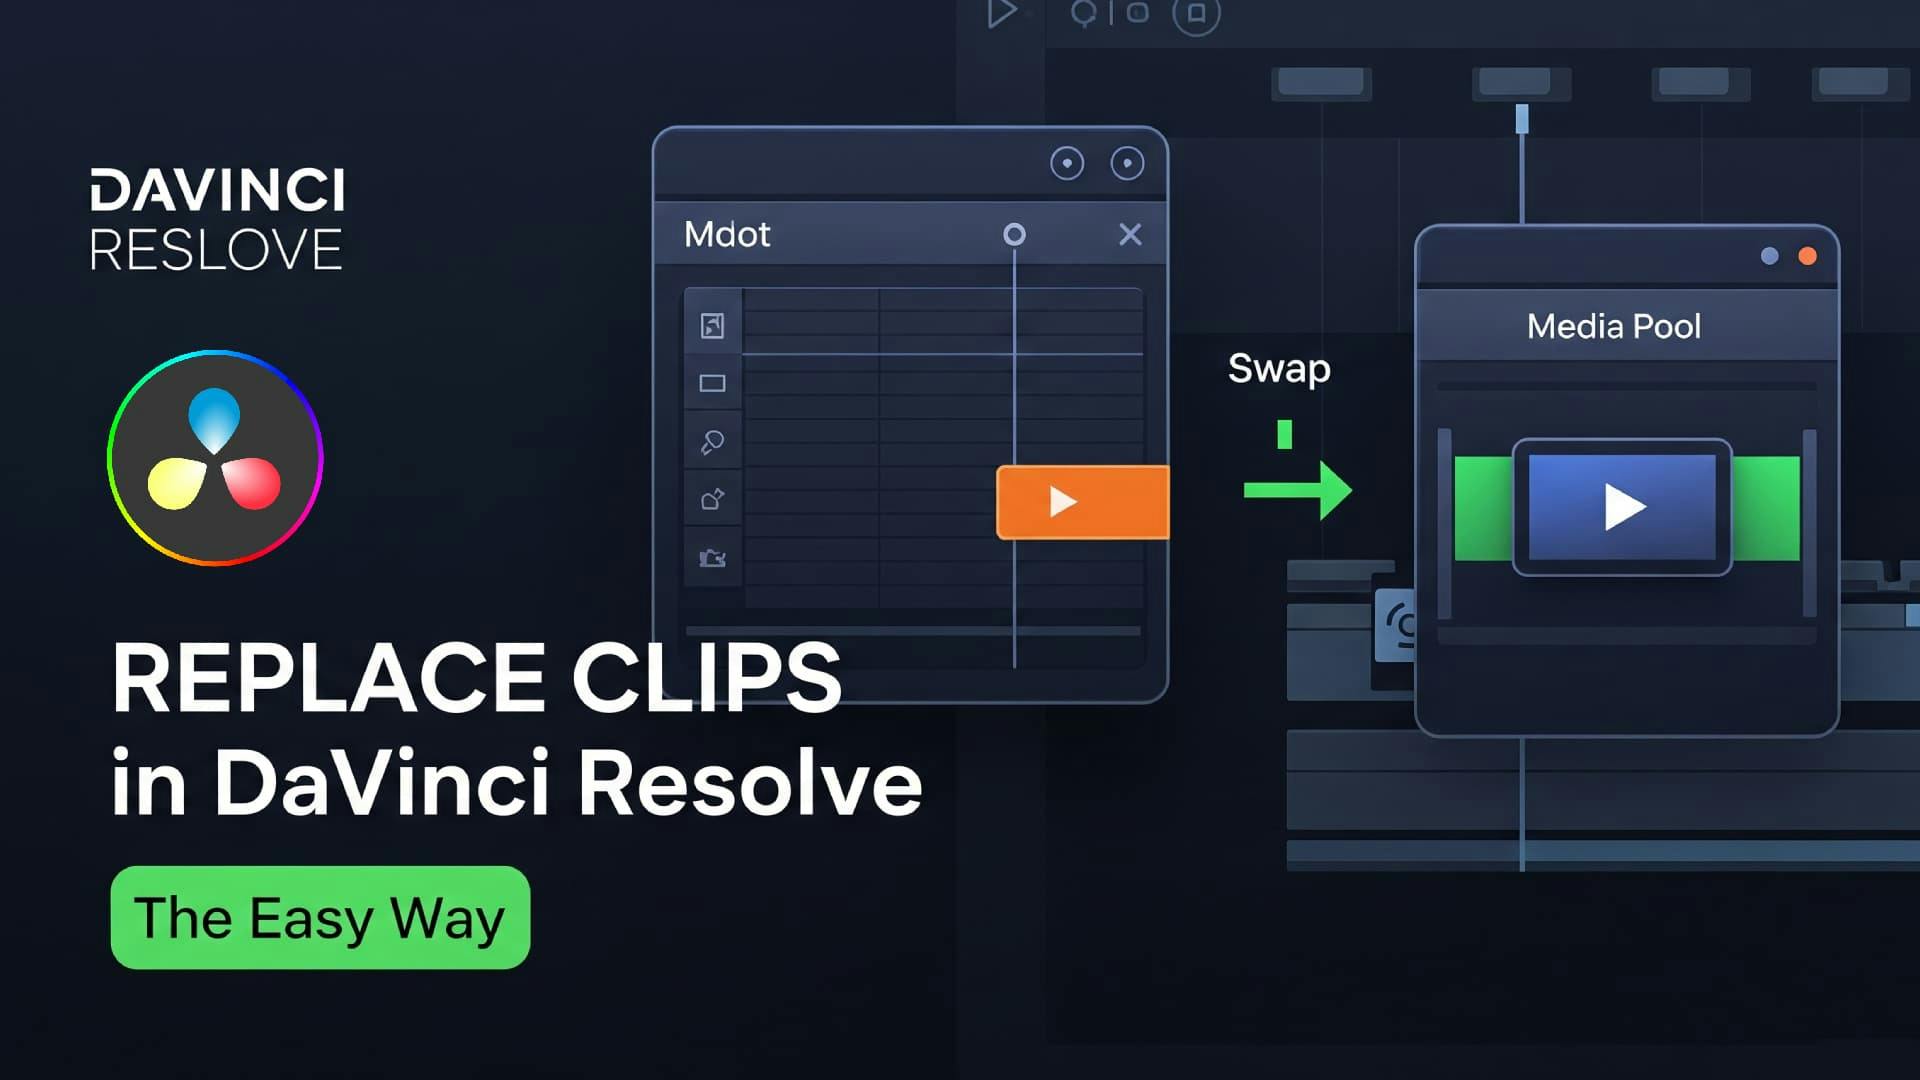
Position the playhead at the very start of the clip you want to replace.

Click on the layer containing the clip so it becomes active.

To avoid altering any audio, lock the audio track so that only the video is replaced.

From your media pool, select the clip you’d like to use as a replacement.

With the original clip selected on the timeline and the new one highlighted in the media pool, click Replace Clip.

As shown below, the sad emoji clip has now been replaced.


Discover how to group your controls into neat, drop-down accordion sections in DaVinci Resolve Fusion. Stop scrolling and start organizing today

Learn how to create dynamic, character-by-character text animations in DaVinci Resolve Fusion using the Follower modifier, Path keys, and Spline tool

Stop sharing raw .setting files! Discover the professional way to bundles your DaVinci Resolve transitions, effects, and titles into a single, easy-to-install .drfx file