Retargeting QuickMagic Markerless AI Mocap in Blender using Auto Rig Pro
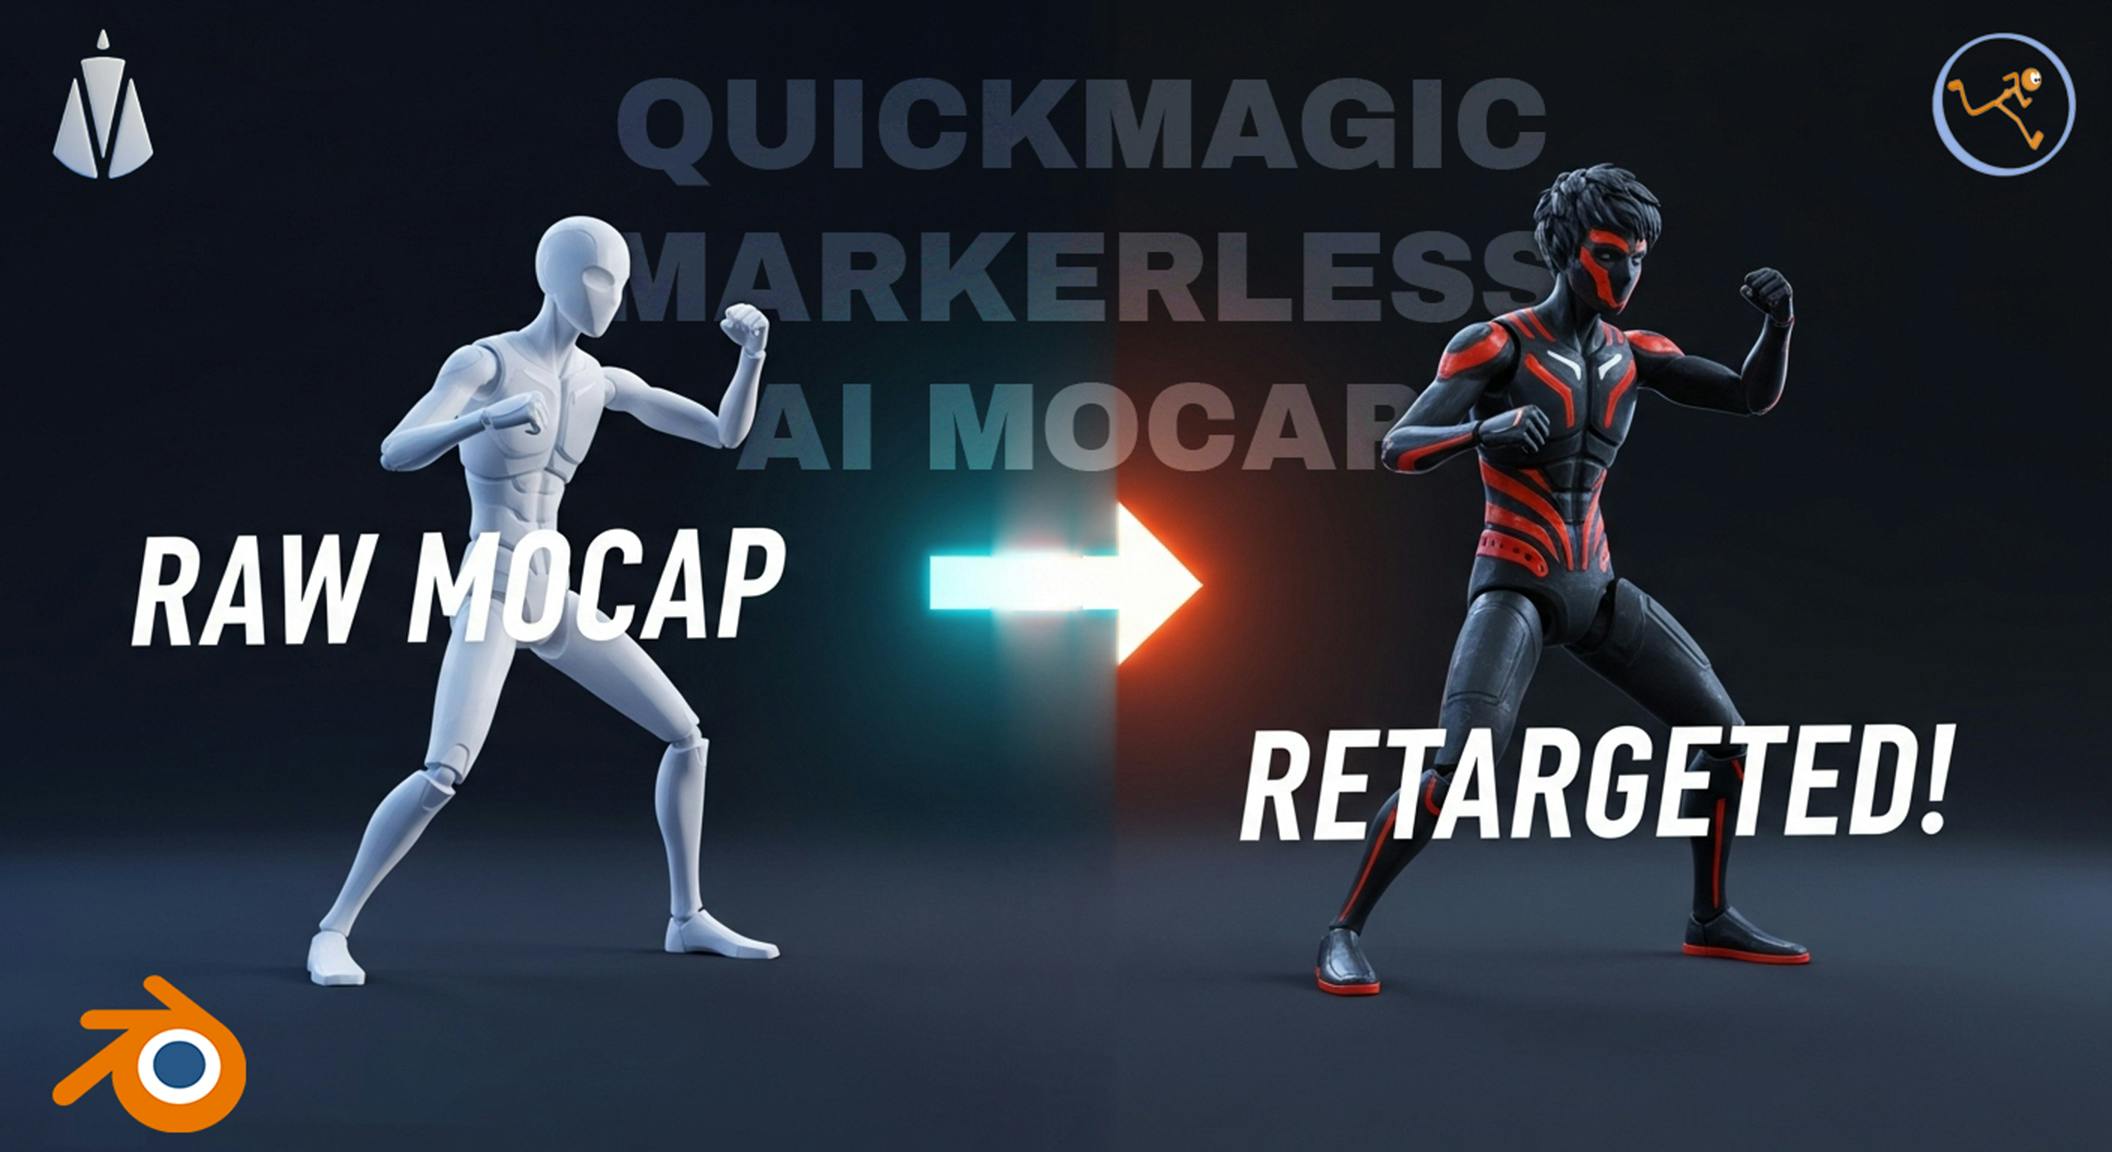
Markerless motion capture solutions like QuickMagic AI provide incredibly detailed animations with just a video.
But how do you apply that raw mocap data to your own custom character in Blender? 🤔
That's where the magic of retargeting comes in, and the Auto-Rig Pro addon for Blender is one of the best tools for the job.
This guide will walk you through the entire process, step-by-step, to transfer a motion capture animation from QuickMagic AI onto your character using Auto-Rig Pro.
Let's get started! 🚀
Before we begin, make sure you have:
First things first, you need to bring your animation into the Blender scene.
File > Import and select the appropriate file format for your mocap data (usually .fbx).

To make the mocap armature easier to see and work with, let's adjust its display properties. This helps you see the bones through your character's mesh.
Display As to Stick.
Now, it's time to fire up the tool that does the heavy lifting.
The "Source Armature" is the skeleton that has the animation you want to copy. In our case, this is the armature we imported from QuickMagic AI.

The "Target Armature" is the skeleton of your character that you want to apply the animation to.

This crucial step tells Auto-Rig Pro how to match the bones from the source armature to the target armature.


To improve the accuracy of the bone mapping, Auto-Rig Pro uses presets for common mocap sources.
Humanoid or Mixamo preset, depending on the skeleton structure.
Experiment if one doesn't work perfectly.

You must correctly identify the "root" bone of the source armature. This is the main parent bone that controls the entire character's position in space (usually located at the hips or pelvis).
Hips or Root).
This is the moment of truth!

Once the process is complete, your character should be performing the motion capture animation perfectly. Play the animation to see it in action!

Now that the animation data has been transferred and baked onto your character's rig, you no longer need the original mocap armature.

And there you have it! 🎉 You've successfully taken a complex motion capture performance from QuickMagic AI and applied it to your custom character in Blender using Auto-Rig Pro.
This workflow is incredibly powerful for bringing your characters to life with realistic, fluid movements.
By mastering this process, you can dramatically speed up your character animation pipeline. Congratulations on completing the tutorial!

Learn the step-by-step process to retarget character animations from Cascadeur to Blender using the powerful Auto-Rig Pro addon. A complete workflow guide.
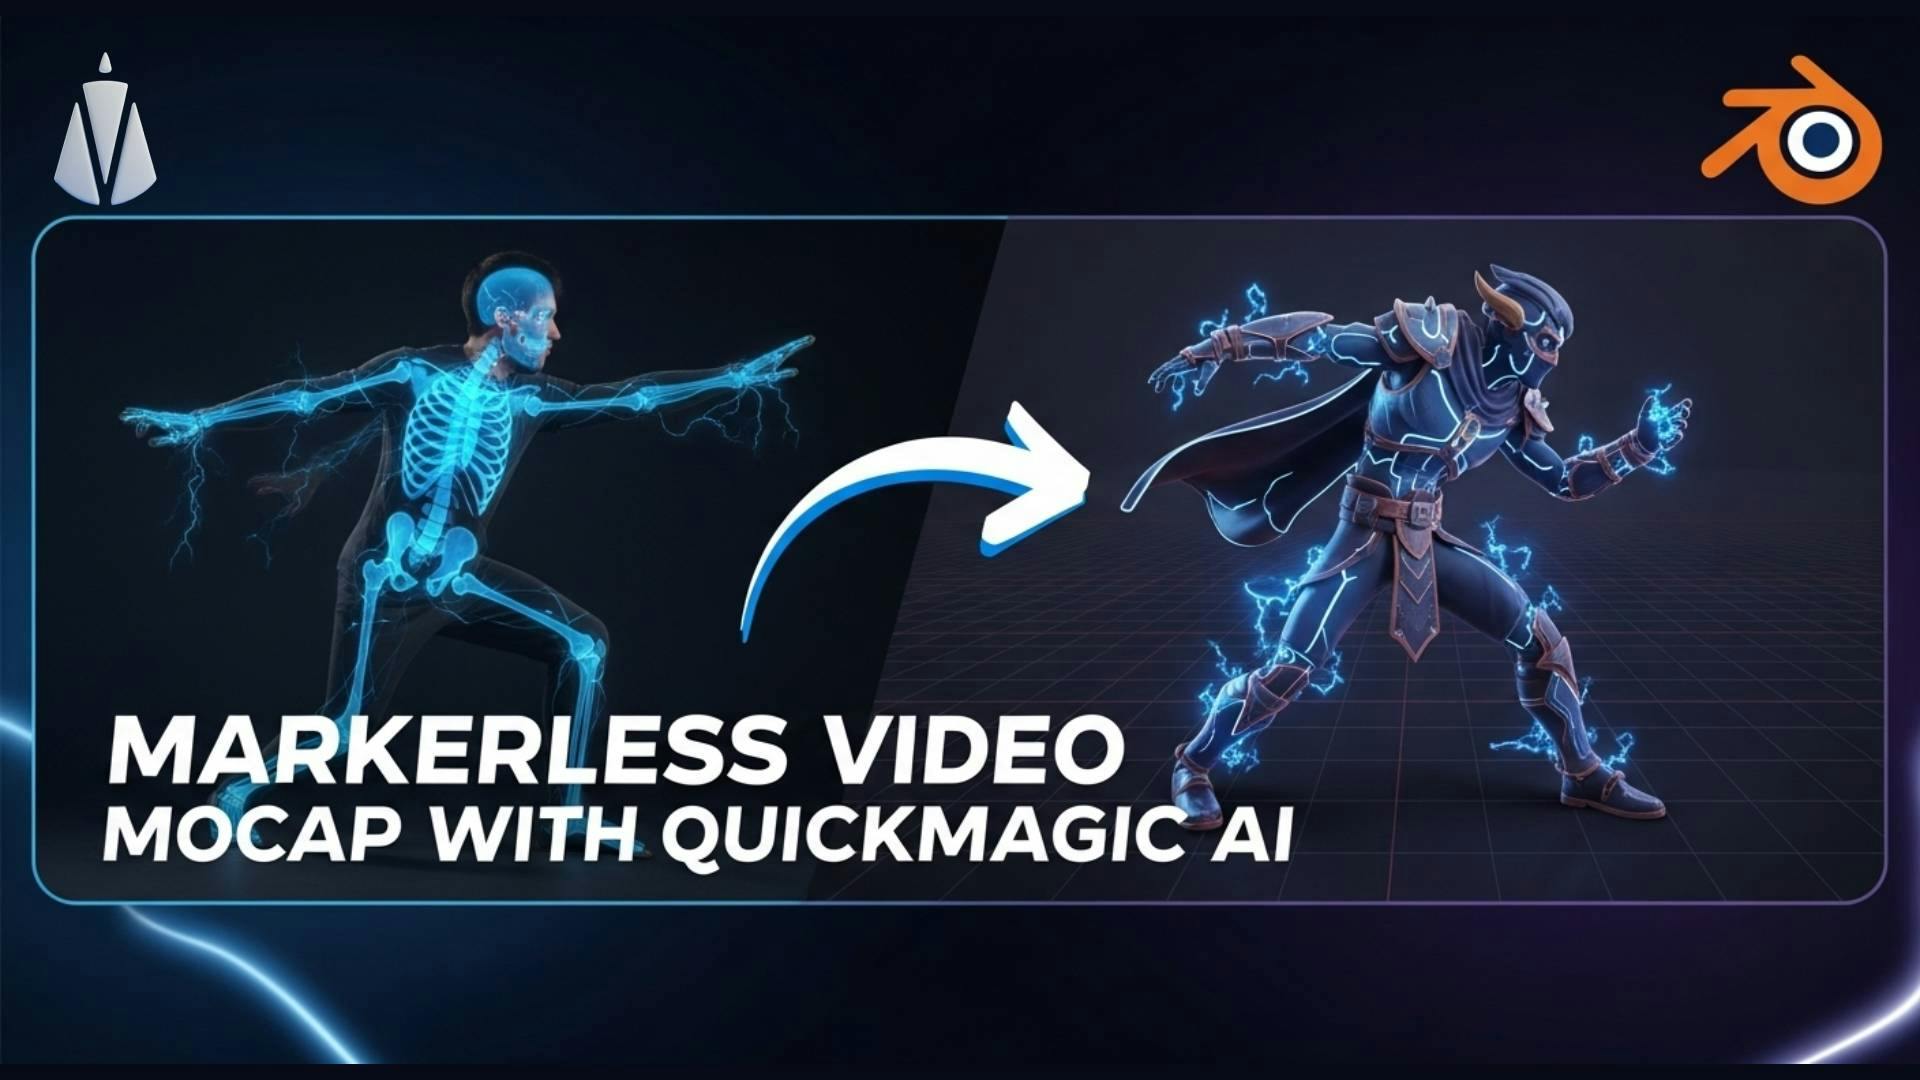
Tired of expensive mocap suits? Discover the power of QuickMagic AI for markerless motion capture and level up your Blender animations.

Learn the full 3D animation pipeline! This guide shows you how to take a Ready Player Me character, rig it in Blender with Auto-Rig Pro, and create stunning animations in Cascadeur