Unlocking the Power of Procedural Content Generation in Unreal Engine: A Step-by-Step Guide
Activate the required plugins.

Create a PCG (Procedural Content Generation) graph.

Drag the newly created PCG graph into the level.
Open the PCG graph file.
If you search for "Mesh to Points," you will find that there are no results.

Add a Create Points node from Spawner category, then search for Mesh to Points under the Blueprint Element Type

Insert the static mesh.

If you activate debugging, you will see the result in the viewport.

You can activate debugging using the shortcut key
d
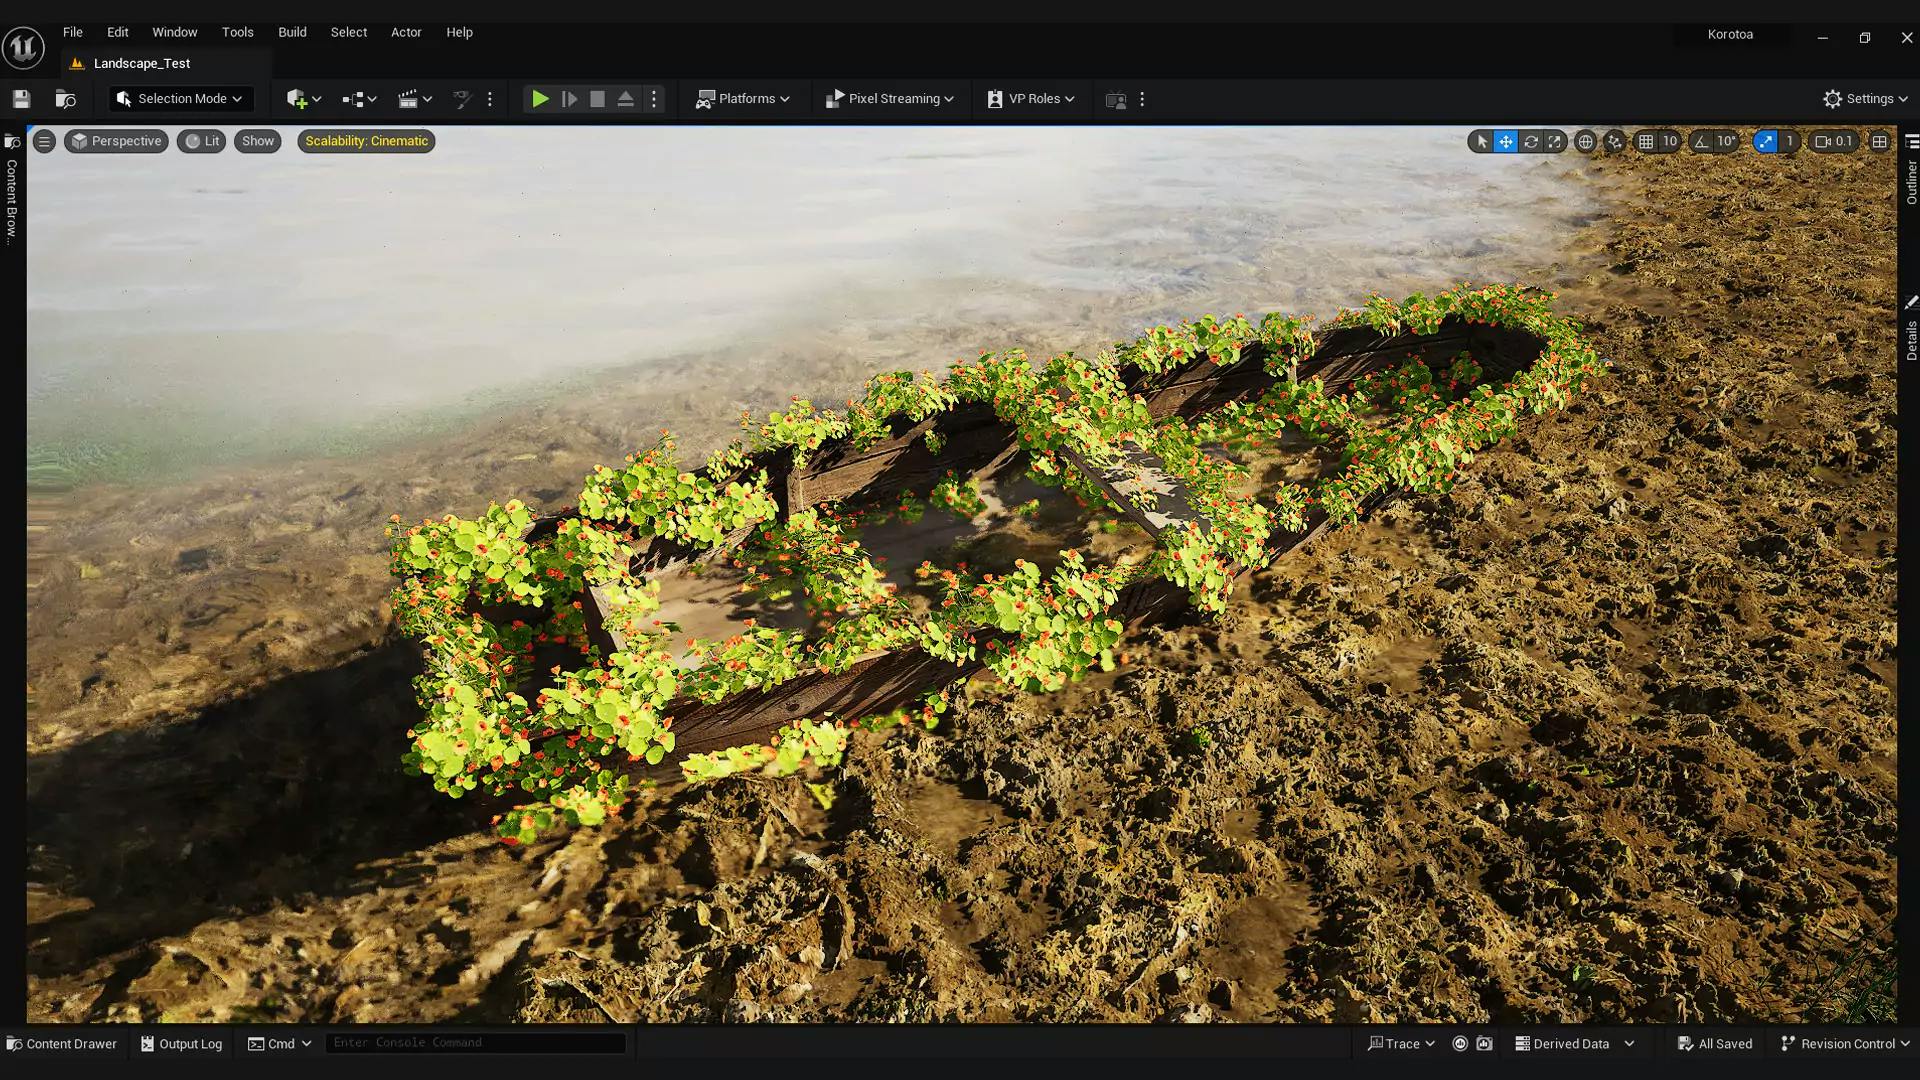
If you move the object now, the PCG result will not move along with it.

To solve this issue, simply drag the PCG graph to be a child of the boat.
If you still see the PCG result is not working as expected, then:

a. Reset the object's position.
b. Use the Cleanup and Generate feature of PCG.
Connect the nodes as follows, setting both the **Density Remap and Density Filter**'s Point Scale to 0.1 and the **Scale Method** to Relative

Add Transform Points and Static Mesh Spawner

In the Static Mesh Spawner, add Mesh to Mesh Entries.

If we now move the camera at a distance, the foliage visibility will change due to mesh LOD (Level of Detail).

Open the Mesh Editor.

Activate Nanite for the static mesh as well.
