Step-by-Step Guide to TailwindCSS WordPress Themes


Building a custom WordPress theme with TailwindCSS is a rewarding way to create a unique, modern, and responsive website. In this guide, we’ll walk you through the steps to create a WordPress theme from scratch, styled with the power of TailwindCSS. Whether you're a developer looking to hone your skills or a designer aiming for a fully customized site, this guide has you covered.
TailwindCSS is a utility-first CSS framework that simplifies responsive and modern design. It allows you to craft highly customized websites without writing lengthy CSS files. Integrating it with WordPress unlocks endless possibilities for designing a fast and functional website.
Before diving in, ensure you have the following installed:
wp-content/themes in your WordPress installation and create a folder for your new theme:mkdir my-tailwind-themestyle.css
index.php
functions.phpstyle.css/*
Theme Name: My Tailwind Theme
Theme URI: https://sabbirz.com/
Author: Sabbirz
Author URI: https://sabbirz.com/
Description: A custom WordPress theme built with TailwindCSS.
Version: 1.0
License: GPL-2.0-or-later
*/npm init -ynpm install tailwindcss postcss autoprefixernpx tailwindcss initassets/css directory, create a tailwind.css file:@tailwind base;
@tailwind components;
@tailwind utilities;module.exports = {
plugins: [
require('tailwindcss'),
require('autoprefixer'),
],
};"scripts": {
"build:css": "npx tailwindcss -i ./assets/css/tailwind.css -o ./style.css --watch"
}npm run build:css<?php
function my_tailwind_theme_enqueue_scripts() {
wp_enqueue_style('tailwindcss', get_template_directory_uri() . '/style.css', array(), '1.0', 'all');
}
add_action('wp_enqueue_scripts', 'my_tailwind_theme_enqueue_scripts');
?>header.php, footer.php, single.php, and archive.php. Example header.php File:<!DOCTYPE html>
<html <?php language_attributes(); ?>>
<head>
<meta charset="<?php bloginfo('charset'); ?>">
<meta name="viewport" content="width=device-width, initial-scale=1.0">
<?php wp_head(); ?>
</head>
<body <?php body_class(); ?>>
<header class="bg-blue-500 text-white p-4">
<h1 class="text-2xl"><?php bloginfo('name'); ?></h1>
</header>index.php File:<?php get_header(); ?>
<main class="container mx-auto p-4">
<?php if (have_posts()) : while (have_posts()) : the_post(); ?>
<article class="mb-4">
<h2 class="text-xl font-bold"><?php the_title(); ?></h2>
<div><?php the_content(); ?></div>
</article>
<?php endwhile; endif; ?>
</main>
<?php get_footer(); ?>PurgeCSS in tailwind.config.js:module.exports = {
content: [
'./*.php',
'./template-parts/**/*.php',
],
theme: {
extend: {},
},
plugins: [],
};"scripts": {
"build:prod": "npx tailwindcss -i ./assets/css/tailwind.css -o ./style.css --minify"
}npm run build:prod
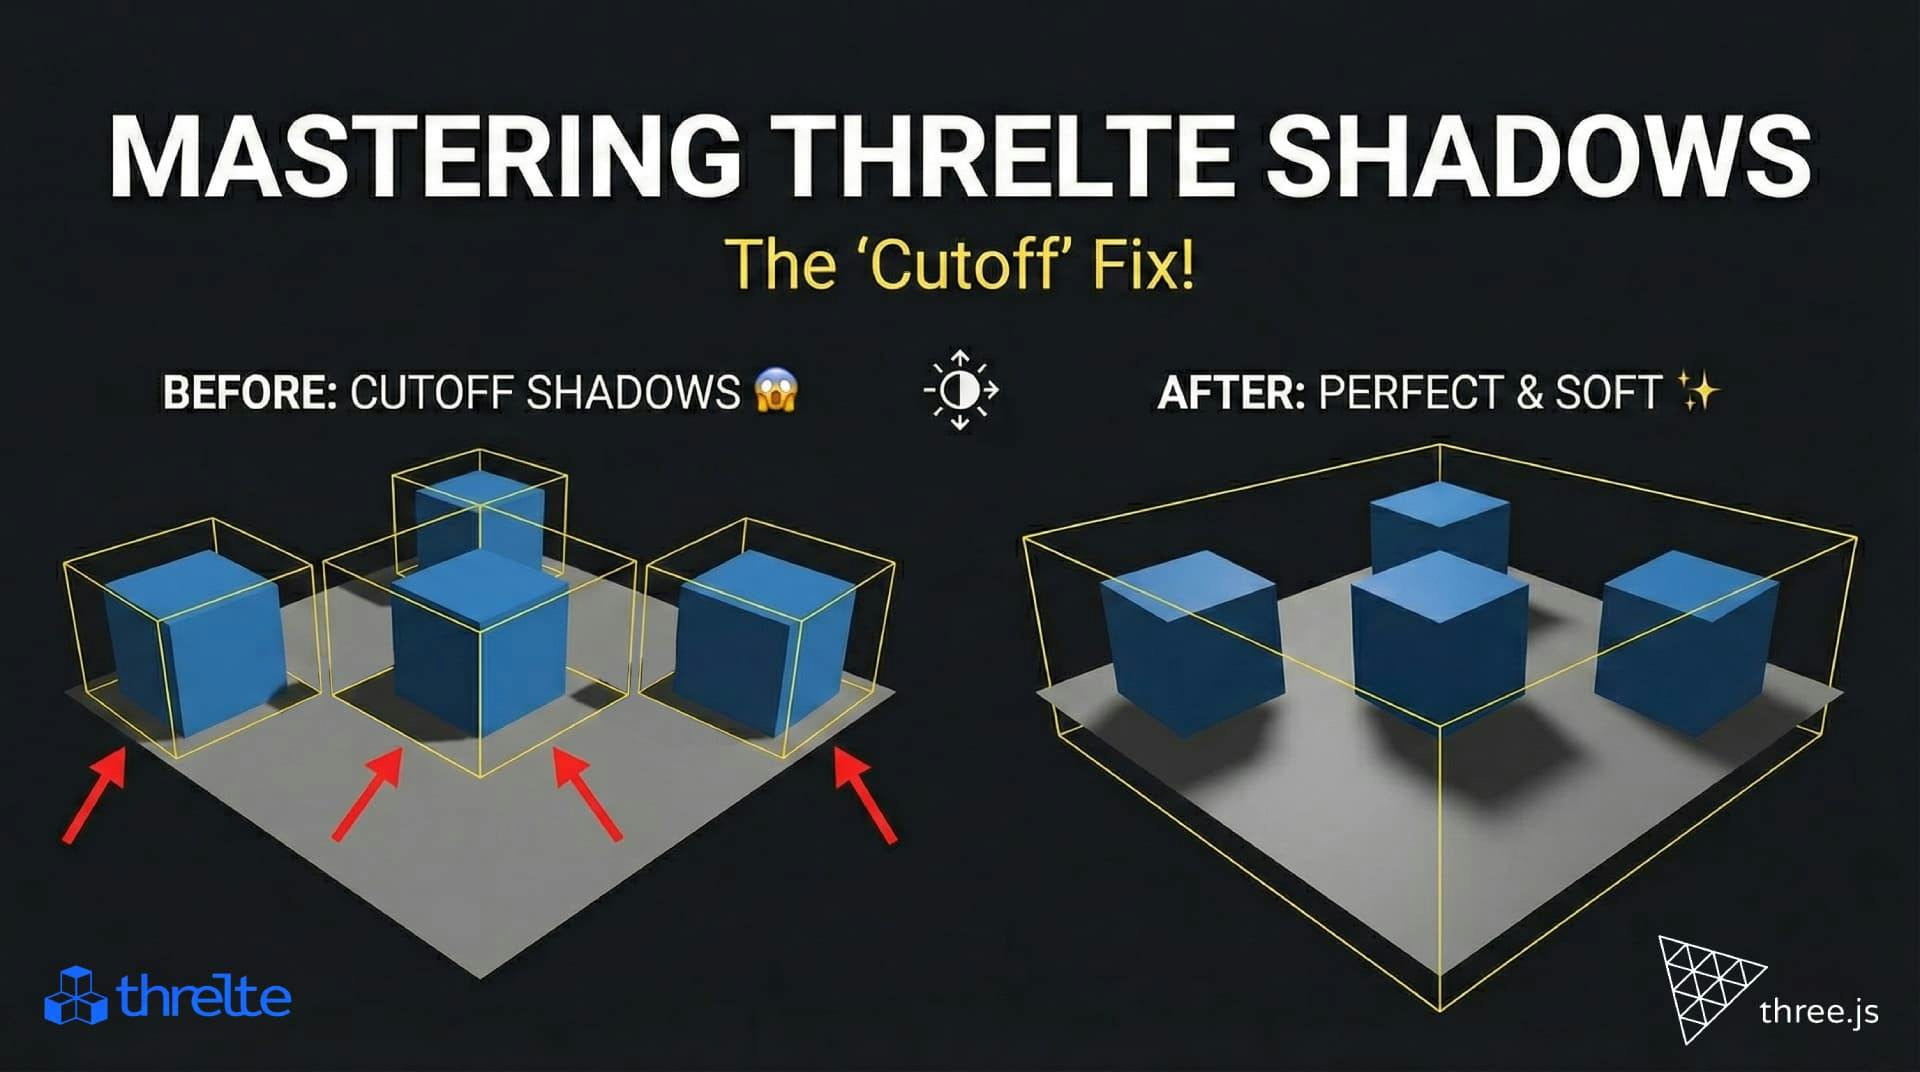
Shadows disappearing in your Threlte or Three.js scene? It’s a frustum issue. Learn how to visualize the shadow box and fix clipping instantly with this guide.

What happens when you create a DocType in Frappe? We break down the .json, .js, and .py files generated by the framework and how to use them.

Confused by Shopify's lack of a database? 🤯 Learn how Shopify stores your theme data, from simple Settings to complex Metafields. Perfect for devs moving from WP/Laravel.