How to Add a Google Font to Vue.js with Tailwind CSS


Adding a custom font to your Vue.js project can significantly enhance the look and feel of your application.
In this guide, we'll go through the steps to add a Google Font to a Vue.js project using Tailwind CSS.
First, visit the Google Fonts website at https://fonts.google.com/.
For this example, I will select a font called Playwrite USA Traditional. Here's how to select your font:

After selecting your font, click on the Get Font button and then on the Get Embed Code.


Copy the HTML embed code provided by Google Fonts.

Open your index.html file and paste the Google font code inside the <head> tag.

Next, configure your Tailwind CSS to include the new font like the following image.

Open the tailwind.config.js file and add your font like this:
    module.exports = {
    theme: {
        extend: {
        fontFamily: {
            Playwrite: ['Playwrite US Trad', 'cursive']
            }
        }
    }
    }
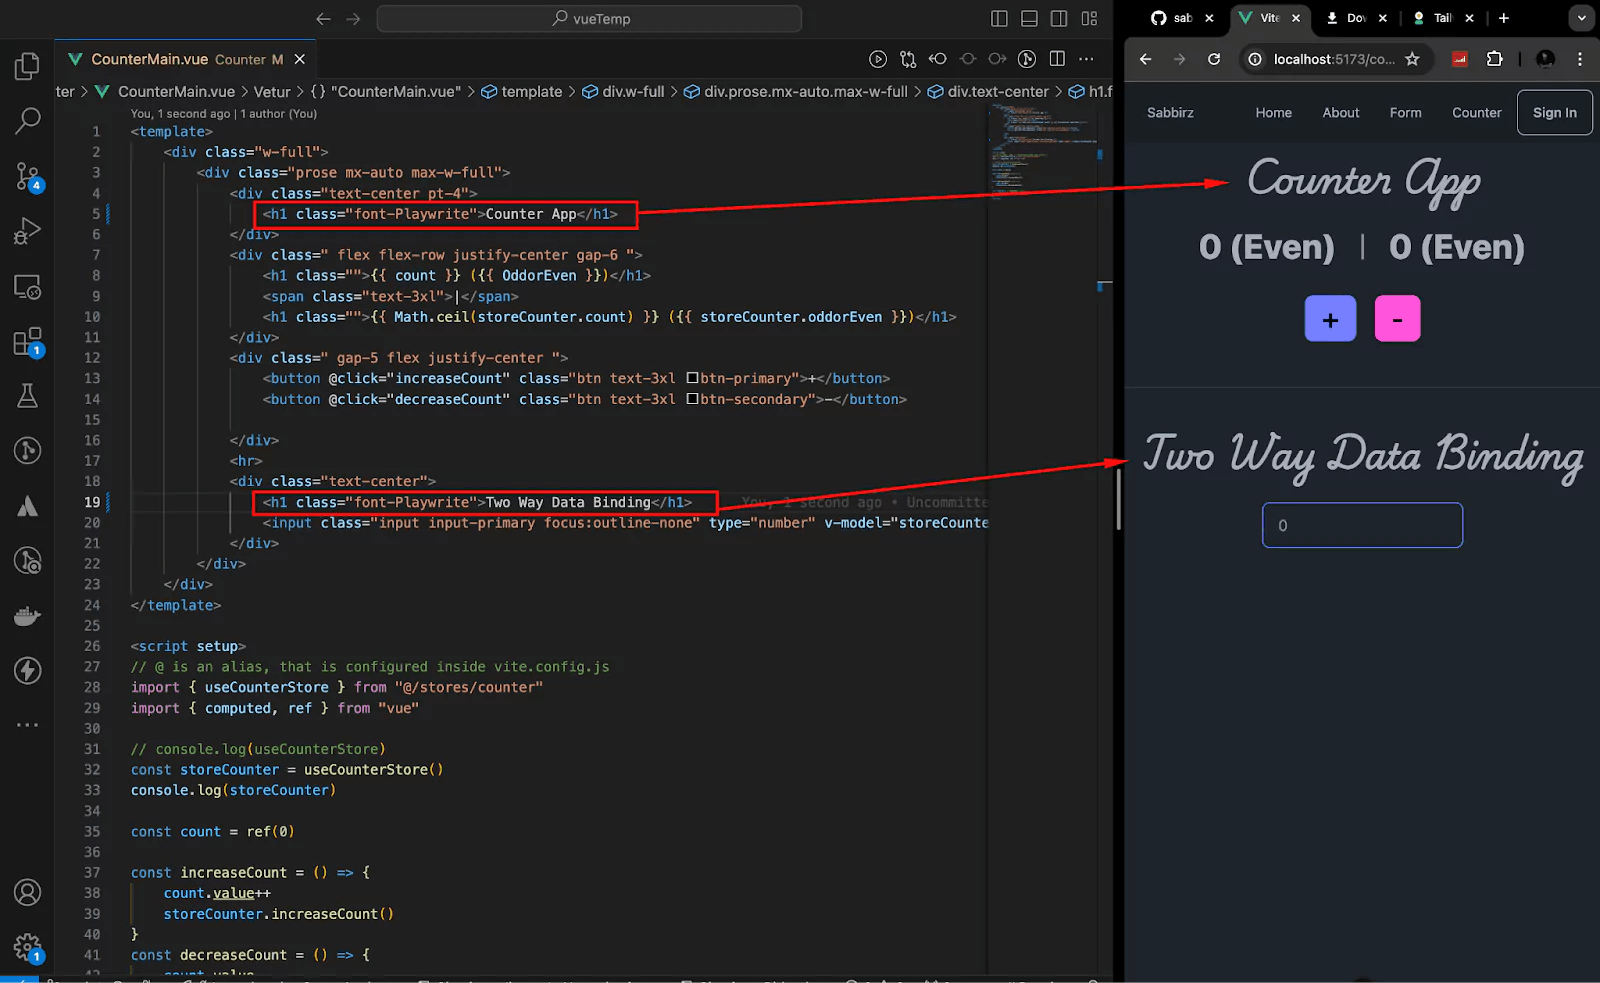
You can now use the new font by applying the utility class in your components:
<h1 class="font-roboto">Hello, world!</h1>

Shadows disappearing in your Threlte or Three.js scene? It’s a frustum issue. Learn how to visualize the shadow box and fix clipping instantly with this guide.

What happens when you create a DocType in Frappe? We break down the .json, .js, and .py files generated by the framework and how to use them.

Confused by Shopify's lack of a database? 🤯 Learn how Shopify stores your theme data, from simple Settings to complex Metafields. Perfect for devs moving from WP/Laravel.