How to Create a Role-Based Custom Dashboard in Frappe v16 | Step-by-Step Guide
Frappe gives you an incredibly powerful Desk interface right out of the box. But let’s be real—most production business systems eventually need tailored experiences.
An HR manager shouldn't land on the same screen as a warehouse worker. A sales rep needs instant access to leads and targets, while a finance user needs aging reports and payment entries. A system admin? They just want the global operational metrics.
In Frappe v16 (and ERPNext), the cleanest, most efficient way to build this is by using Workspaces.
Workspaces act as the customized pages users see inside the Desk sidebar. They can house cards, shortcuts, charts, links, reports, and even custom HTML blocks. More importantly, they can be restricted by Role, making them the perfect foundation for role-specific dashboards.
Let's dive into how you can build a production-ready, role-based dashboard in Frappe v16—from the no-code Workspace builder to a developer-friendly deployment setup! 🛠️
~30 Minutes
In the Frappe ecosystem, a role-based dashboard usually breaks down into four essential parts:
Sales Manager, HR User, Branch Officer).Sales Dashboard).For 95% of use cases, you do not need a custom Desk page. A Workspace is completely sufficient! Rely on custom Desk pages (using frameworks like Vue.js or React) only when the dashboard requires complex, state-heavy interactions that are hard to maintain inside standard Workspace blocks.
First things first, we need to create the role that will access this shiny new dashboard.
Go to: Role > New
Example Setup:
Sales ManagerNext, assign this role to the relevant users:
Go to: User > Select User > Roles and check Sales Manager. Save the user.
⚠️ Pro Tip: A role alone doesn't magically grant data access. You still need to configure DocType permissions, Report permissions, or User Permissions depending on what data your dashboard will display!
Now, let's create the actual dashboard Workspace. You can access Workspaces from the Desk global search or the Workspace list.
Create a new Workspace with configurations like this:
Sales DashboardSellingbar-chart 📊If a Workspace is private, only the owner can see it. Since we want our Sales Manager group to see it, it needs to be Public but restricted by role.
Open the Workspace builder and start adding blocks: Shortcuts, Number Cards, Charts, Reports, Link Cards, and Custom HTML Blocks.
Keep the first screen focused. A great dashboard answers one simple question: "What does this user need to do next?"
Open your Workspace document and scroll down to the Roles table. Add Sales Manager.
Now, only users with this specific role will see the Workspace in their sidebar (assuming they also have access to the related module).
Remember, Frappe Workspace visibility depends on two things:
Selling module?)If your user still can't see the Workspace, double-check their allowed modules!
A dashboard shouldn't just be a chaotic list of every DocType the user can access. Design it around their daily workflow.
📈 For a Sales Manager:
👥 For an HR Manager:
💰 For an Accounts User:
Use Number Cards for quick KPIs, Charts for trends, and Shortcuts for immediate actions.
Sometimes default blocks aren't enough. Enter the Custom HTML Block.
This feature lets you write raw HTML, CSS, and JavaScript directly inside a Workspace block. It’s perfect for custom banners, progress trackers, or dynamic summaries.
Example HTML:
<div class="sales-dashboard-card p-4 bg-blue-50 rounded-md shadow-sm">
  <h3 class="text-lg font-bold text-blue-800">Welcome Back! 👋</h3>
  <p id="sales-user-summary" class="text-gray-600 mt-2">Fetching your stats...</p>
</div>
Example Script (Client-Side):
frappe.call({
    method: "my_app.api.dashboard.get_sales_summary",
}).then((r) => {
    const data = r.message || {};
    document.querySelector("#sales-user-summary").innerHTML =
        `🔥 You have <b>${data.open_leads || 0}</b> open leads waiting for you.`;
});
Golden Rule: Keep your business logic on the server! The frontend should only display data, not enforce security.
For dynamic data, create a whitelisted Python method in your custom app.
# my_app/api/dashboard.py
import frappe

@frappe.whitelist()
def get_sales_summary():
    user = frappe.session.user

    # Server-side security check!
    if "Sales Manager" not in frappe.get_roles(user):
        frappe.throw("Not permitted", frappe.PermissionError)

    open_leads = frappe.db.count("Lead", {"status": "Open"})
    pending_quotes = frappe.db.count("Quotation", {"docstatus": 0})

    return {
        "open_leads": open_leads,
        "pending_quotations": pending_quotes,
    }
Always validate roles and permissions on the backend. Hiding a card via JavaScript is not security! 🛡️
Workspace restrictions control visibility, but they don't guarantee a user lands on their specific dashboard right after login. Let's fix that with a quick JS redirect.
In your custom app's hooks.py:
app_include_js = [
    "/assets/my_app/js/role_dashboard_redirect.js"
]
Create the script:
// public/js/role_dashboard_redirect.js

frappe.after_ajax(() => {
  if (!frappe.user_roles) return;

  const route = frappe.get_route();
  const current = route ? route.join("/") : "";

  // Only redirect if they are landing on the default Workspaces page
  if (current && current !== "Workspaces") return;

  if (frappe.user_roles.includes("Sales Manager")) {
    frappe.set_route("Workspaces", "Sales Dashboard");
  } else if (frappe.user_roles.includes("HR Manager")) {
    frappe.set_route("Workspaces", "HR Dashboard");
  }
});
Note: Test this carefully so you don't accidentally create an infinite redirect loop! 🔄
If you are building this inside a custom app, do not leave your Workspace stuck in the database! Export it as a fixture so you can easily deploy it to staging and production environments via Git.
In hooks.py:
fixtures = [
    {
        "dt": "Workspace",
        "filters": [["name", "in", ["Sales Dashboard", "HR Dashboard"]]],
    },
    {
        "dt": "Custom HTML Block",
        "filters": [["name", "in", ["Sales Summary Block"]]],
    },
]
Then run in your bench terminal:
bench --site your-site export-fixtures
This saves everything into your app’s fixtures directory. Commit them, push them, and you're safe! 🐙
When moving your code to a new server, run:
bench build --app my_app
bench --site your-site migrate
bench --site your-site clear-cache
Never test only as an Administrator. You have superuser powers, so everything will look like it works.
Create test users ([email protected], [email protected]), assign them their specific roles, and verify:
bench clear-cache!Role Permissions for the actual DocTypes (like Lead or Quotation). Update the Role Permission Manager.if (current !== "Workspaces") return; so it doesn't run on every single page load.For a clean, maintainable setup, organize your custom app like this:
my_app/
  hooks.py
  api/
    dashboard.py
  public/
    js/
      role_dashboard_redirect.js
  fixtures/
    workspace.json
    custom_html_block.json
In Frappe v16, a well-configured Workspace is the best starting point for a role-specific dashboard. Keep it simple: use Workspace roles for visibility, DocType permissions for data security, and Custom HTML blocks with Python backend APIs for that extra dynamic flair.
Export everything as fixtures, and you'll have a maintainable, professional dashboard system that your users will love! 🎉

Learn how to add Stripe and Razorpay subscription billing to a custom Frappe app — whitelisted APIs, webhook signature verification, and scheduler-based renewals.

Stop fighting the built-in resource API for complex business logic. Here's how to expose your own Python functions as clean, secure REST endpoints in Frappe
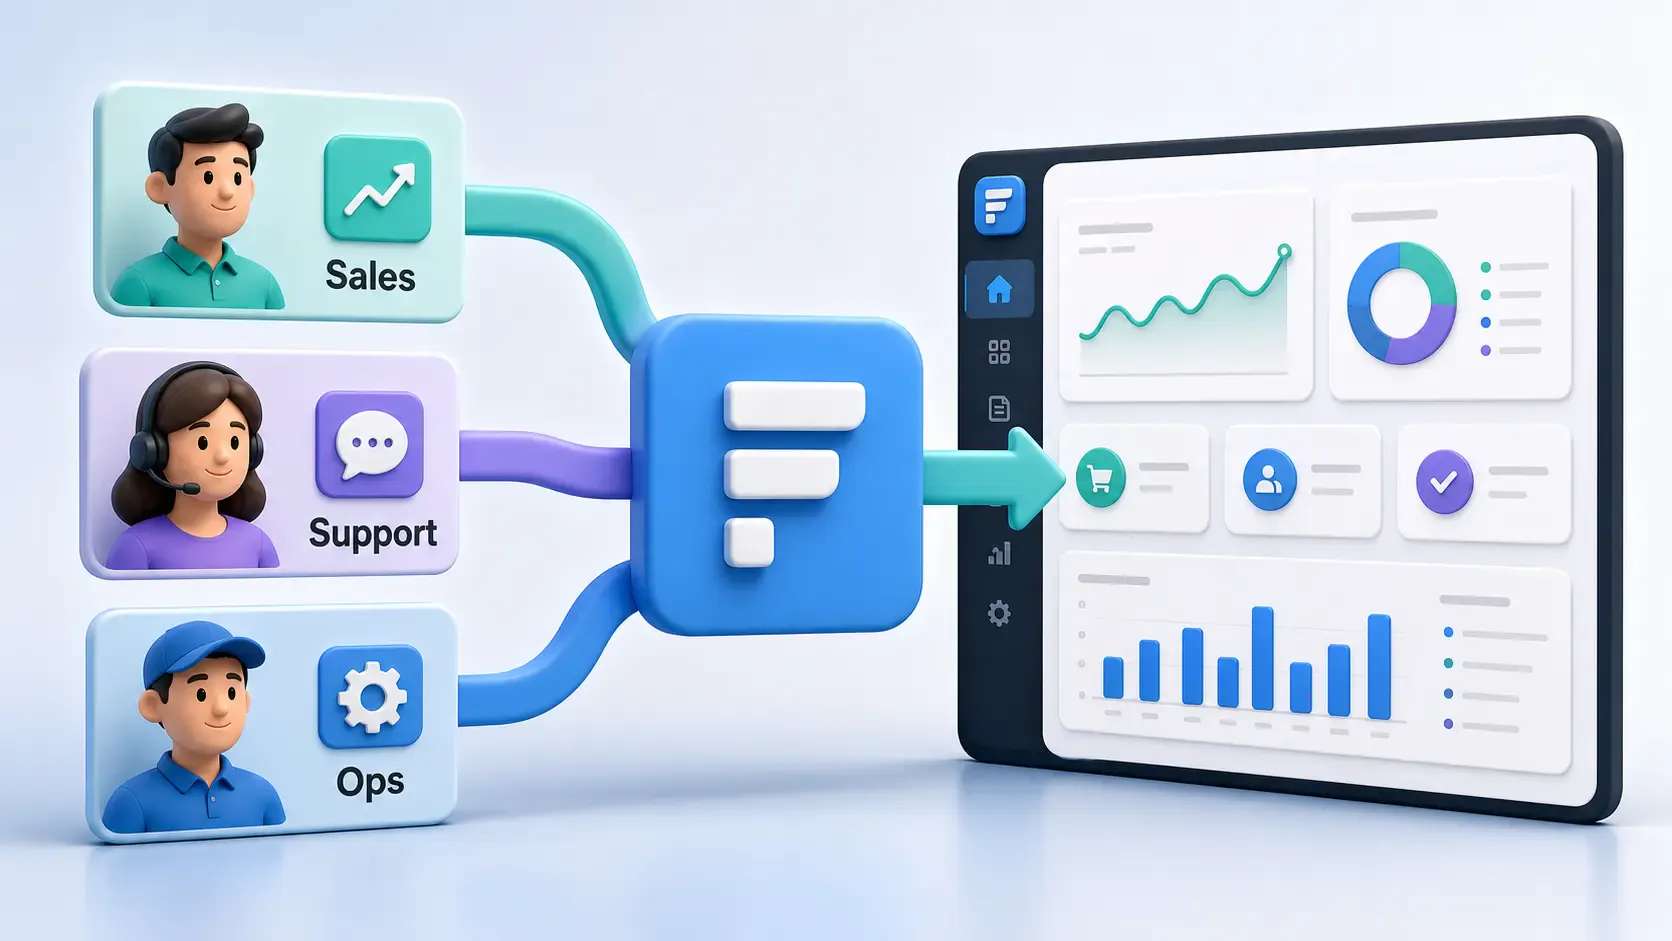
A practical Frappe tutorial for fixing wrong workspace redirects using role-to-route mapping, capture-phase click handling, and a reusable Desk JavaScript file.