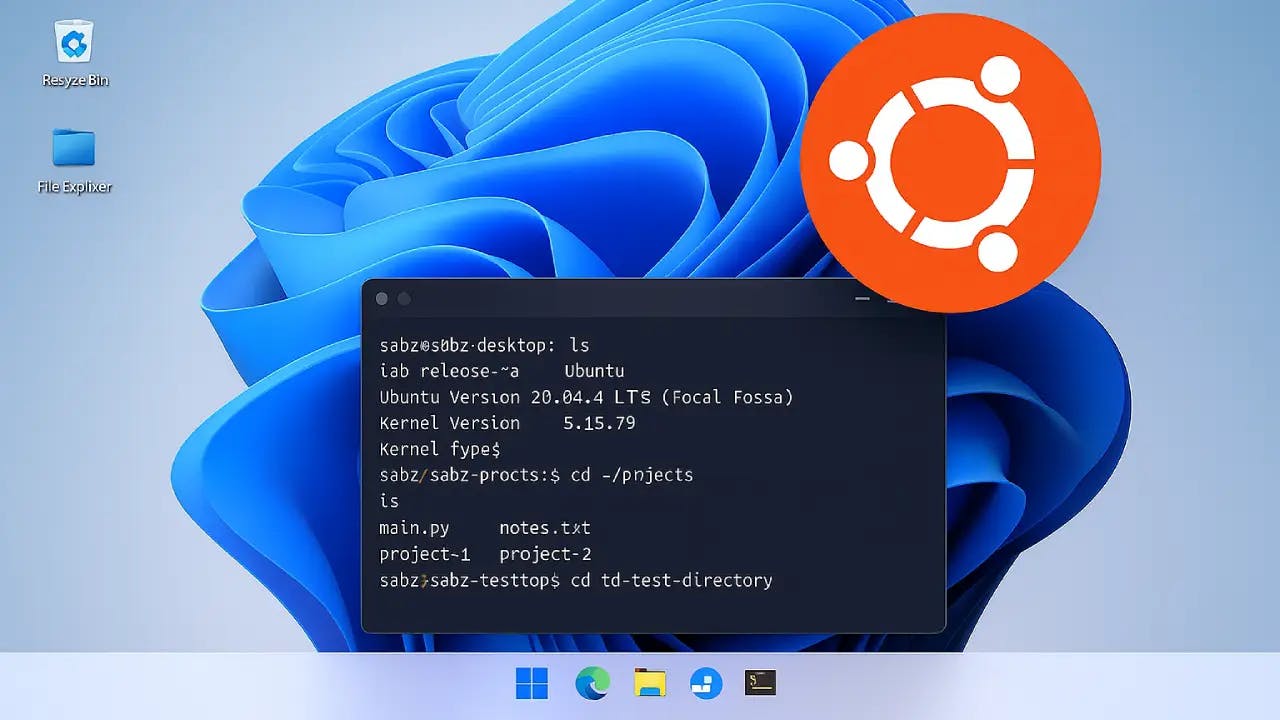
How to Install Ubuntu on Windows Using WSL
Enable Windows Subsystem for Linux (WSL)
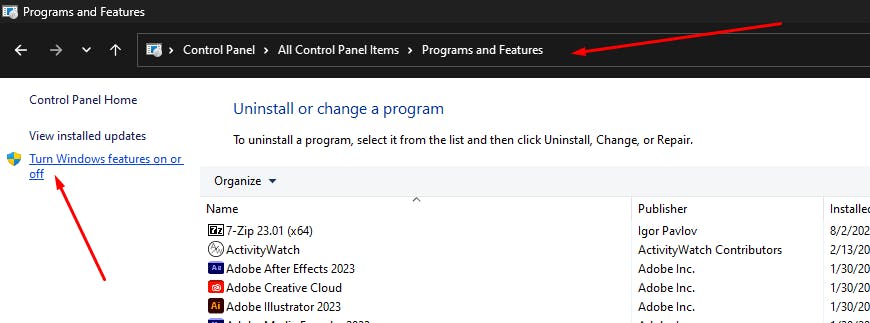
Go to Control Panel > Programs and Features > Turn Windows Features on or off.
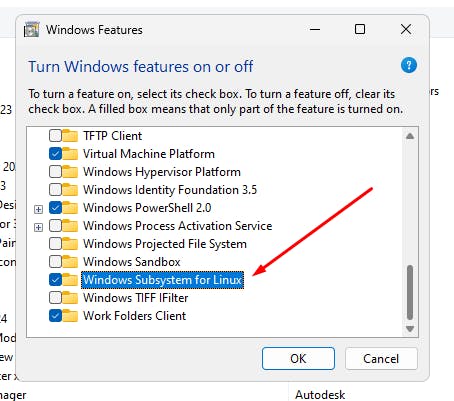
Activate the Windows Subsystem for Linux.
Install Ubuntu from Microsoft Store
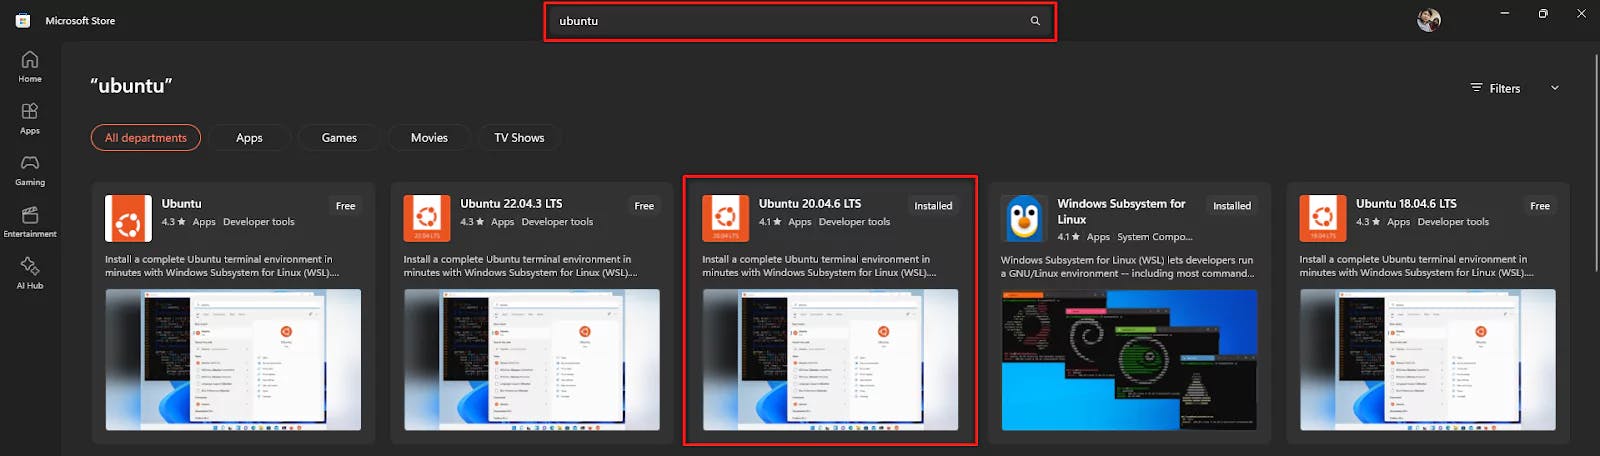
Visit the Microsoft Store and install the latest version of Ubuntu.
Initial Setup
Upon installation, the command prompt will open, prompting you to create a UNIX username and password.

Switch to Root User
By default, the root user in Ubuntu has no password, and the default username is root. It's recommended to set a password for enhanced security.
Run the following command to switch to the root user:
sudo -i
Note:
sudo -iwill prompt for your user account password that you set during the first boot.

Set a Password for Root User
Once switched to the root user, the username displayed will change to root.
To set a new password for root, run:
passwd

Switch Back to Your Regular User Account
To switch back to your normal user account, use the su command:
su yourUserName

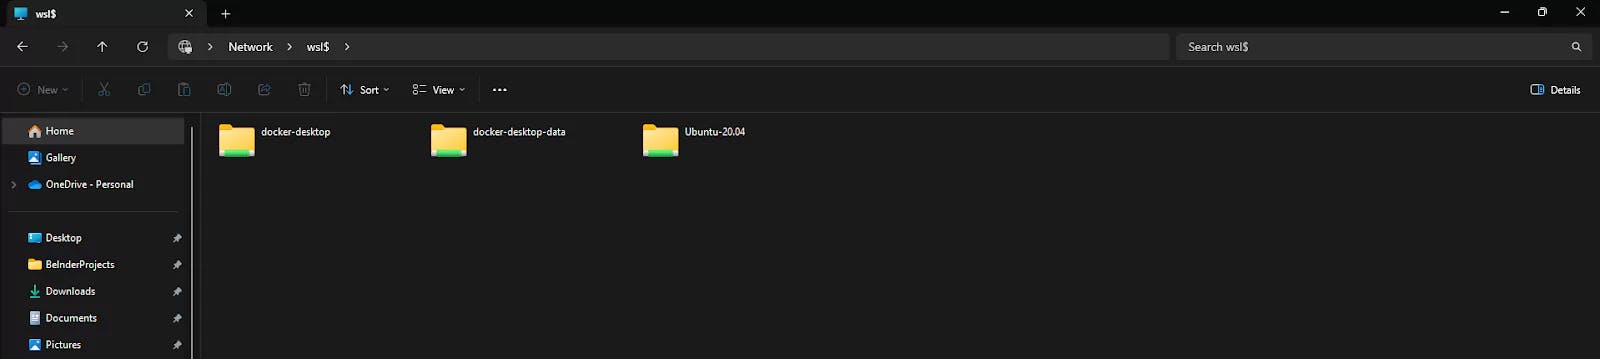
Explore the Ubuntu File System from Windows
Open Windows Explorer and paste the following path into the address bar:
\\wsl$
Then press Enter.

It might take a moment to load depending on your system performance.
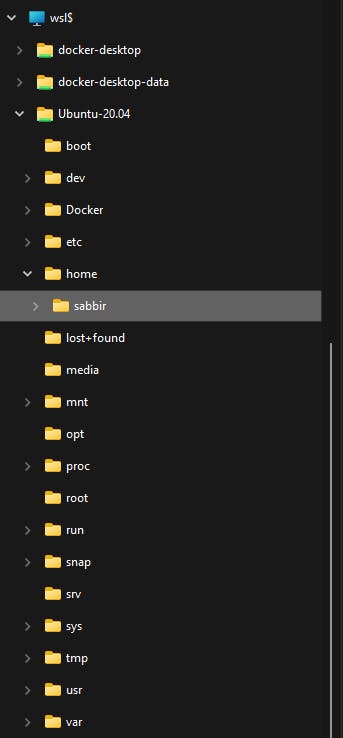
Default Launch Directory
By default, this directory appears when you launch Ubuntu through the terminal.

Just created a new Git branch and see 500+ modified files? Uncover the GitHub Desktop on Windows trap and resolve annoying line ending & permission errors step-by-step.

Preventing AI disasters in WSL! Learn how to configure Google Antigravity for Frappe & ERPNext projects to avoid 'sudo' errors and master your dev environment.

Step-by-step guide to installing Frappe 16 and ERPNext on Windows using WSL. Learn to set up Python 3.14, Node 24, and PostgreSQL for a next-gen dev environment.