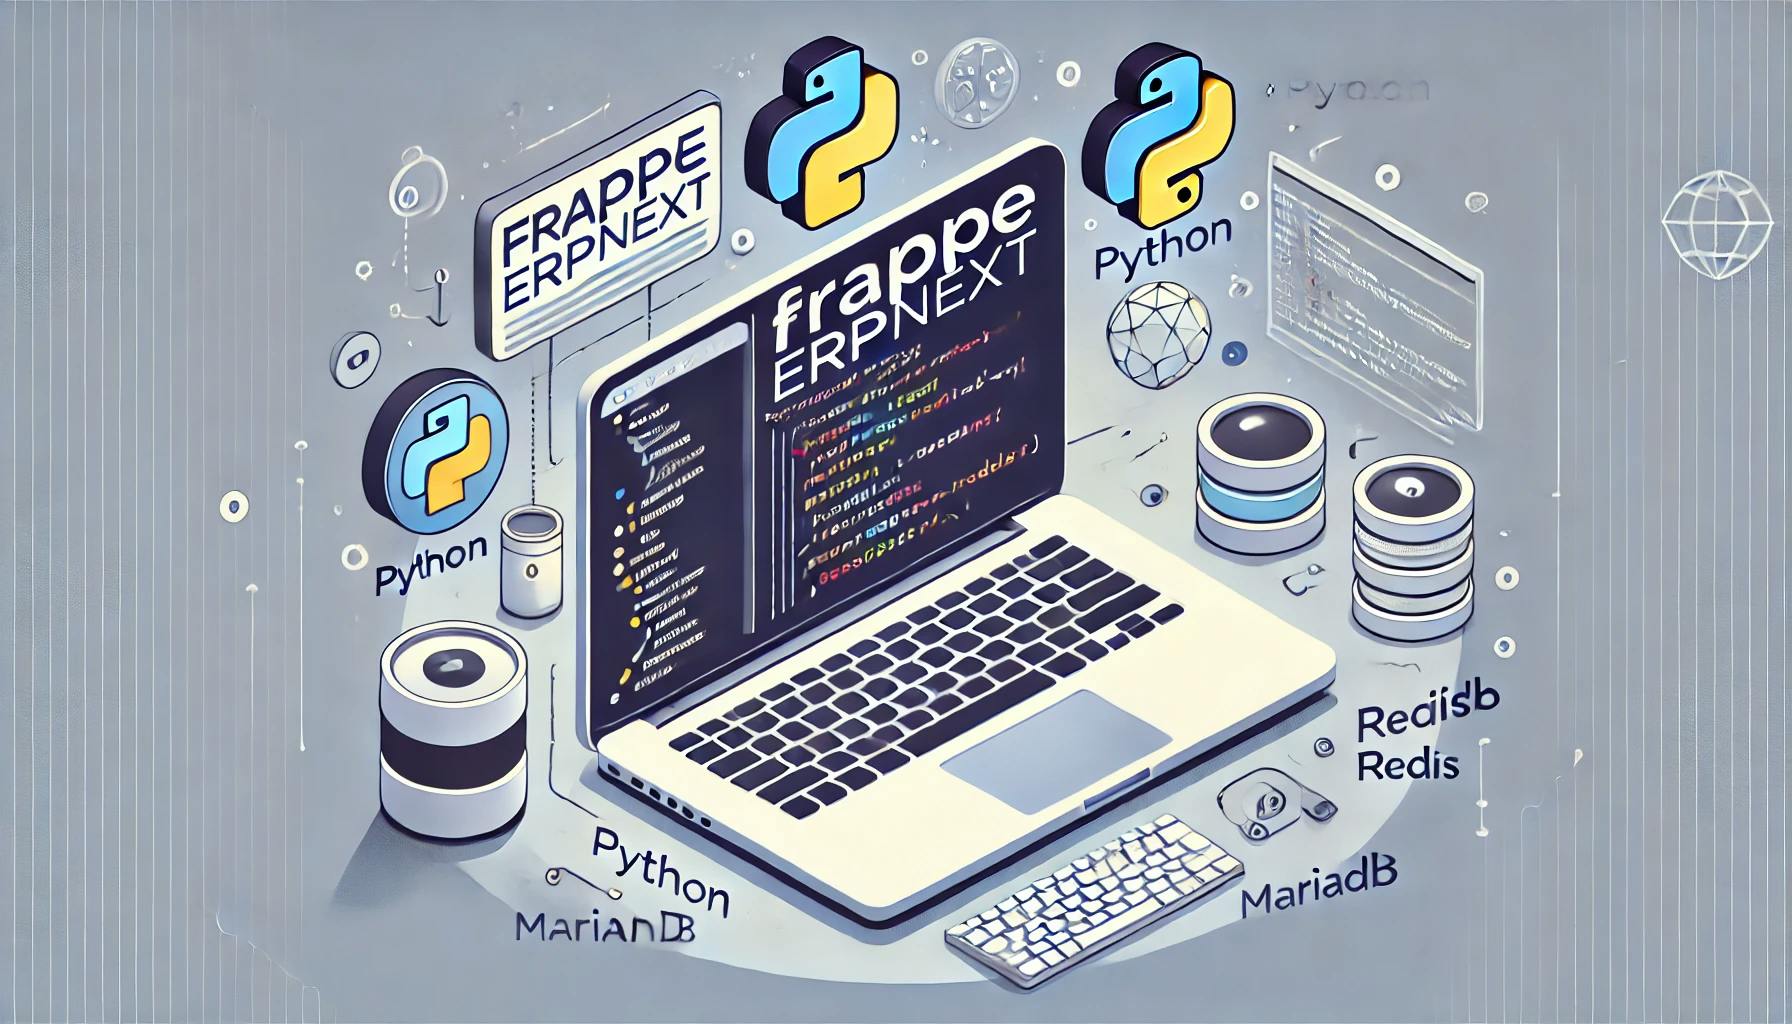
How to Install Frappe ERPNext on macOS Step-by-Step Guide


In modern operating systems like macOS, Python packages are pre-installed for operating system-specific tasks and operations. You can learn more about this by searching PEP 668 or reading PEP 668.
While you could use sudo to access the Python packages already available with the operating system, it is highly discouraged, as it may create issues with OS-specific tasks.
Instead, it's better to create a virtual environment using Python. This virtual environment will help to isolate your installed packages from the system’s Python environment.
To create a virtual environment, navigate to the folder where you want to work, and run:
python3 -m venv envThis will create a virtual environment in the env folder. Next, activate it:
source env/bin/activateOnce activated, you will notice the prefix (env) in your terminal, indicating that the environment is active.
Ensure the following packages are installed on your Mac:
| Required Packages | Check Versions |
|---|---|
| Python 3.6+ | python -v |
| Homebrew 3.6+ | brew -v |
| Node.js 14 | node -v |
| Git | git -v |
| Pip | pip -v |
| Redis 5 | |
| MariaDB | |
| Yarn 1.12+ | |
| Pip 20+ |
Make sure your brew is updated:
brew updateInstall setuptools with pip:
pip install setuptoolsTo install MariaDB:
/bin/bash -c "$(curl -fsSL https://raw.githubusercontent.com/Homebrew/install/HEAD/install.sh)"
brew update
brew install mariadb
Start the MariaDB service:
brew services start mariadbTo check the status:
brew services listSet a root password for MariaDB:
sudo mysql -u rootThen run:
ALTER USER 'root'@'localhost' IDENTIFIED BY '123456';
exit;Run the security script to secure MariaDB:
mariadb-secure-installationTo check if MariaDB was installed successfully:
mysql -VTo access the MariaDB CLI:
mysql -u root -pYou may also want to install the MySQL client:
brew install mysql-clientOpen the configuration file to set the character encoding:
sudo nano /opt/homebrew/etc/my.cnfAdd the following lines to the file:
[mysqld]
character-set-client-handshake = FALSE
character-set-server = utf8mb4
collation-server = utf8mb4_unicode_ci

[mysql]
default-character-set = utf8mb4
Save and exit.
Redis is an in-memory data store used as a cache, database, and message broker. Install Redis with:
brew install redisNode.js is essential for running server-side applications. To install Node.js:
brew install nodeFor better version management, install Node.js using Volta:
brew install volta
volta install node
Alternatively, you can use nvm for managing Node.js versions. More details can be found here.
Yarn is a package manager for JavaScript. To install it:
volta install yarn@1To convert HTML files to PDFs or images, install wkhtmltopdf:
brew install wkhtmltopdfTo install Frappe Bench:
sudo -H pip3 install frappe-benchOnce installed, initialize the bench and install Frappe:
bench init frappe-bench --frappe-branch version-15 --verboseNavigate to the newly created folder:
cd frappe-bench/
bench start
At this step you can access the frappe erpnext on your browser

Create a new site:
bench new-site mySiteIf you encounter MariaDB-related errors, fix the root login method:
sudo mysql -u root
SELECT user, host, plugin FROM mysql.user WHERE user = 'root';
ALTER USER 'root'@'localhost' IDENTIFIED WITH mysql_native_password BY '123456';
FLUSH PRIVILEGES;To install the latest version of ERPNext:
bench get-app erpnext --branch version-15
bench --site [siteName] install-app [appName]
For example:
bench --site trySite install-app erpnextTo add the site to hosts:
bench --site trySite add-to-hostsNow you can access ERPNext using http://trysite:8000/app/.
Finally, run:
bench startThe default username is Administrator, and the password is the one you set earlier.

Unix Socket Authentication: This method allows the root user to authenticate using the system's user credentials, meaning that you don't need to enter a MariaDB password when logging in as the root user from the terminal. Instead, it uses the operating system's user permissions (e.g., if you are logged in as a system administrator or root on the operating system, you can access MariaDB without needing a password).
For Development/Local Use: If you're setting up MariaDB on your local machine for development, using unix_socket authentication can be convenient. You can safely choose Y.
For Production: If you're securing a production database, it’s usually better to require a password for root login, so you can choose n to keep using password-based authentication.

Understand Frappe's two virtual environments and why using `bench pip install` is crucial for correct Python package management, preventing "ModuleNotFoundError" in Frappe and ERPNext apps.

Learn to build powerful, custom Script Reports in Frappe. This guide covers Python, the PyPika-powered Query Builder, table joins, and interactive filters

Discover how a CLI alias can save you keystrokes and optimise your dev workflow. Get step-by-step instructions for Windows, macOS, and Linux now.