How to Uninstall Ubuntu from WSL A Step-by-Step Guide
Using the Start menu is one of the easiest ways to uninstall Ubuntu from WSL. Follow the steps below:
Search Ubuntu in the Start menu.
Click on Uninstall in the right pane.
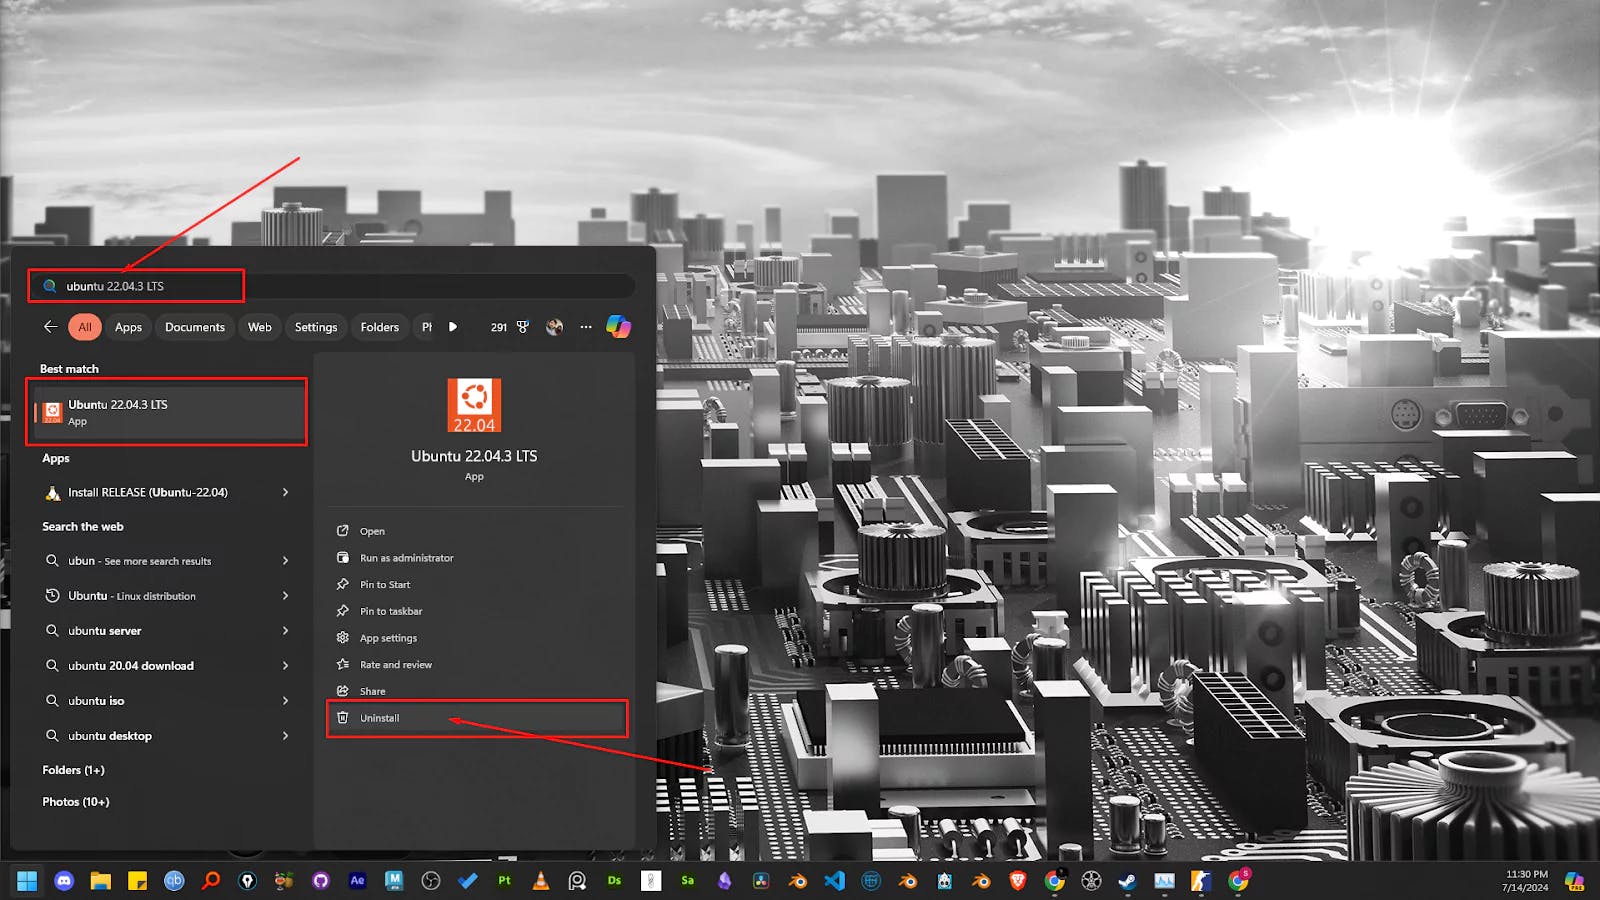
This should uninstall Ubuntu WSL and its related information from the WSL.
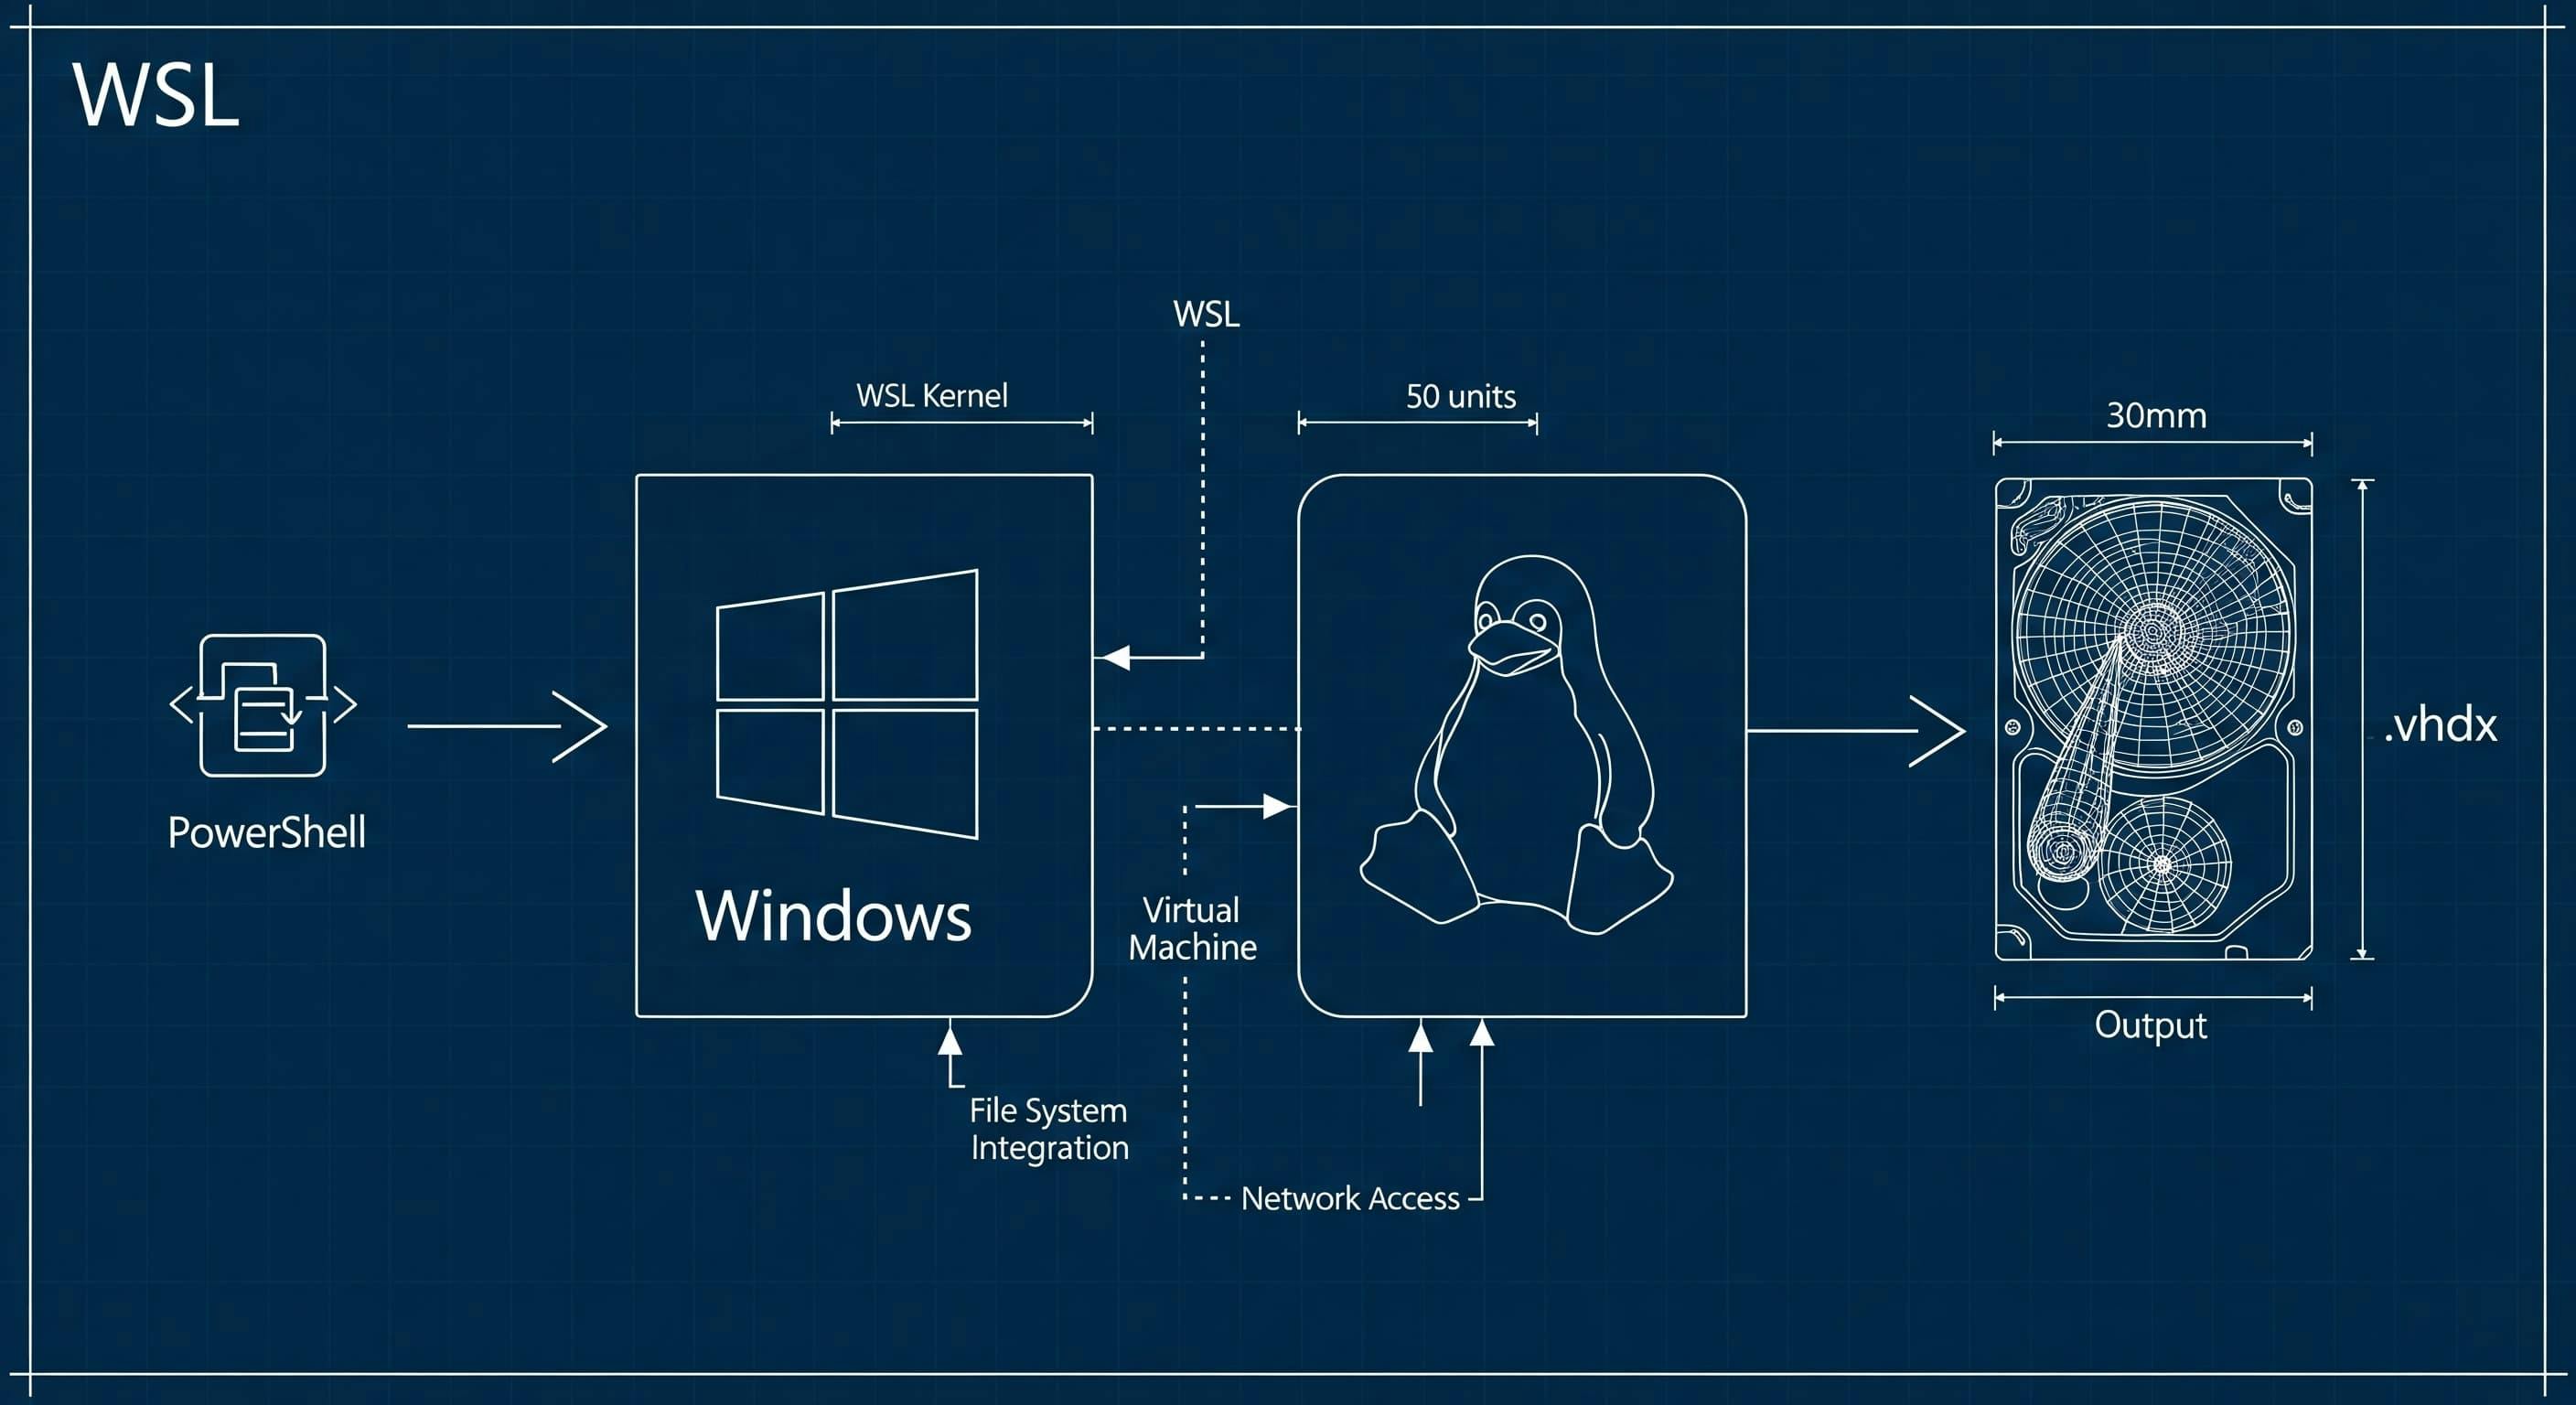
WSL DistributionsOpen terminal and check the list of WSL distributions
wsl -list
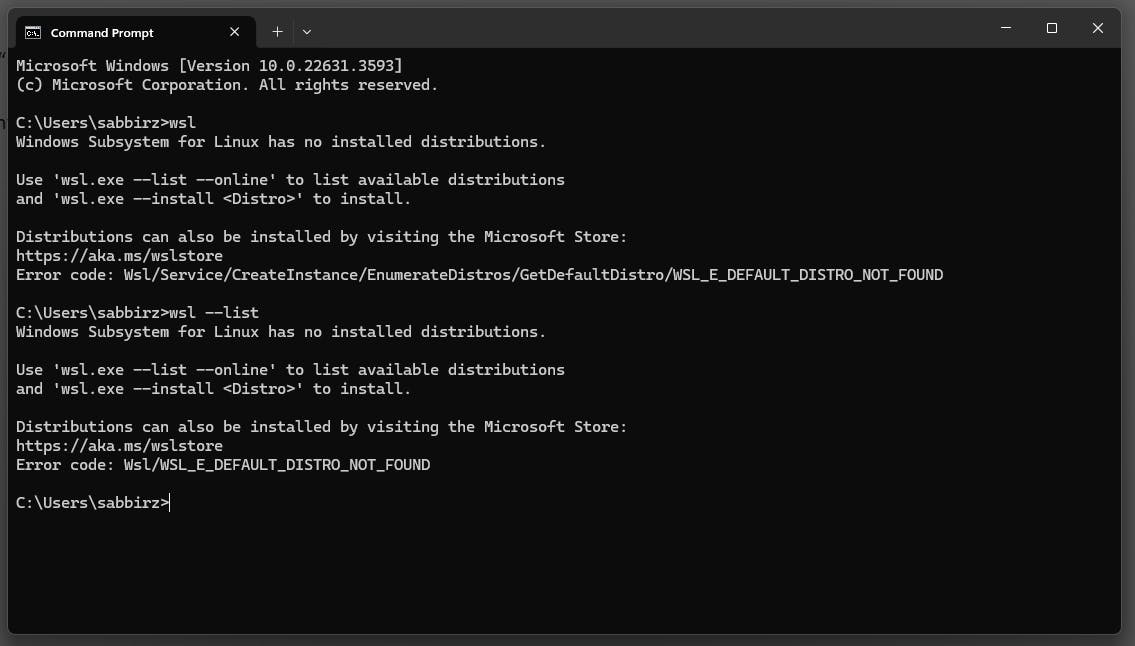
Sometimes the uninstall doesn’t work as expected.
For example, you might have uninstalled WSL Ubuntu-20.04, but it still shows up in the terminal:
C:\Users\sabbirz>wsl -l
Windows Subsystem for Linux Distributions:
Ubuntu-22.04 (Default)
Ubuntu-20.04
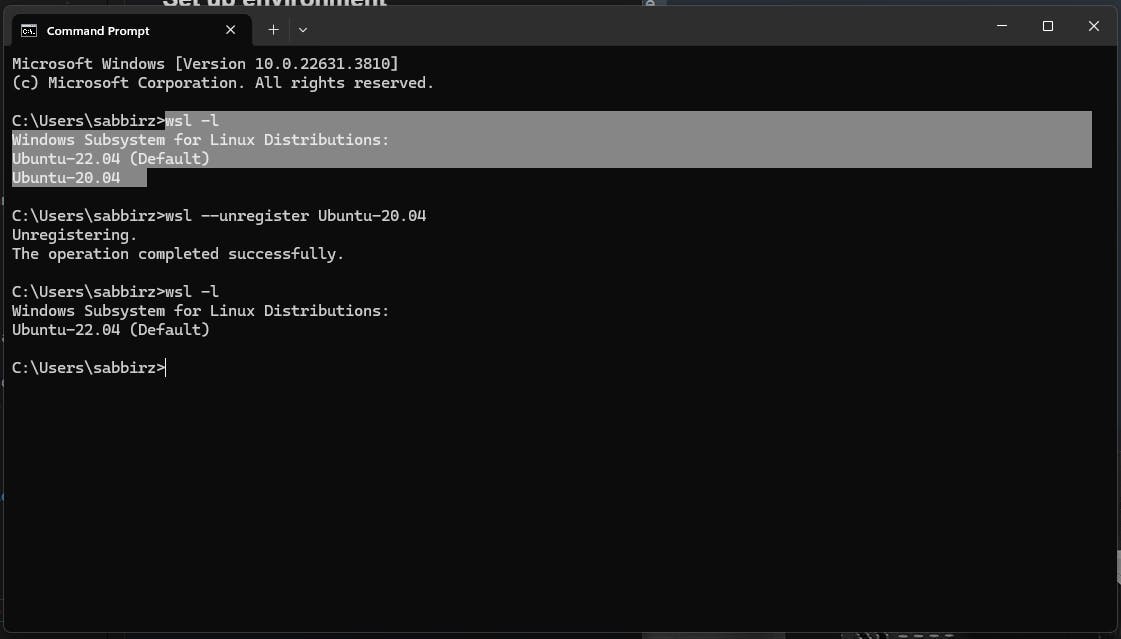
If this happens, try unregistering the distro with the following command
C:\Users\sabbirz>wsl --unregister Ubuntu-20.04
Unregistering.
The operation completed successfully.
Check if the distro is successfully unregistered
C:\Users\sabbirz>wsl -l
Windows Subsystem for Linux Distributions:
Ubuntu-22.04 (Default)
Common Errors and Fixes:
wsl --terminate <DistroName> to forcefully terminate any running instances.Reinstalling WSL:

Just created a new Git branch and see 500+ modified files? Uncover the GitHub Desktop on Windows trap and resolve annoying line ending & permission errors step-by-step.

Unlock advanced features in Apache Superset. Learn to set Feature Flags, customise themes, and apply config changes in your Docker setup
Get the essential commands to quickly find where your WSL distributions are stored and how to import them from a VHDX file