Vue3 Pinia Store Tutorial


When building a Vue application, a store is often necessary for managing and sharing state across different components or pages. In this guide, we'll set up a Pinia store in a separate JavaScript file, located in src > stores > counter.js.
There are four major concepts in Pinia that you need to understand:
First, let's import the defineStore function from Pinia to create our store:
import { defineStore } from "pinia";Next, we export a constant (to use it across multiple files) and use the defineStore function:
export const useCounterStore = defineStore({
  id: "counter",
  // State holds the actual variables
  state: () => ({
    count: 0,
    name: "sab",
    userName: "DummyUserName",
  }),
});
In Pinia, the id option is crucial. It serves as a unique identifier for the store throughout your application, ensuring consistency during hot module reloads and integration with development tools.
Alternatively, you can define the store id as the first argument of the defineStore function:
export const useCounterStore = defineStore("counter", {
  state: () => ({
    count: 0,
    name: "sab",
    userName: "DummyUserName",
  }),
});First, import the store:
<script setup>
// '@' is an alias configured in vite.config.js
import { useCounterStore } from "@/stores/counter";
</script>
Store the output of useCounterStore in a variable:
const storeCounter = useCounterStore();
console.log(storeCounter);
Now, you can use the store's properties within your template:
<h1 class="text-6xl">{{ storeCounter.count }}</h1>Actions are methods that modify the state of the store. Here's how you define them:
import { defineStore } from "pinia";

// Exporting the store as 'useCounterStore'
export const useCounterStore = defineStore({
  id: "counter",
  state: () => ({
    count: 0,
    name: "sab",
    userName: "DummyUserName",
  }),
  actions: {
    increaseCount() {
      this.count += 5;
    },
    decreaseCount() {
      this.count -= 5;
    },
  },
});
We've defined two methods: one to increase the count by 5 and another to decrease it by 5.
You can call these methods within your component:
<script setup>
import { useCounterStore } from "@/stores/counter";

const storeCounter = useCounterStore();

const increaseCount = () => {
  storeCounter.increaseCount();
};
</script>
Or directly from the template:
<template>
  <div class="gap-5 flex justify-center">
    <button @click="storeCounter.increaseCount" class="btn btn-primary">
      +
    </button>
  </div>
</template>In Pinia, getters are reactive properties that compute derived states based on other state variables. They are similar to computed properties in Vue. Getters automatically update whenever the underlying state changes.
import { defineStore } from "pinia";

export const useCounterStore = defineStore({
  id: "counter",
  state: () => ({
    count: 0,
    name: "sab",
    userName: "DummyUserName",
  }),
  actions: {
    increaseCount() {
      this.count += 2.6;
    },
    decreaseCount() {
      this.count -= 2.6;
    },
  },
  getters: {
    oddOrEven: (state) => {
      return state.count % 2 === 0 ? "Even" : "Odd";
    },
  },
});
The oddOrEven getter will recompute every time the count value changes. You can access this getter in your template:
<h1 class="text-6xl">
  {{ Math.ceil(storeCounter.count) }} ({{ storeCounter.oddOrEven }})
</h1>
Two-way binding is simple in Vue3. Here’s an example:
<div class="text-center">
  <h1>Two Way Data Binding</h1>
  <input
    class="input input-primary focus:outline-none"
    type="number"
    v-model="storeCounter.count"
  />
</div>
Just import the store, assign it to a variable, and use v-model with an input field:
<script setup>
  import {useCounterStore} from "@/stores/counter"; const storeCounter =
  useCounterStore();
</script>
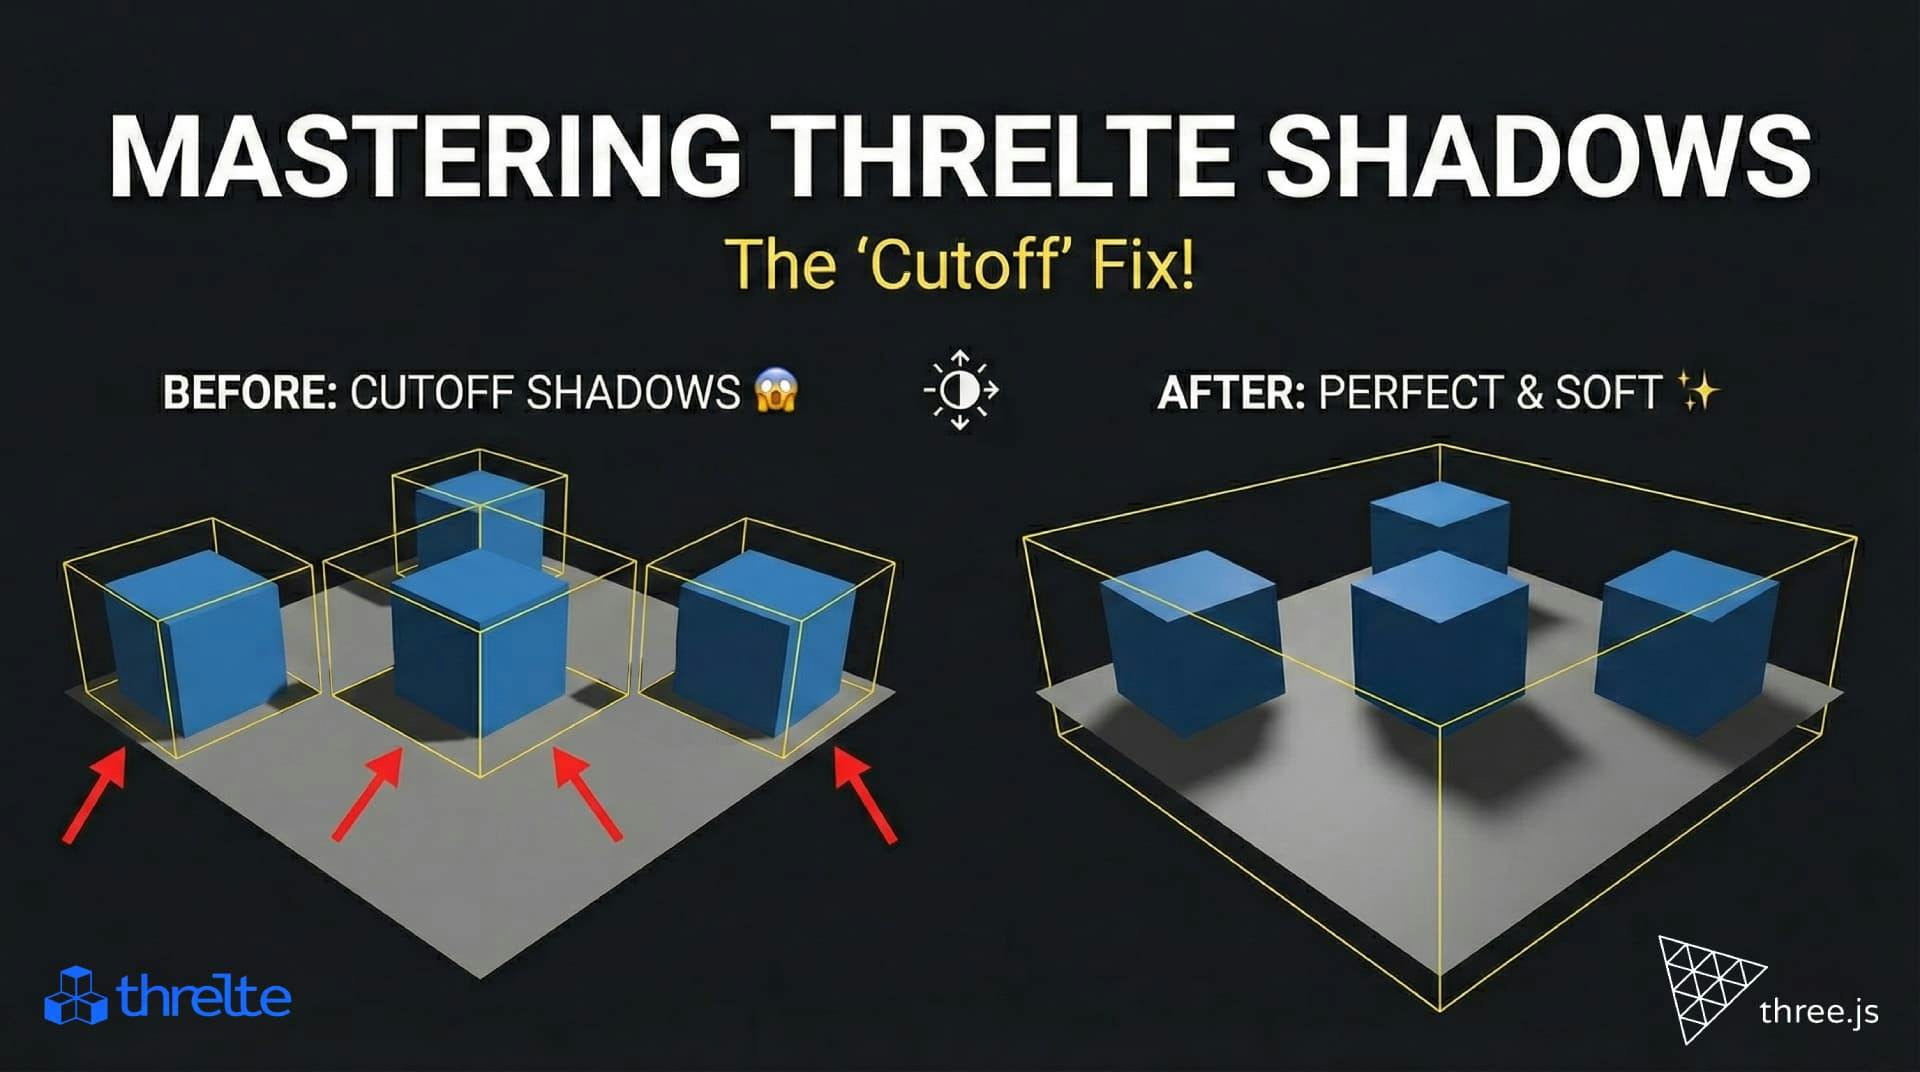
Shadows disappearing in your Threlte or Three.js scene? It’s a frustum issue. Learn how to visualize the shadow box and fix clipping instantly with this guide.

Learn how to implement robust search and a complete blog system in your custom Shopify theme using Liquid. The essential Part 2 guide

Learn the key differences between ref and reactive in Vue 3. This guide covers primitives, objects, and common pitfalls to help you code better.