Automatic QR Code Generation in Frappe for Events

Imagine this: You’re organizing a massive open-air football event. ⚽ Thousands of excited fans are signing up. You need a frictionless way to register them and, crucially, a quick way to verify their entry at the gates.
Manual lists? Ancient history. 📜 Dedicated app? Too expensive. 💸 The Solution? Automatically generated QR codes for every registrant, built right into your Frappe Framework backend!
In this guide, we’ll build a seamless registration flow where:
Let's dive in and turn your Frappe instance into an event management powerhouse! 💪
We have three clear goals for this sprint:
First, we need a place to store our player data. In Frappe, this means creating a DocType.
Football Registration.Name (Data)Phone (Data or Phone)Area (Data)✨ Pro Tip: For a professional touch, let's automate the ID generation.
Expression.format:R-FE-{name1}-{###}.
(This creates IDs like R-FE-John-001, making them easy to track!)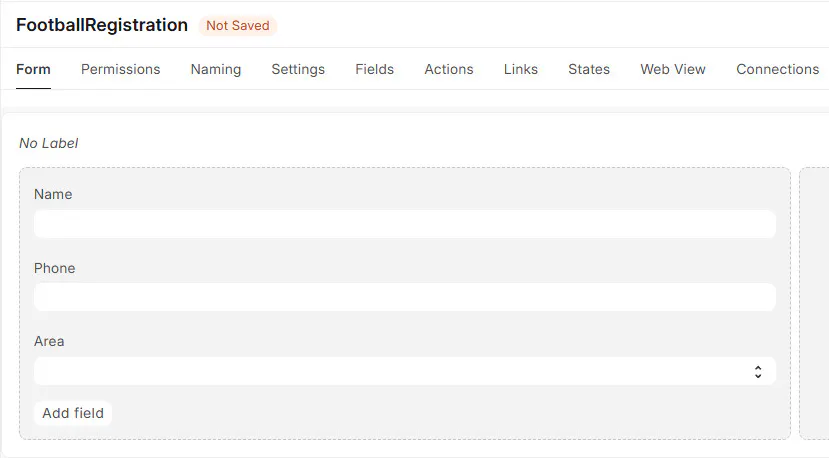
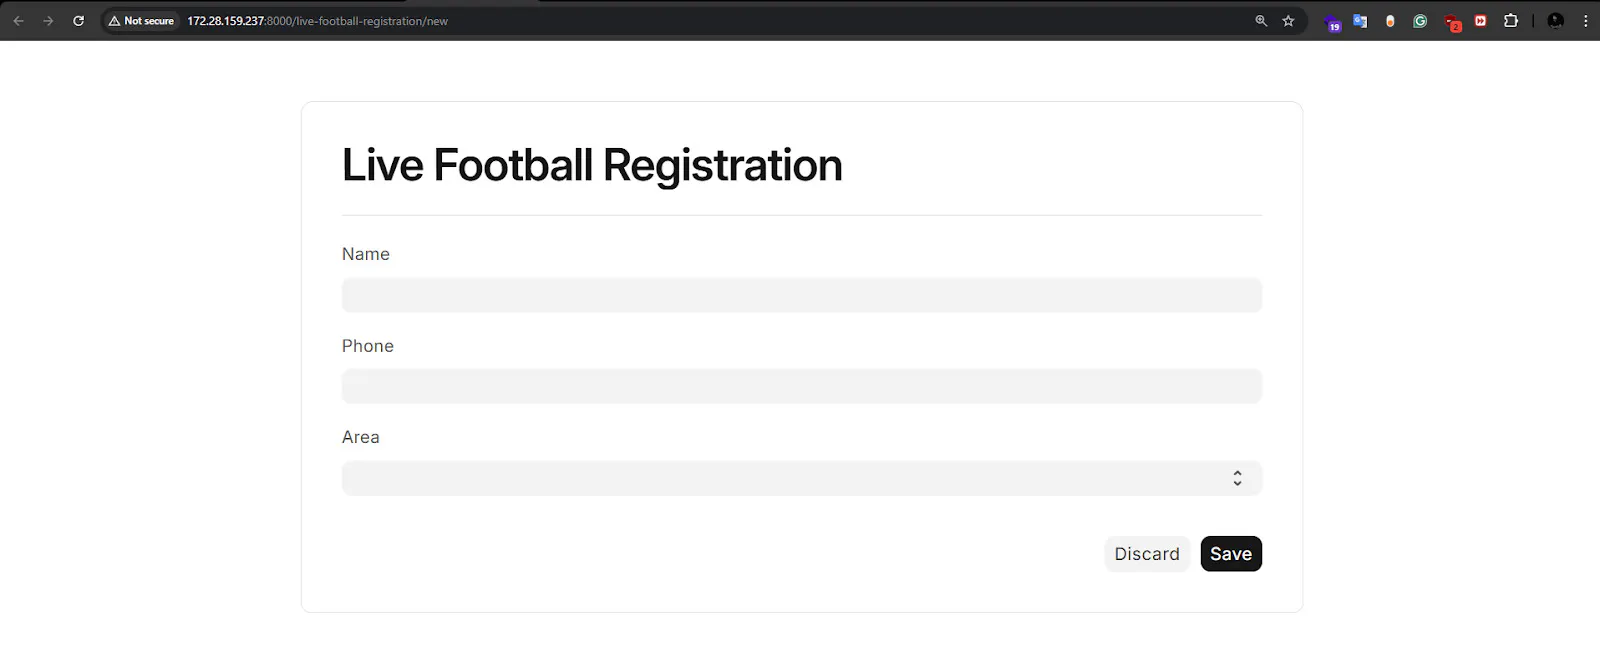
Now, let's let the world in! We need a public-facing form.
Event Registration (or whatever catchy name you like!).Football Registration.register (This serves your form at yoursite.com/register).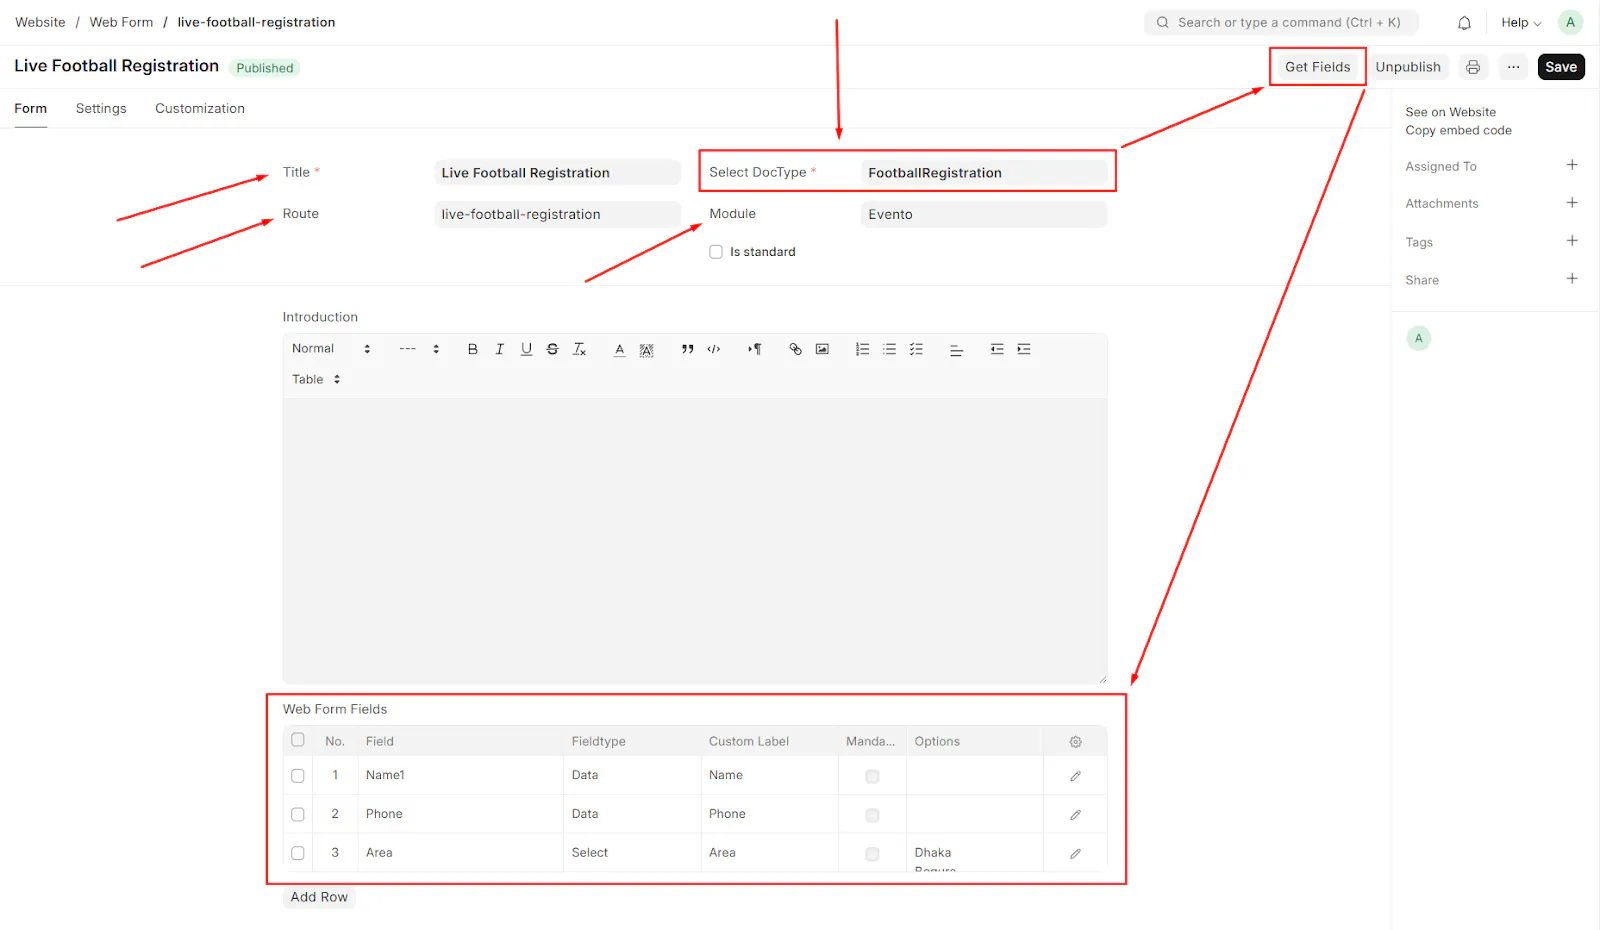
You should see your tailored form live on the web.
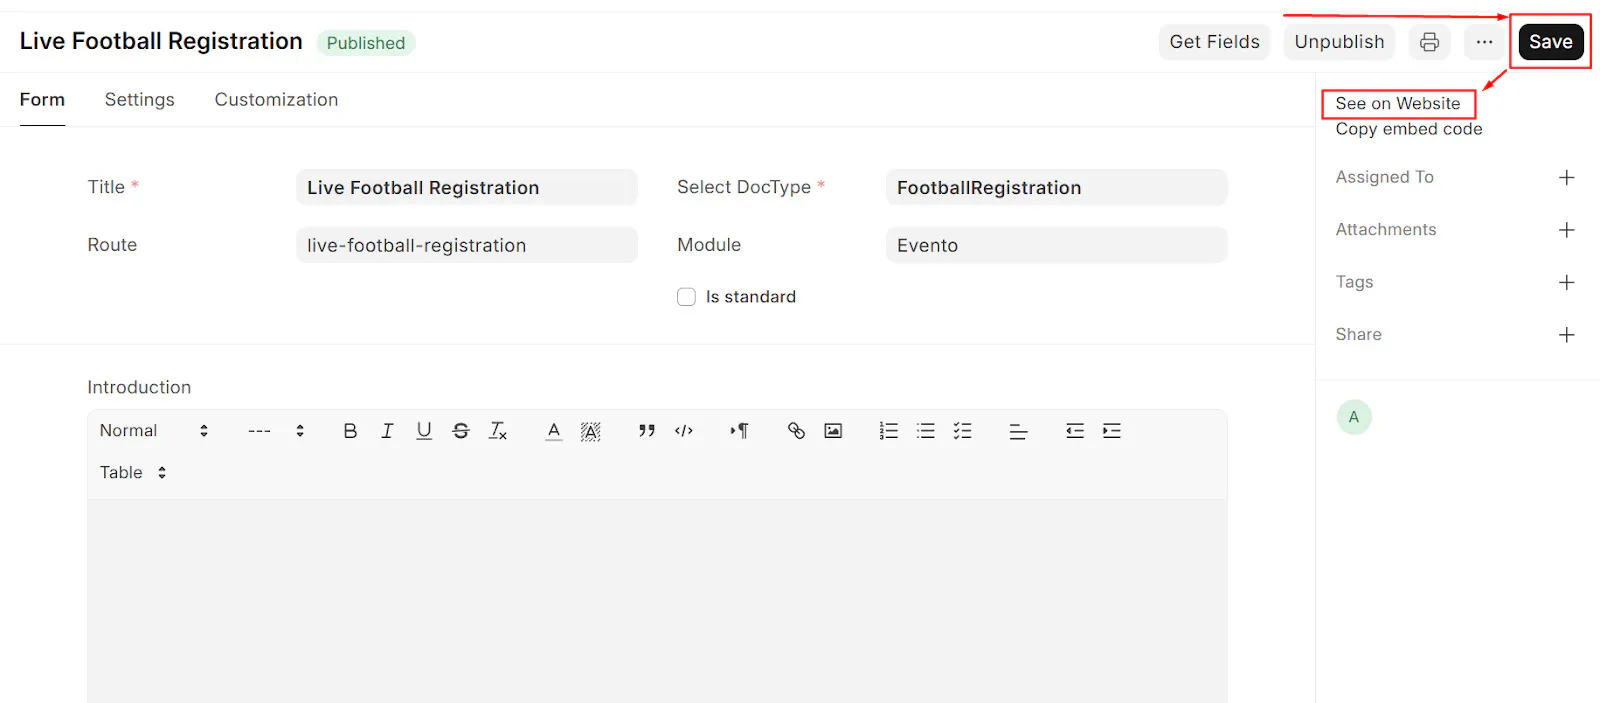
feel free to tweak the specialized button labels and success messages in the Web Form settings to match your event's branding.
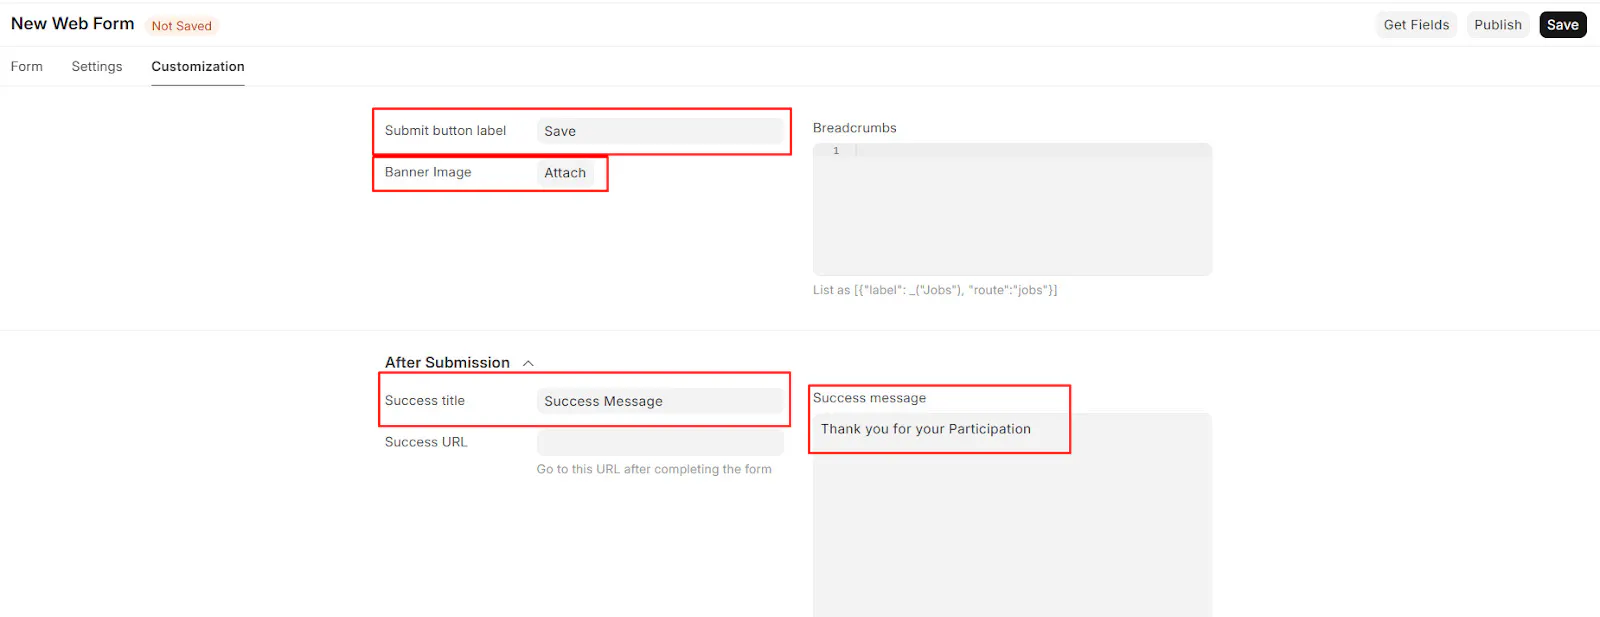
Fill out the form with some dummy data.
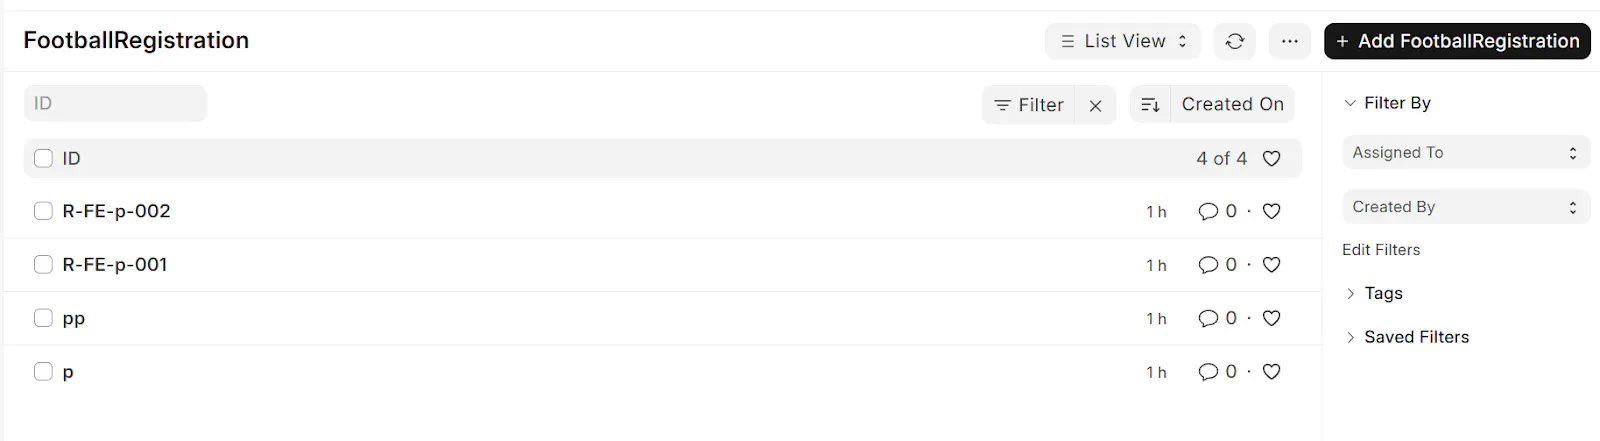
Head back to your Football Registration List in the backend (Desk). You should see your new entry!
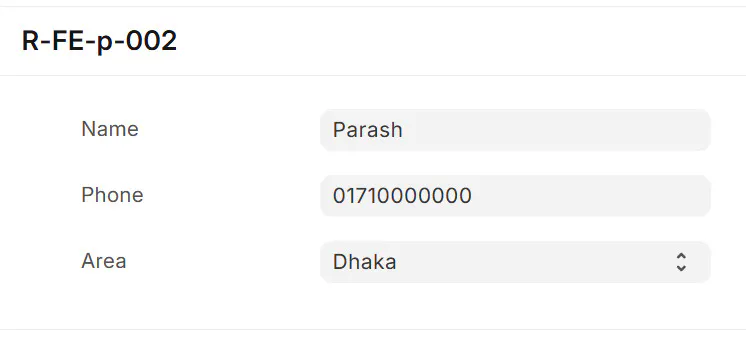
Open it up to double-check the details.
Now for the magic trick! 🎩🐇 use Python to create that QR code automatically.
We need a place to store the generated QR image and control the web view. Go back to your Football Registration DocType and add these fields:
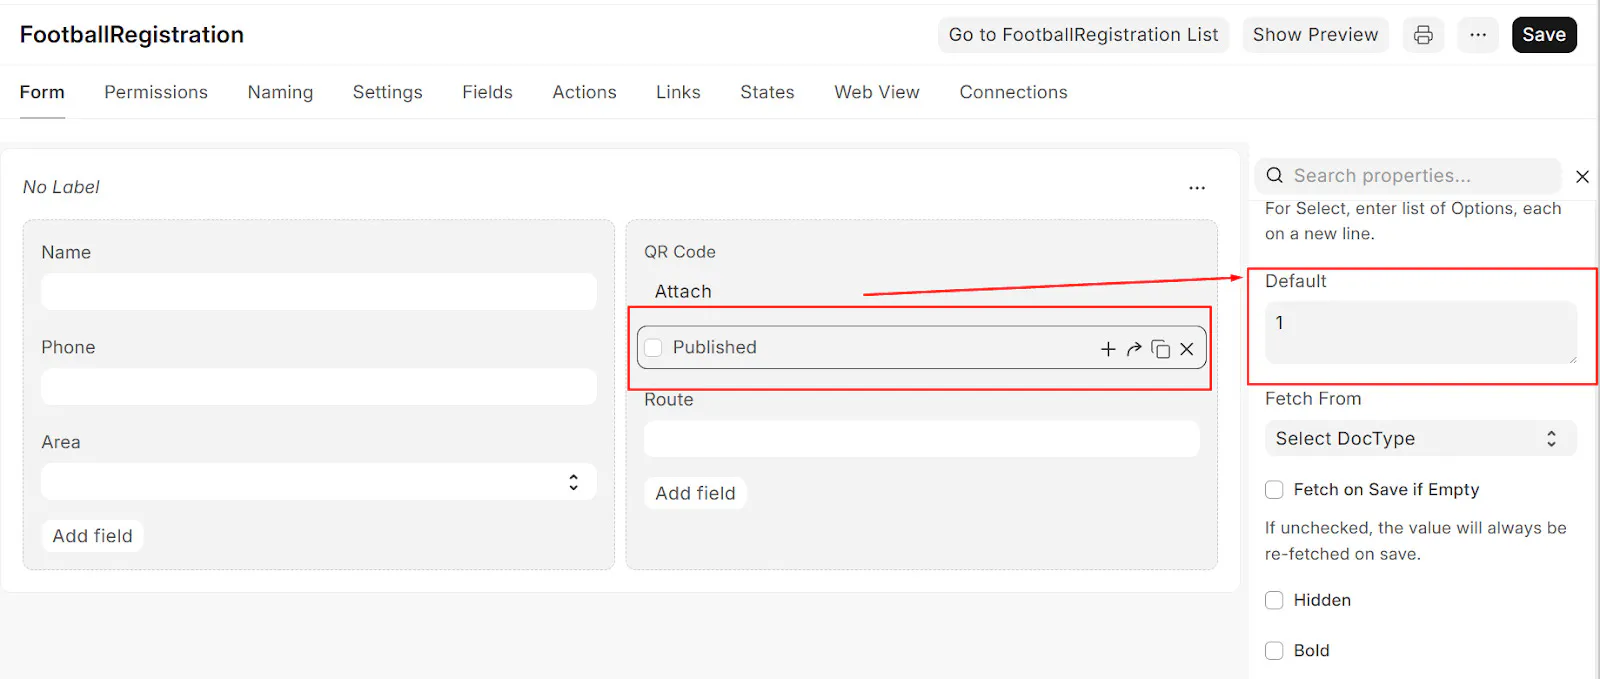
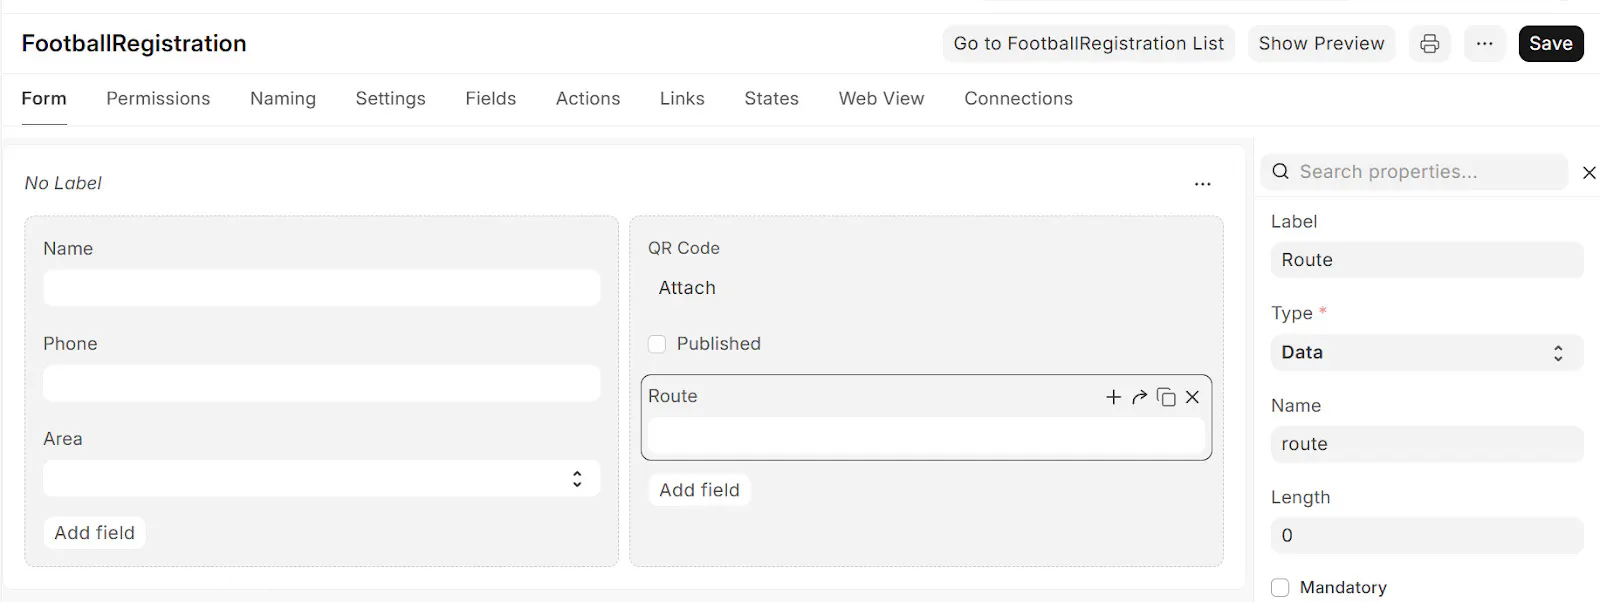
Attach Image (Make it Hidden - we don't want users uploading their own!).Check (Make it Hidden & Default: 1). This ensures the entry is visible publicly.Data. This will hold the unique URL for the user's pass.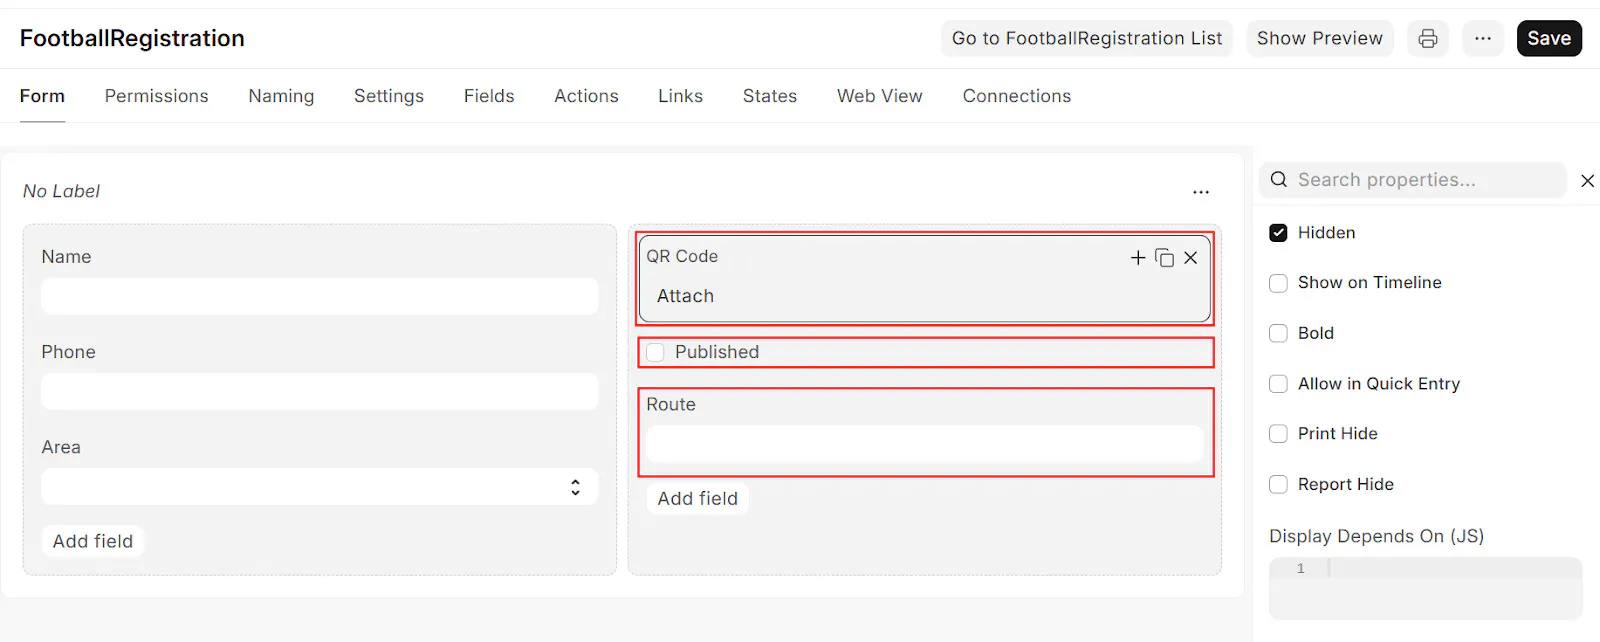
Make sure the checkbox has a default value!
Ensure the Route field is set up to store the URL.
We want users to see their entry after registering.
Route field.Published field.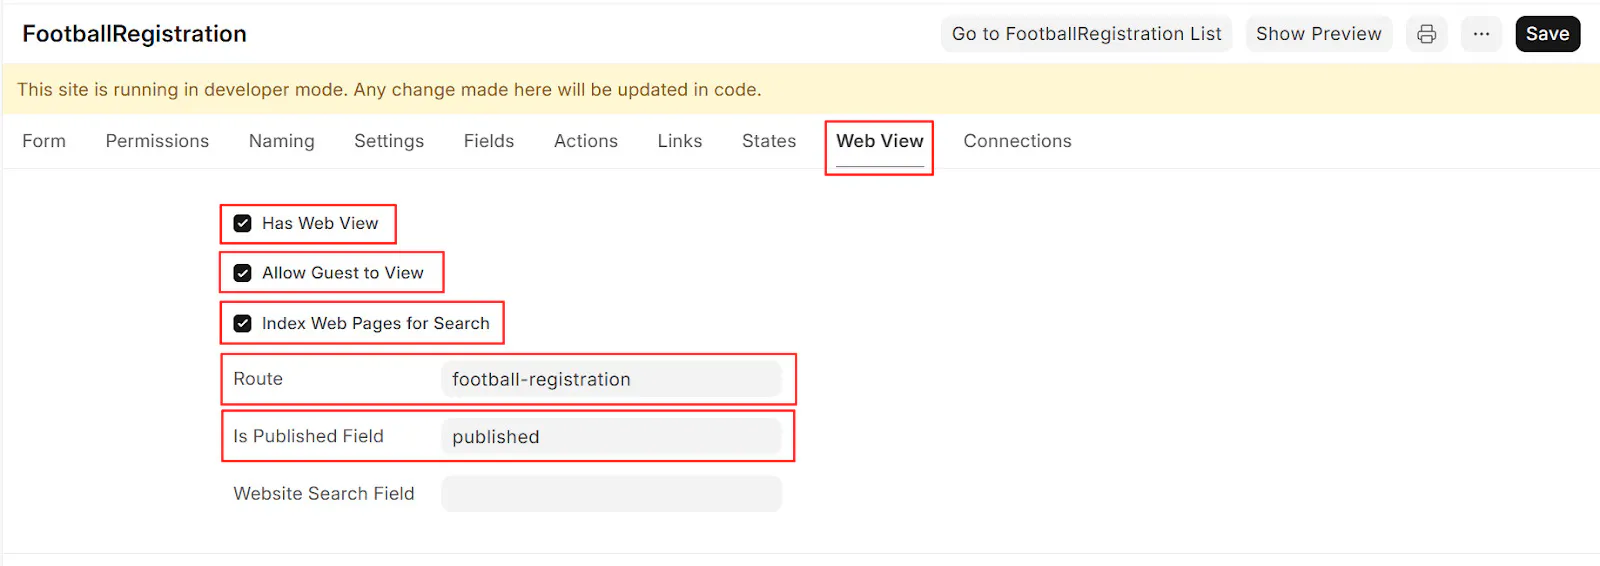
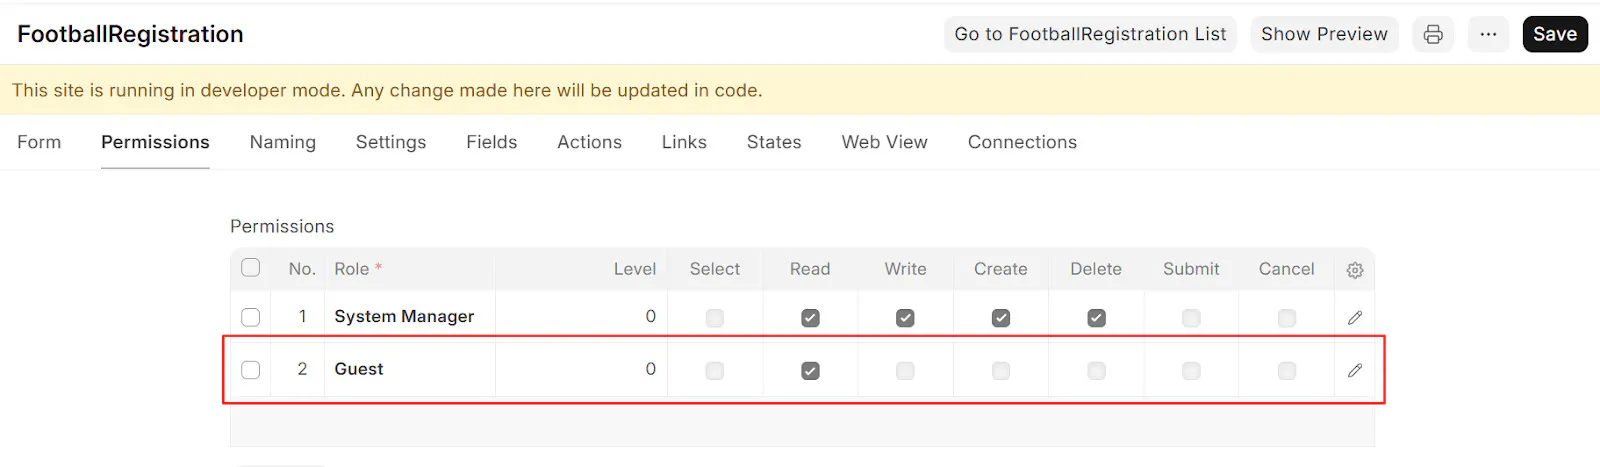
Don't forget Permissions! ensure the Guest role has Read access.
We'll use the robust qrcode Python library.
Open your terminal inside your bench directory and check your packages:
bench pip list
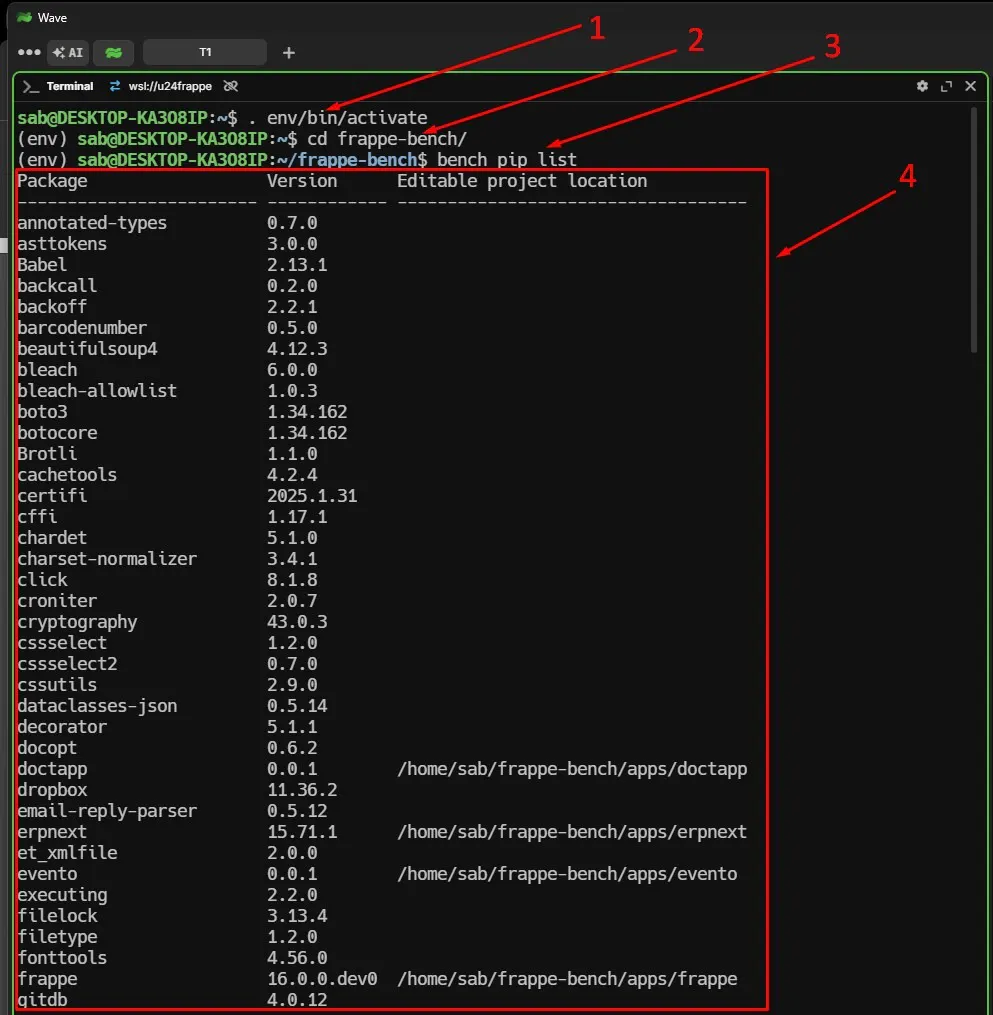
Install the package:
bench pip install qrcode
Verify it's there! ✅
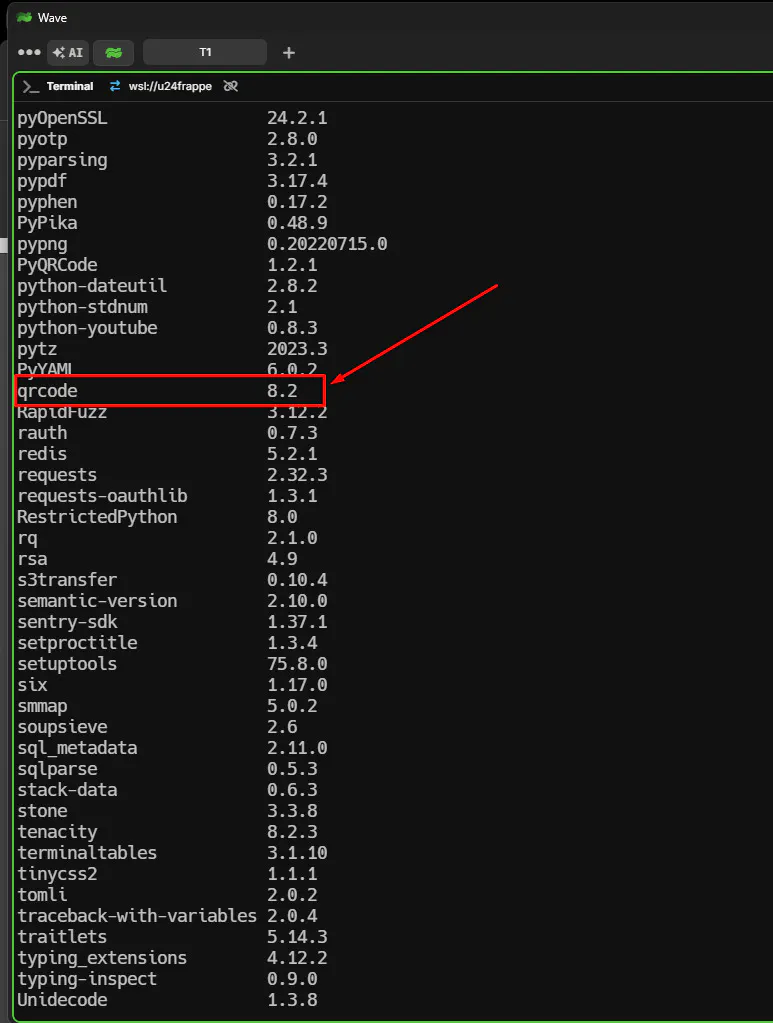
This is where the automation happens. Open your DocType's controller file (e.g., football_registration.py) in VS Code.
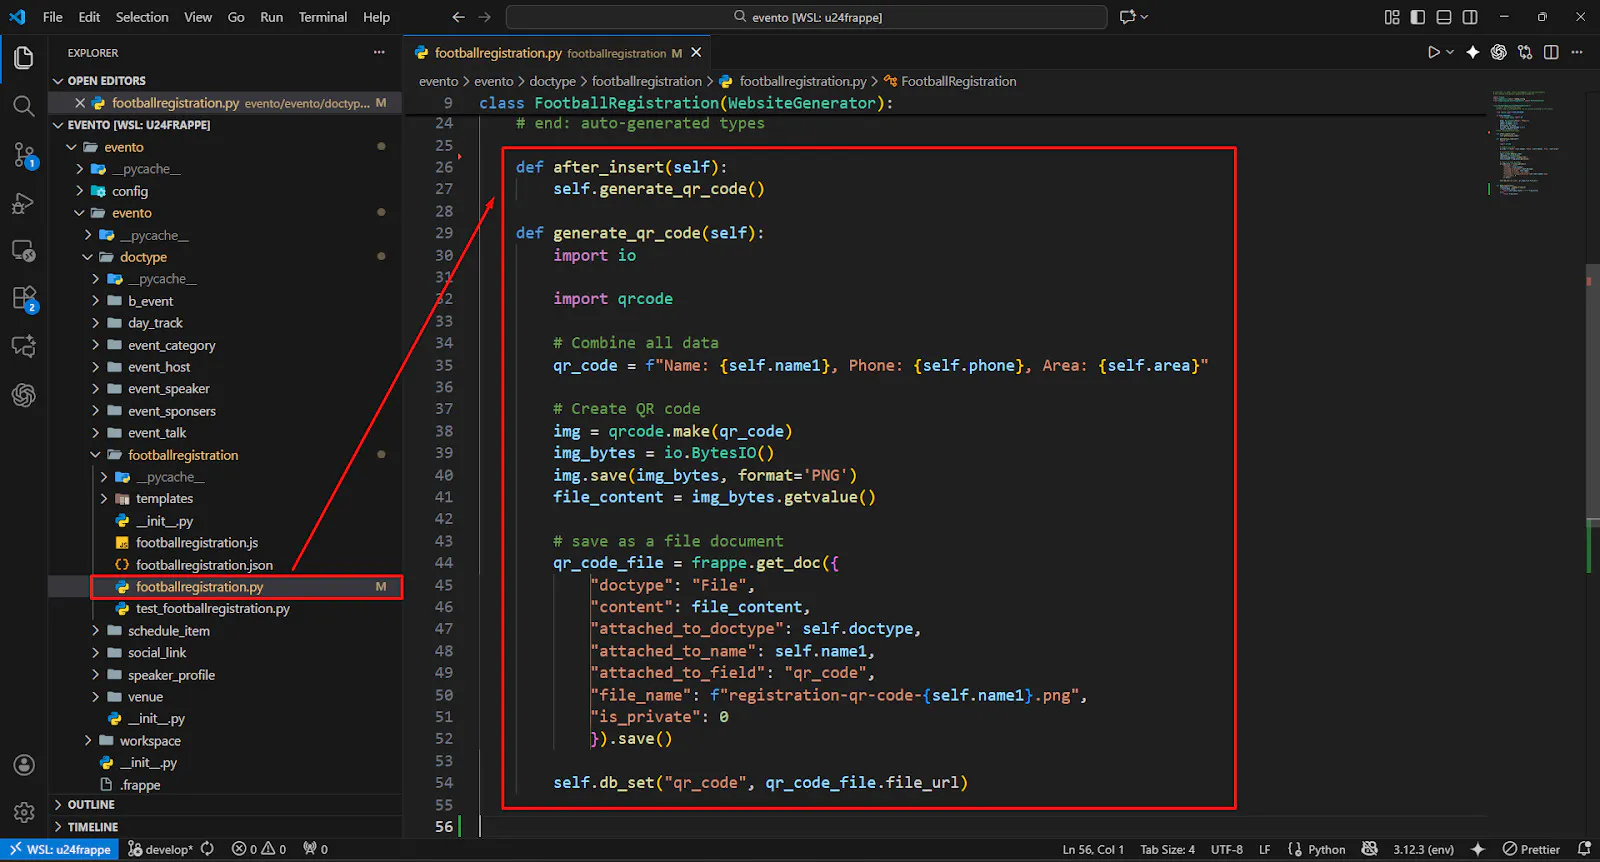
Add this logic to generate and attach the QR code whenever a new entry is created:
import frappe
from frappe.model.document import Document
import io
import qrcode

class FootballRegistration(Document):
    def after_insert(self):
        # Trigger generation after the document is inserted into DB
        self.generate_qr_code()

    def generate_qr_code(self):
        # 1. stringify the data you want to encode
        # You can add a checksum or signature here for security!
        qr_data = f"Name: {self.name1}, Phone: {self.phone}, Area: {self.area}"

        # 2. Create the QR code image
        img = qrcode.make(qr_data)
        img_bytes = io.BytesIO()
        img.save(img_bytes, format='PNG')
        file_content = img_bytes.getvalue()

        # 3. Save as a File document in Frappe
        # This attaches the file to this specific document
        qr_code_file = frappe.get_doc({
            "doctype": "File",
            "content": file_content,
            "attached_to_doctype": self.doctype,
            "attached_to_name": self.name, # Use self.name (the ID) not name1
            "attached_to_field": "qr_code",
            "file_name": f"registration-qr-code-{self.name}.png",
            "is_private": 0 # Make it public so it can be seen on the web!
        }).save()

        # 4. Link the file URL back to our field
        self.db_set("qr_code", qr_code_file.file_url)
What's happening here?
after_insert: We wait until the record is saved to ensure we have a valid ID.qrcode.make: Converts our text string into a scannable image.frappe.get_doc("File"): This is the "Frappe way" to handle file uploads programmatically. using specific attached_to_... fields links it perfectly to our record.self.db_set: We update the field directly in the database without re-triggering the whole save process loop.Now, when a user submits the form:
If you visit the Route generated for that user (e.g. /football-registration/R-FE-John-001), the standard Web View should now display their data along with the generated QR code! 🎉
You've just built an automated check-in system with zero manual overhead. That is the power of the Frappe Framework.

A complete, practical guide to deploying Frappe Framework in production using frappe_docker, Nginx as a reverse proxy, and Let's Encrypt SSL — no bench start required.

How to paginate large `/api/resource/` calls, configure Frappe's rate limiter, and build consistent error handling on both server and client for production-ready Frappe APIs.

Learn how to add Stripe and Razorpay subscription billing to a custom Frappe app — whitelisted APIs, webhook signature verification, and scheduler-based renewals.