How to Set Git Username & Email Config (Global & Local)
If you just want the quick fix — here it is:
# Check config
git config --list
# Check your global Git config
git config --global user.name
git config --global user.email
# Set or update them
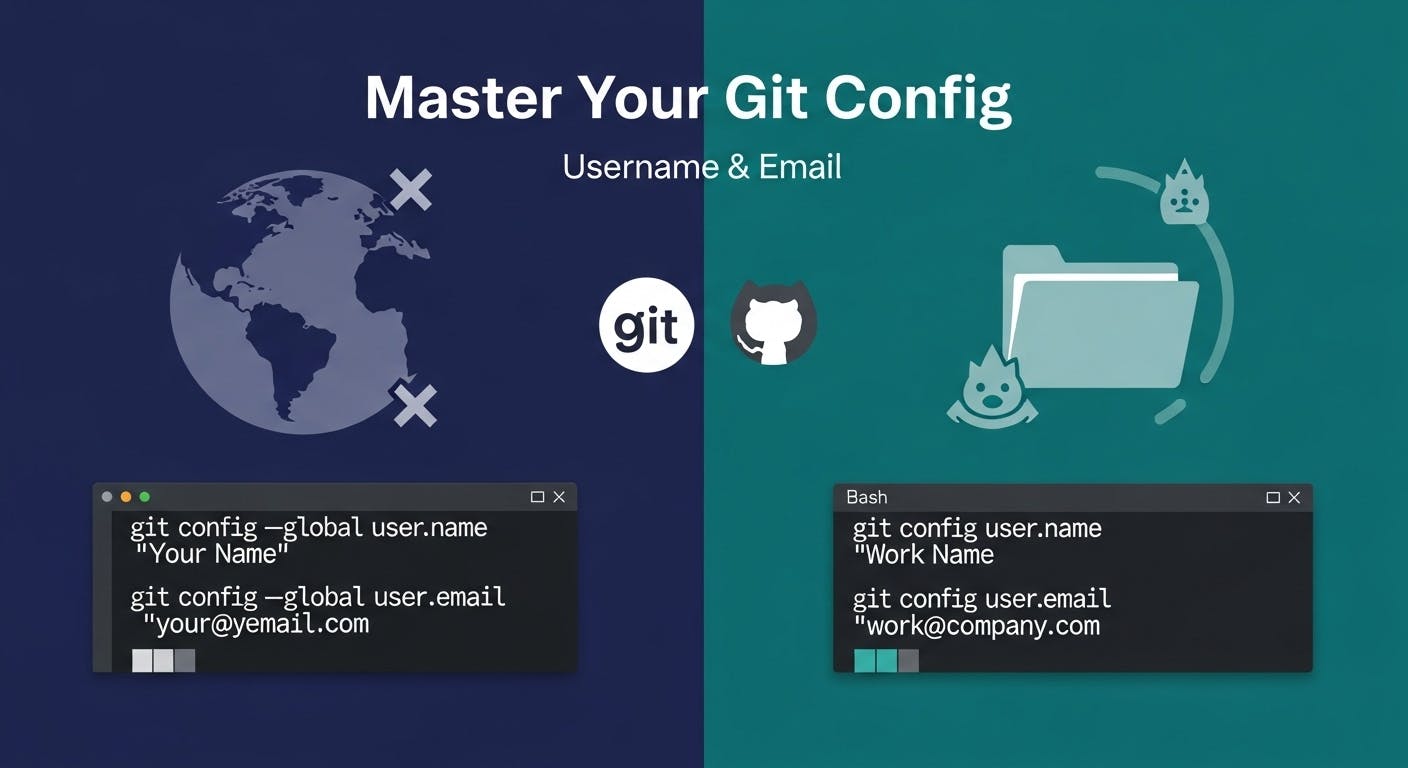
git config --global user.name "Your Name"
git config --global user.email "[email protected]"
Done ✅ — you’ve now set your Git identity globally for all projects. Now, let’s break it down properly for those who like to understand what’s really happening under the hood.
When you commit to a Git repository, Git records who made that change. It does this using two simple pieces of info:
Every commit you make is stamped with this info — it’s your digital signature inside Git.
You can check your Git configuration in three scopes:
git config --global user.name
git config --global user.email
This is stored in:
~/.gitconfig
If you’re inside a project folder:
git config user.name
git config user.email
This one is stored inside your project’s .git/config.
To see all your configs (and where they come from):
git config --show-origin --list
Example output:
file:/home/sab/.gitconfig   user.name=Sabir Hasan
file:/home/sab/.gitconfig   [email protected]
If you haven’t set one yet (or want to change), use:
git config --global user.name "Your Name"
git config --global user.email "[email protected]"
git config user.name "Your Work Name"
git config user.email "[email protected]"
This is great when you use different GitHub accounts — e.g., one for work, one for personal projects.
To double-check:
git config --list
Example:
user.name=Enam Hasan
[email protected]
core.editor=vim
color.ui=auto
If you want to hide your real email from public commits, GitHub gives you a no-reply address:
[email protected]
You can find it in your GitHub settings under Settings → Emails → “Keep my email addresses private”
Then just use it like this:
git config --global user.email "[email protected]"
This keeps your commits verified while keeping your real email hidden.
If you switch between personal and work GitHub accounts:
Global config → Personal identity
git config --global user.name "Sabir Hasan"
git config --global user.email "[email protected]"
Local config → Work identity
git config user.name "Sabir (Work)"
git config user.email "[email protected]"
Git will automatically use the local one when you’re inside your work repo.
| Task | Command | Scope |
|---|---|---|
| Check username & email | git config user.name / git config user.email | Local |
| Check global config | git config --global user.name / git config --global user.email | Global |
| Set username & email | git config --global user.name "Your Name" | Global |
| Hide email using GitHub no-reply | git config --global user.email "[email protected]" | Global |
Knowing how to check and set your Git config properly saves you from those “mystery commits” that show the wrong name or email. It’s one of those small hygiene habits that make your GitHub history clean, traceable, and professional.
So next time you open a new repo and push your first commit — make sure it’s signed with you.

Learn what Ollama is, how it differs from Llama, how local AI models are packaged, and where Ollama fits in a developer workflow.

Getting the "Invalid wkhtmltopdf version" error in Frappe or ERPNext? Learn how to fix broken PDFs, install the patched Qt version, and switch to headless Chrome for pixel-perfect modern CSS and custom font support.

Learn how to quickly expose a localhost server to your local network on Windows using netsh portproxy. A step-by-step guide to accessing local apps from any device.