How to Secure Ollama Before Exposing It to the Internet

Ollama is great for local AI, but exposing it carelessly can turn your machine into an open AI endpoint. This guide shows the safer way to share Ollama with your own devices, teammates, or private apps.
Around 15-25 minutes.
OLLAMA_HOST and OLLAMA_ORIGINS carefully/api/version and /api/tags
By default, Ollama runs locally on your machine. That is the safest default because only your computer can access it.
The common local endpoint is:
http://localhost:11434
The problem starts when you bind Ollama to every network interface:
OLLAMA_HOST=0.0.0.0:11434 ollama serve
That can be useful on a trusted LAN, but it can also expose your model server to devices you did not intend to trust. If the port is reachable from the public internet, anyone who finds it may be able to send prompts, use your CPU/GPU, query local models, or build abusive traffic through your server.
Ollama is a model runtime. It is not an API gateway. Treat it like a backend service that needs protection.
Use this order of preference:
localhost for personal use:11434 directly to the public internetThe safest setup is usually:
User -> VPN / Auth Proxy -> Ollama
Not:
Internet -> Ollama

Start Ollama normally:
ollama serve
Test from the same machine:
curl http://localhost:11434/api/version
List models:
curl http://localhost:11434/api/tags
If these work locally, your base Ollama setup is fine.
If you want another device on your LAN to access Ollama, bind Ollama to your network:
OLLAMA_HOST=0.0.0.0:11434 ollama serve
On Windows PowerShell:
$env:OLLAMA_HOST = "0.0.0.0:11434"
ollama serve
Then test from another machine:
curl http://YOUR_HOST_IP:11434/api/version
If it works, immediately think about who else can reach that IP and port.
Do not depend on Ollama alone for access control. Add a firewall rule so only trusted IP addresses can connect.
On a home LAN, that may mean only your laptop or desktop. On a team server, that may mean only your VPN subnet.
Example rule logic:
Allow: 100.64.0.0/10    # Tailscale network
Allow: 192.168.1.0/24   # trusted LAN
Deny: everything else
Exact commands depend on your OS and router, but the principle is the same: block public access first, then allow only trusted networks.

Ollama does not behave like a full public SaaS API with built-in user management. If you need multiple users, place something in front of it.
Common options:
For a beginner, Tailscale is often the easiest safe option. You install it on both machines, keep Ollama private, and access the server through the private Tailscale IP.
If you need browser-based or team access, use a reverse proxy:
User -> HTTPS -> Reverse Proxy -> Ollama localhost
Keep Ollama bound locally:
OLLAMA_HOST=127.0.0.1:11434 ollama serve
Then let the proxy handle HTTPS, auth, rate limits, and logs.
A simple Nginx-style shape:
server {
  listen 443 ssl;
  server_name ai.example.com;

  auth_basic "Private Ollama";
  auth_basic_user_file /etc/nginx/.htpasswd;

  location / {
    proxy_pass http://127.0.0.1:11434;
  }
}
This is not a complete production config, but it shows the idea: Ollama stays local, the proxy faces users.

If a browser app cannot call Ollama, you may need OLLAMA_ORIGINS.
Example:
OLLAMA_ORIGINS=http://localhost:3000 ollama serve
Avoid broad origins unless you understand the risk. Do not casually allow every website to call your local model server.
From the client machine:
curl http://YOUR_HOST_IP:11434/api/version
Then:
curl http://YOUR_HOST_IP:11434/api/tags
If you placed Ollama behind a proxy:
curl https://ai.example.com/api/version
If the API is public, unauthenticated, and reachable from a phone on mobile data, stop and fix that before using it seriously.

For personal use:
For remote personal use:
For a small team:
11434:11434/api/version and /api/tags
Learn how RAM, VRAM, GPU, CPU, model size, and context length affect Ollama performance before buying local AI hardware.

A hands-on Ollama Modelfile tutorial for developers building local AI assistants, support bots, code reviewers, and private app workflows.
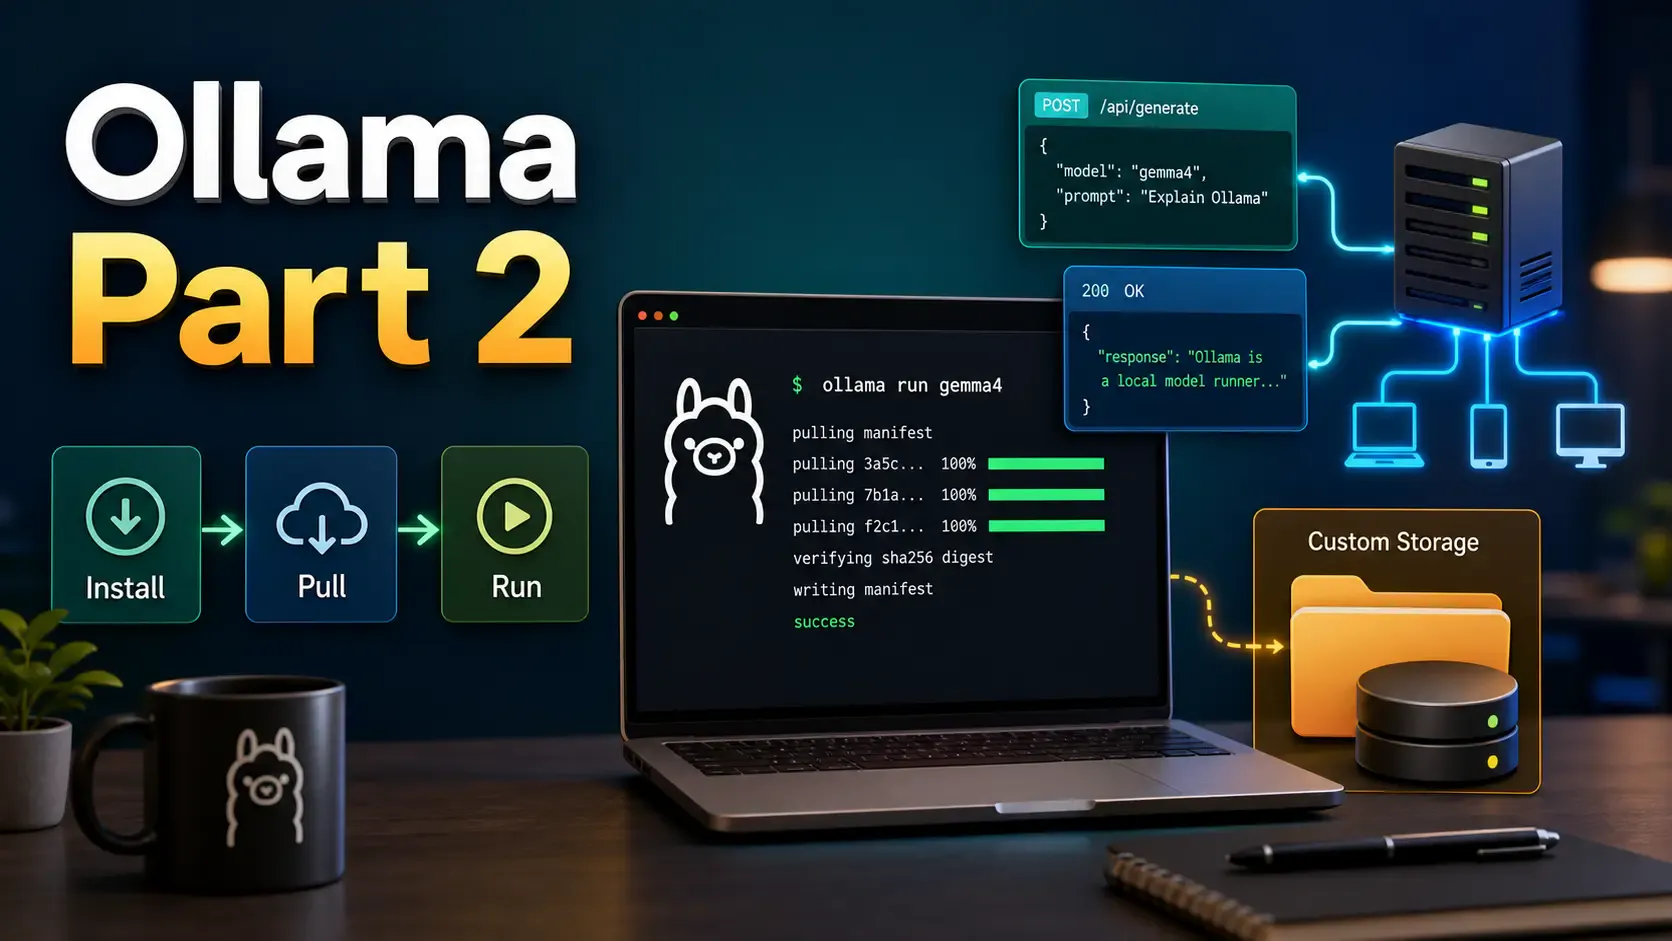
Learn how to install Ollama, run local models from CLI and UI, call the Ollama API, move model storage, and expose Ollama safely on a network.