DaVinci Resolve Simple Text Animation Tutorial
About 10-15 minutes.
By the end of this tutorial, you will know how to:
Hey creators! 👋 If you're looking to level up your video editing game, text animation is one of the easiest ways to bring life to your projects. Instead of settling for boring, static titles, we're going to dive into the powerful Fusion page inside DaVinci Resolve by Blackmagic Design to create an engaging, character-by-character text animation using the incredible Follower Modifier.
Ready to craft some eye-catching typography? Let’s jump right in! 🚀
First things first! Make sure you are on the Fusion page. Bring in a Text+ tool from your toolbar.
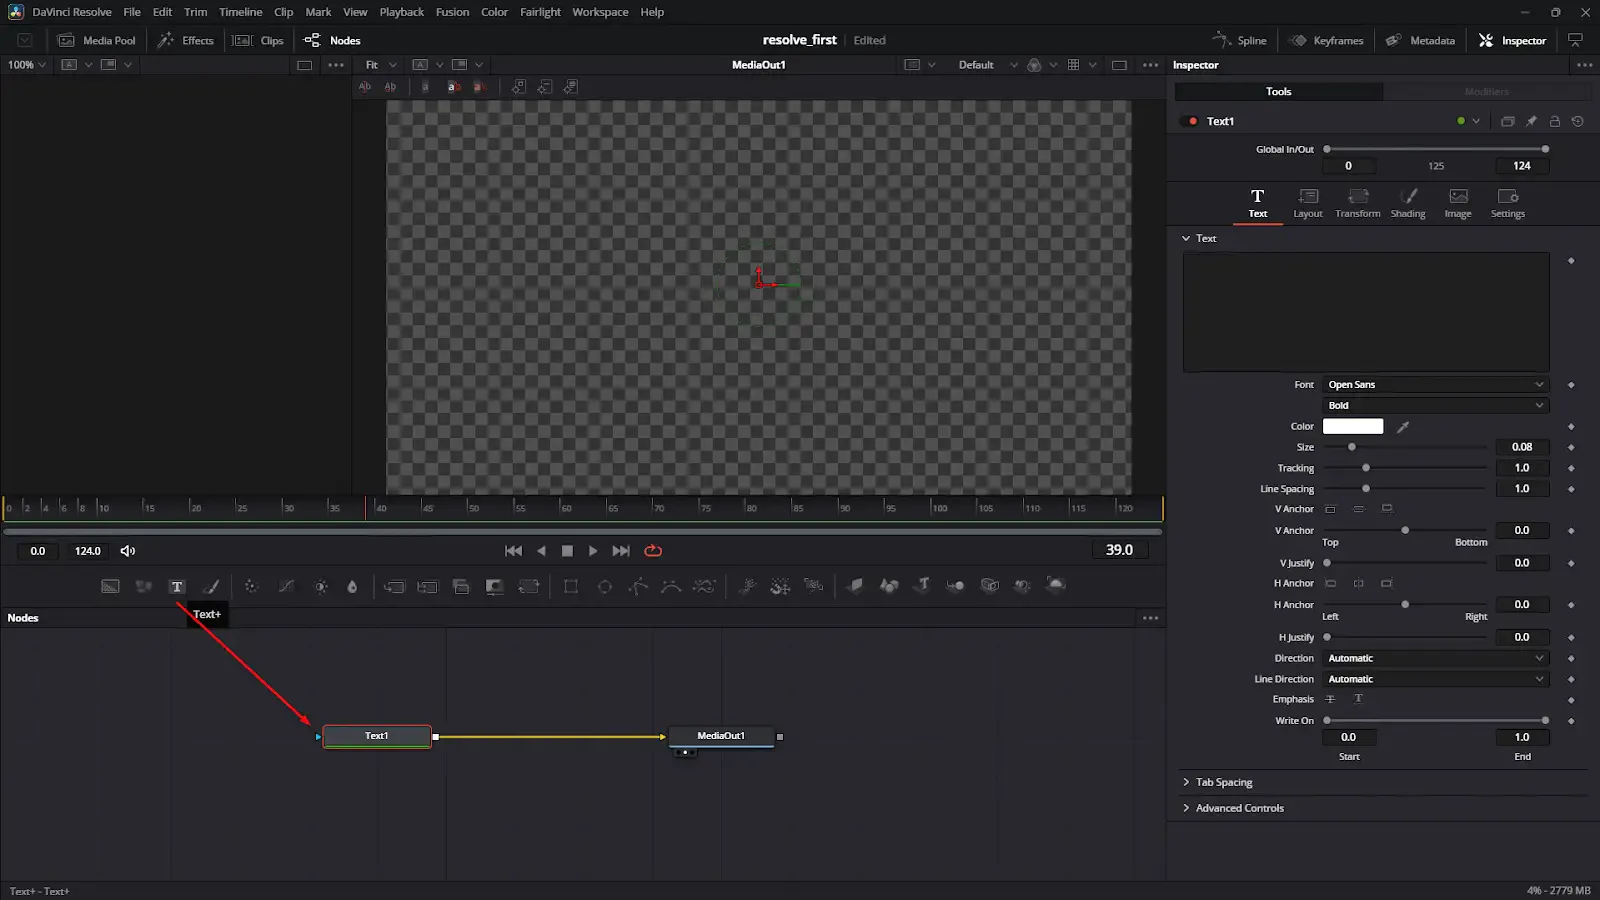
Type out your desired text and give it a fresh look. Choose a clear, modern font, adjust the size, and tweak the styling to your liking.
Here’s where the magic begins:
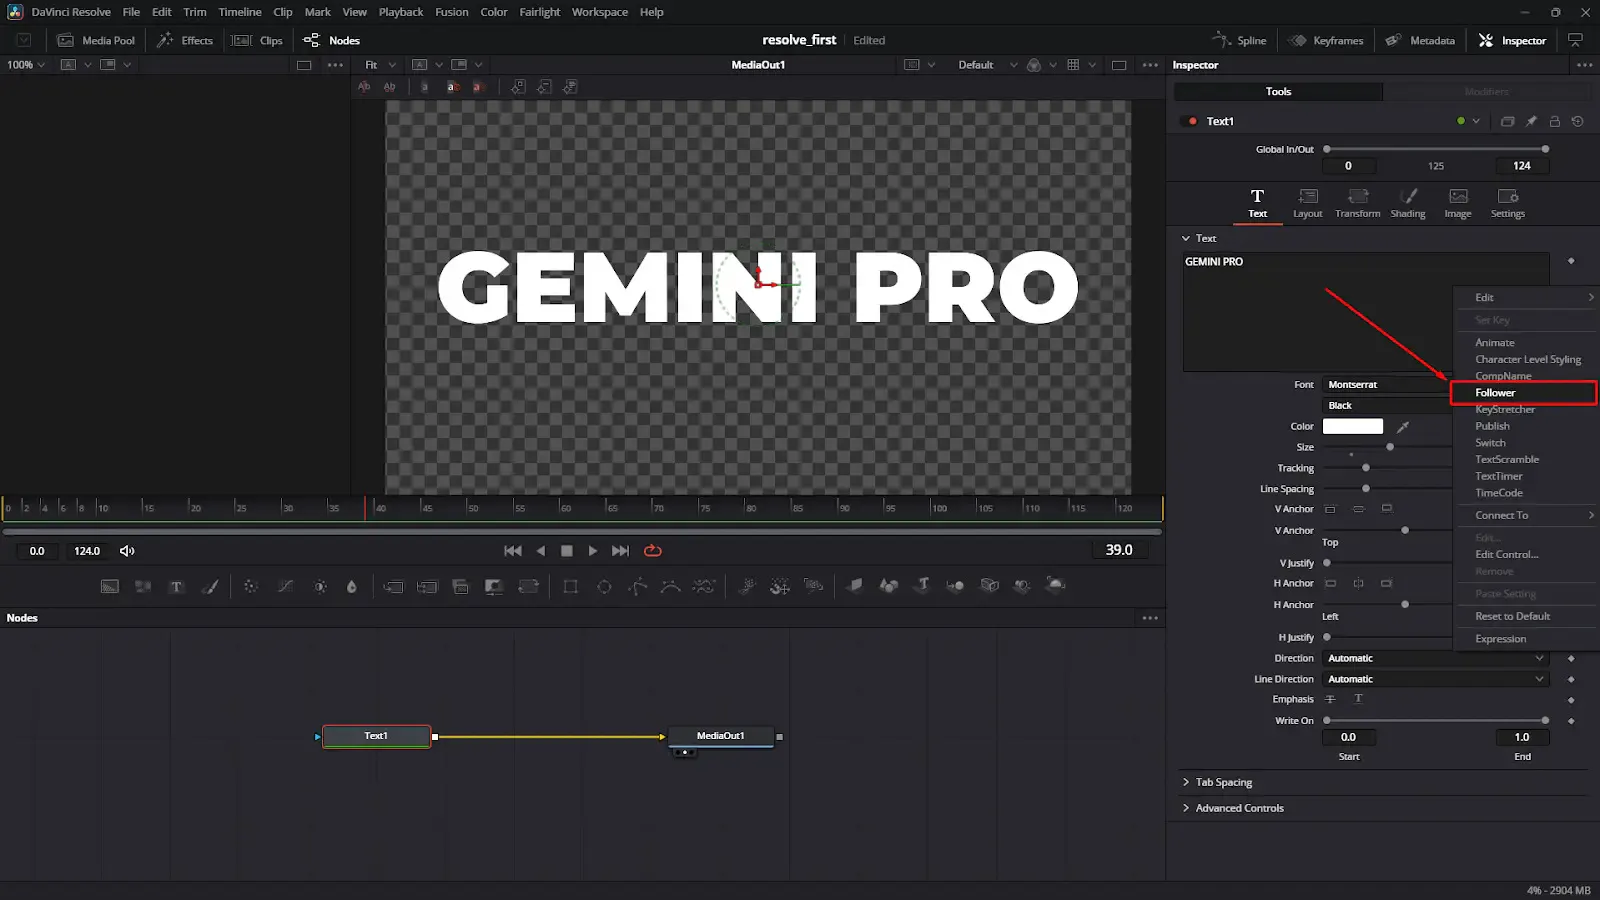
Once you've done that, it populates a new modifier over in the Modifiers tab inside the Inspector panel, appropriately named Follower. This little beast lets us control text transformations on a per-character basis. 🪄
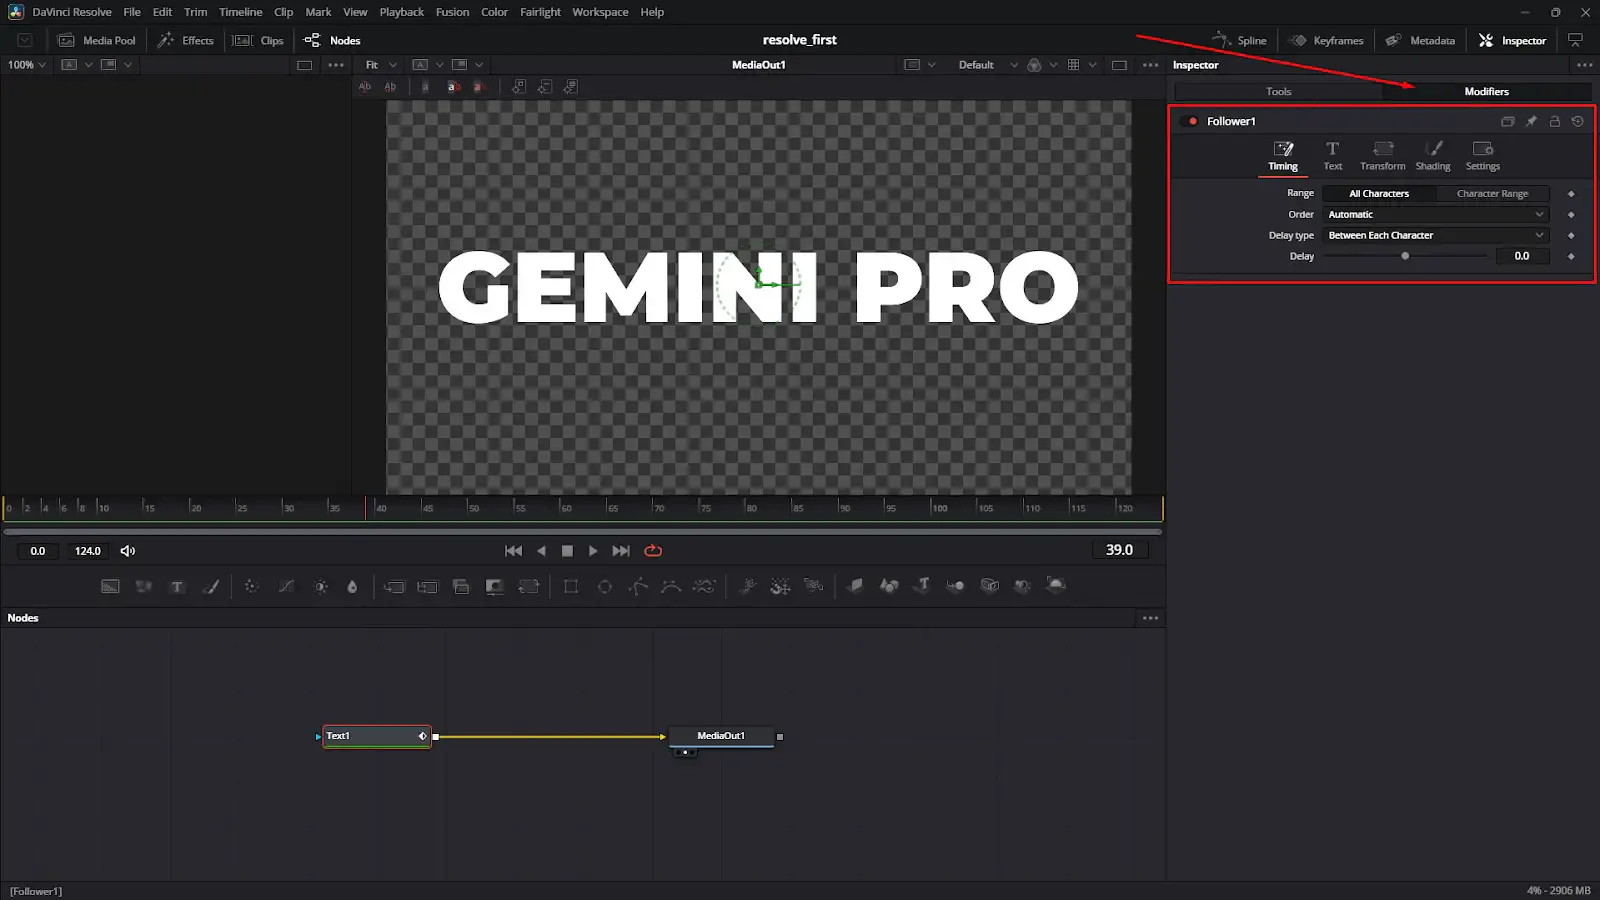
Now, navigate over to the Shading Page inside your newly created Follower modifier.
Scroll down to the Position properties and try to add a keyframe to the Offset parameter.
Notice what happens? DaVinci Resolve automatically generates another modifier for us, called Path. You can now use these two modifiers in tandem to animate your Text+ node along dynamic paths!
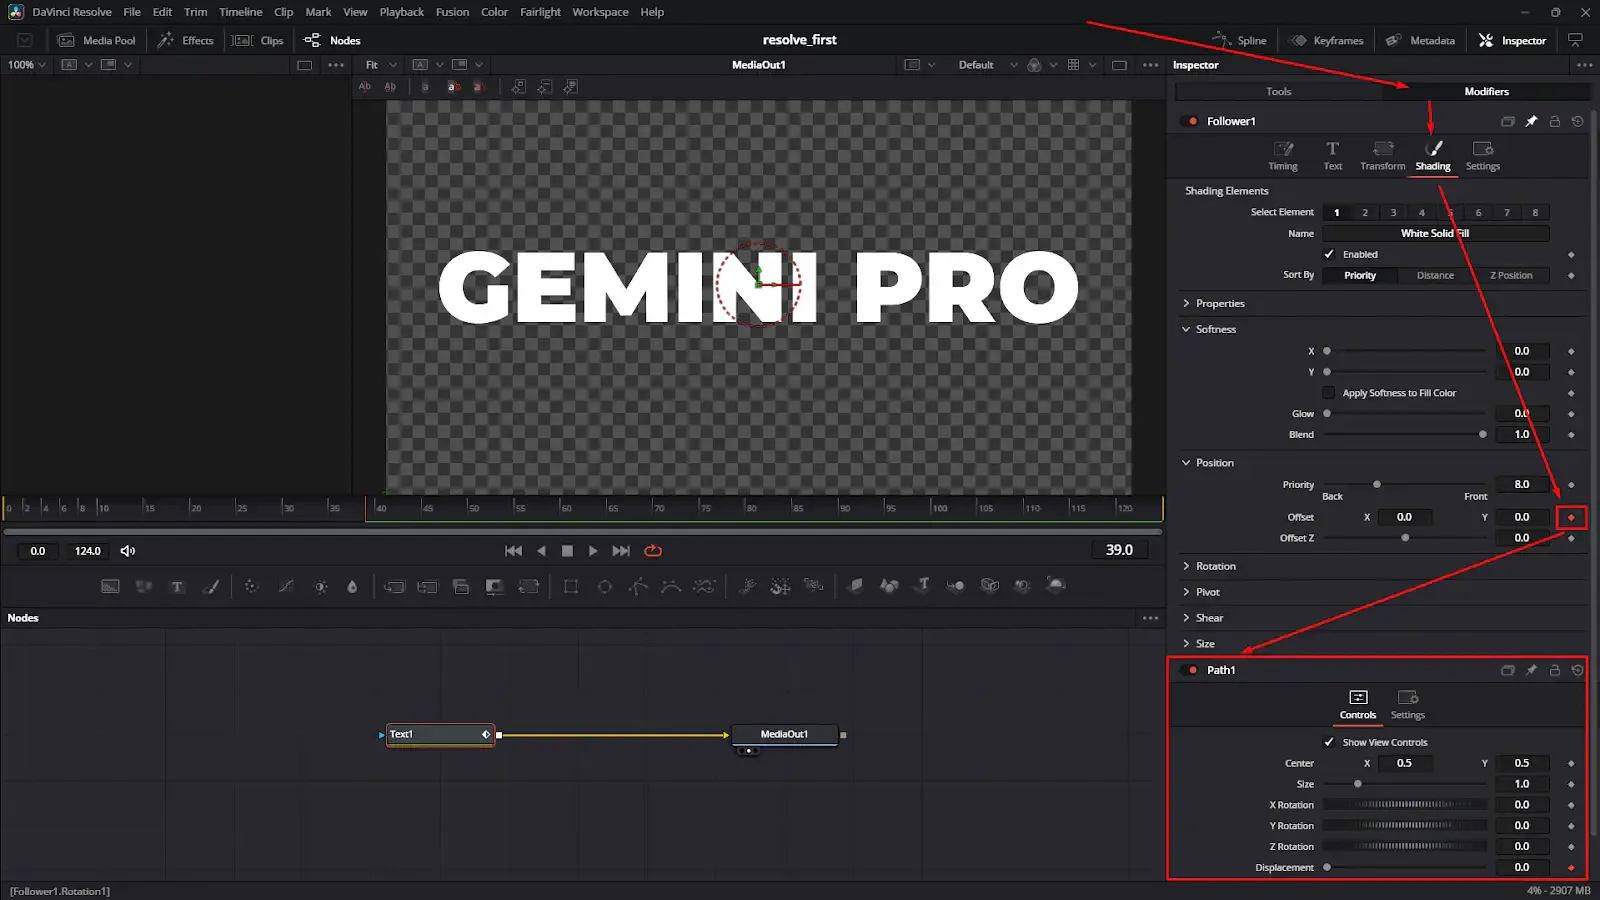
Let's get this text moving! Head over to the 0 frame of your composition. Drop an Offset keyframe right there.
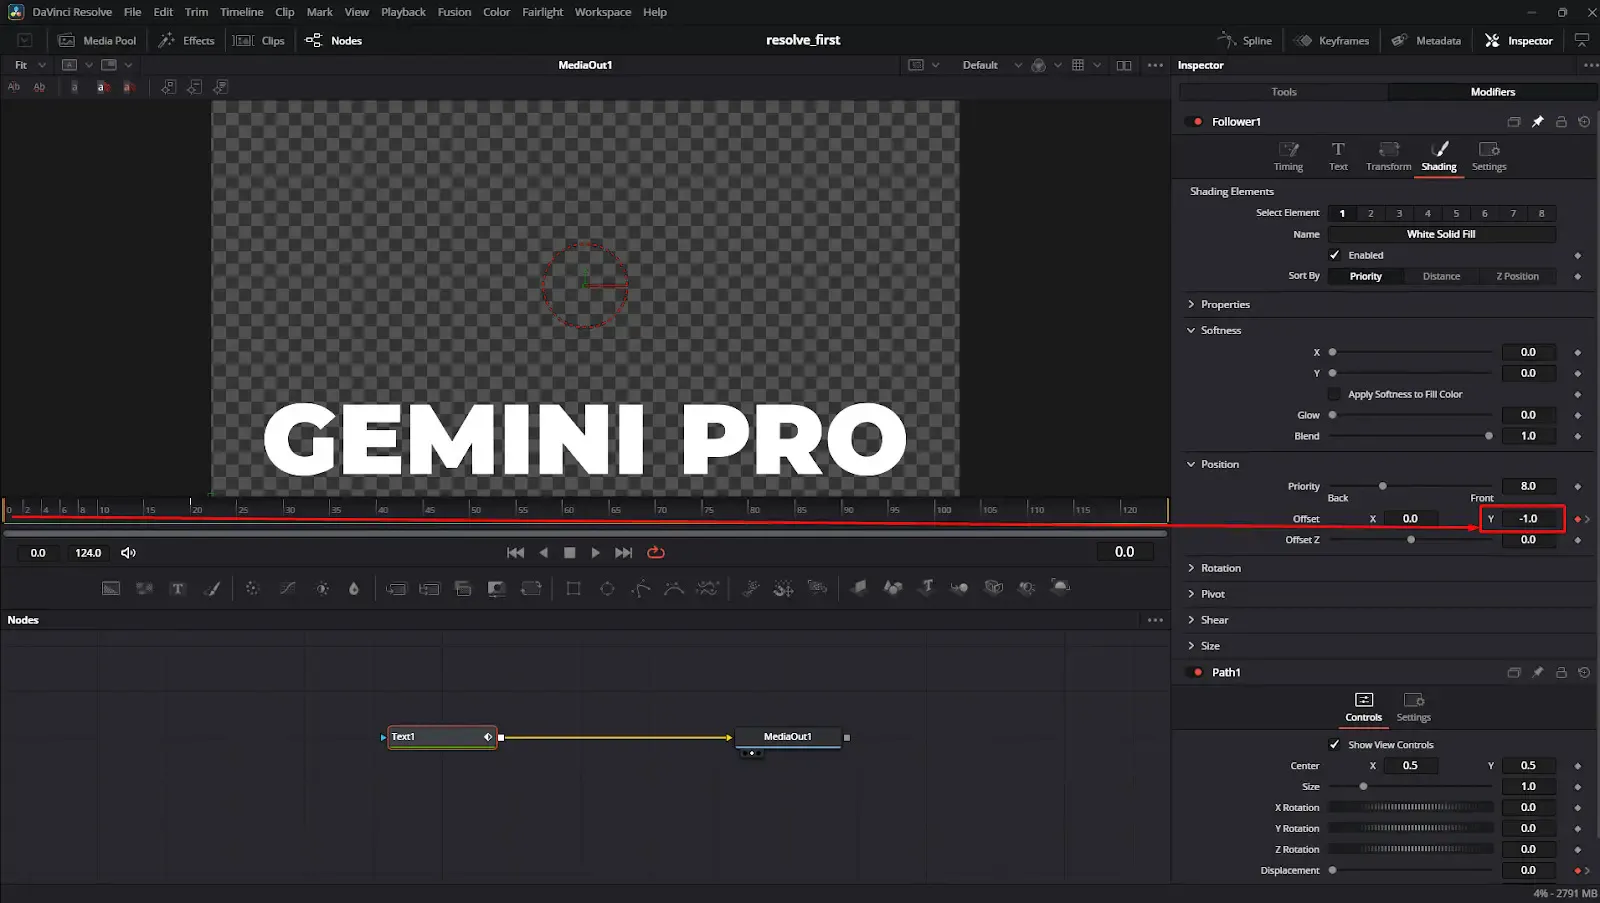
Move your playhead down the timeline to the 20th frame. Change the value to add another Offset keyframe. This dictates the text's final resting place for this segment of the motion!
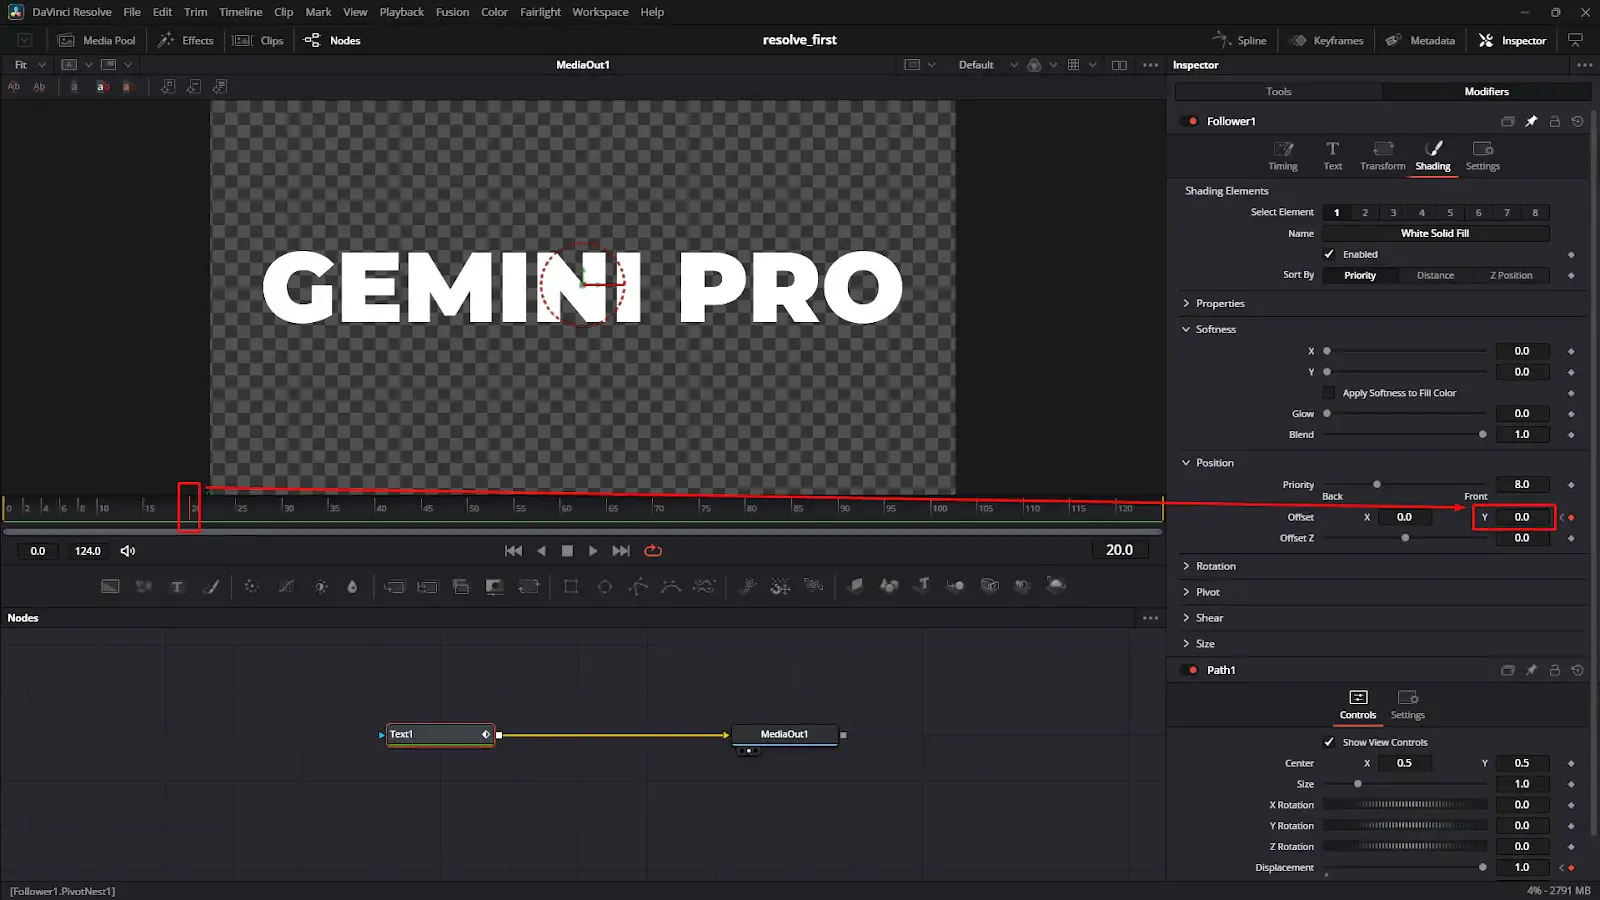
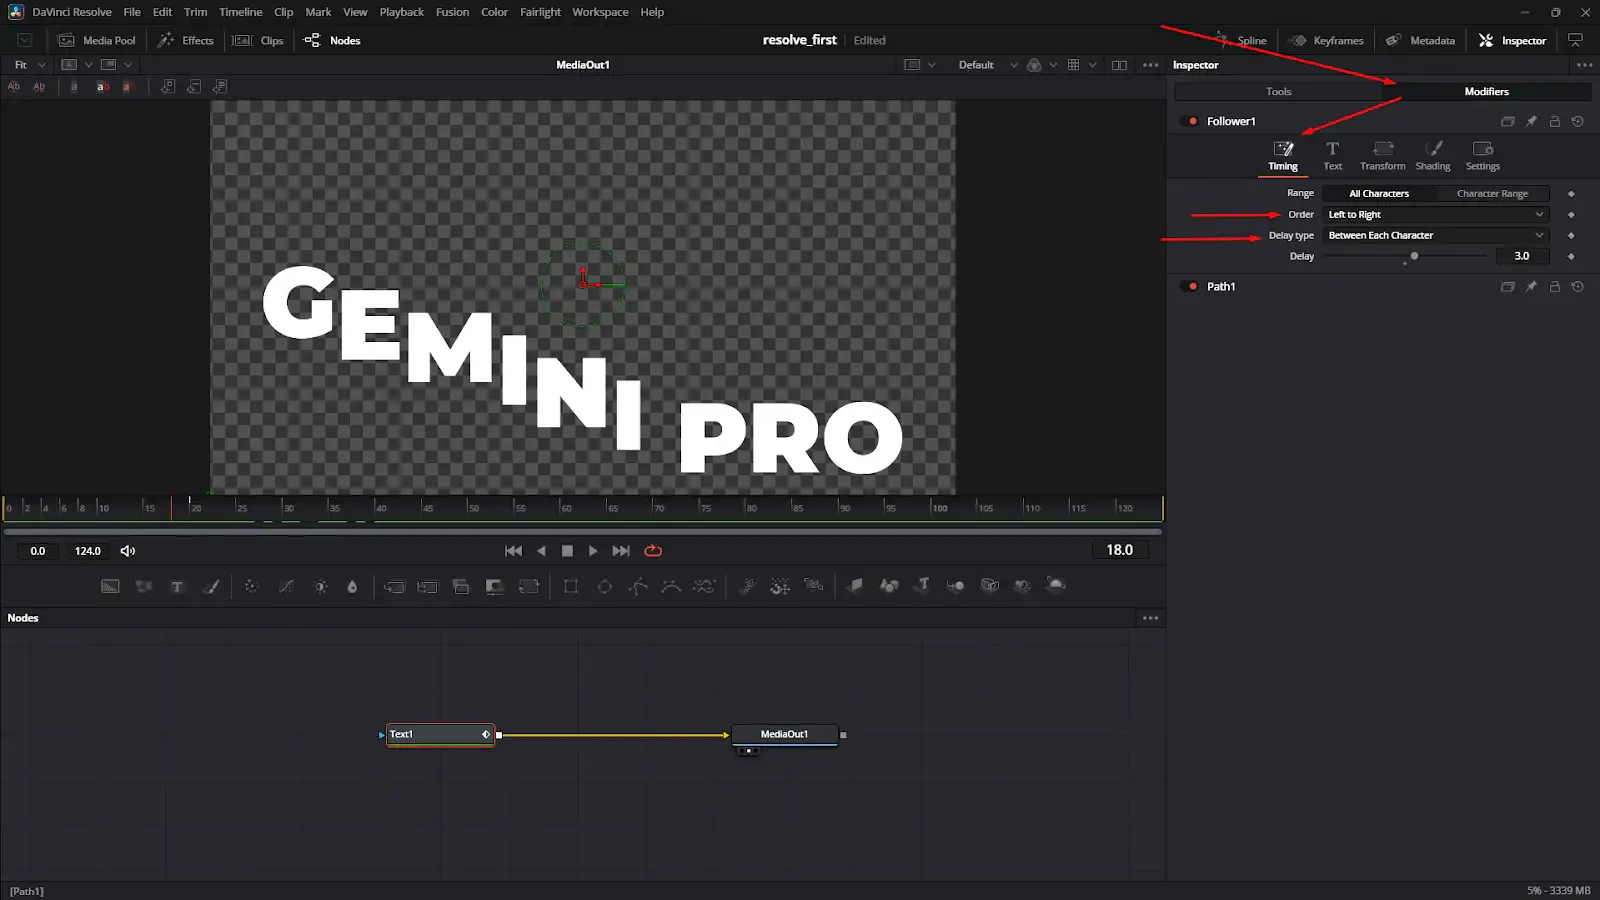
Right now, the text likely moves as one big block. We want that sweet character-by-character flow.
Follower Modifier.Left to Right.Between Each Character.3.Now, hit play! You should see an awesome cascading text animation unfolding right before your eyes. 🤩
Linear keyframes feel a bit robotic, don't they? 🤖 Let's make it buttery smooth.
S on your keyboard. This converts your stiff linear keys into Smooth Keyframes (or bezier curves).After doing this, watch your animation again—it will feel organic, professional, and visually satisfying. 🧈
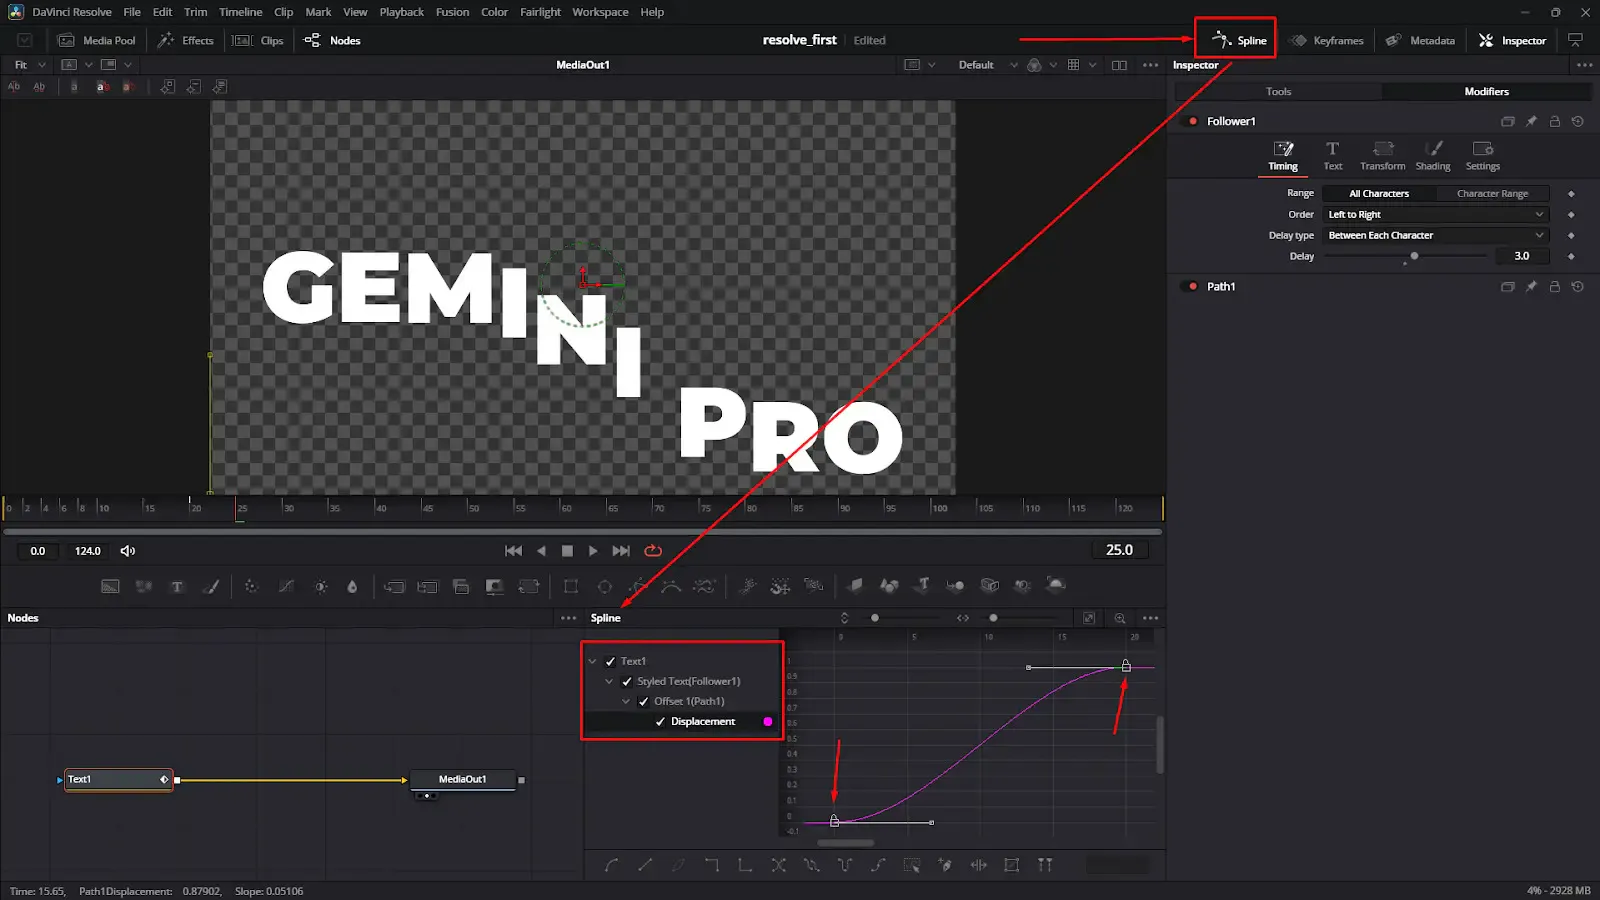
To make the reveal truly pop, let’s combine our movement with a smooth fade-in!
0.100.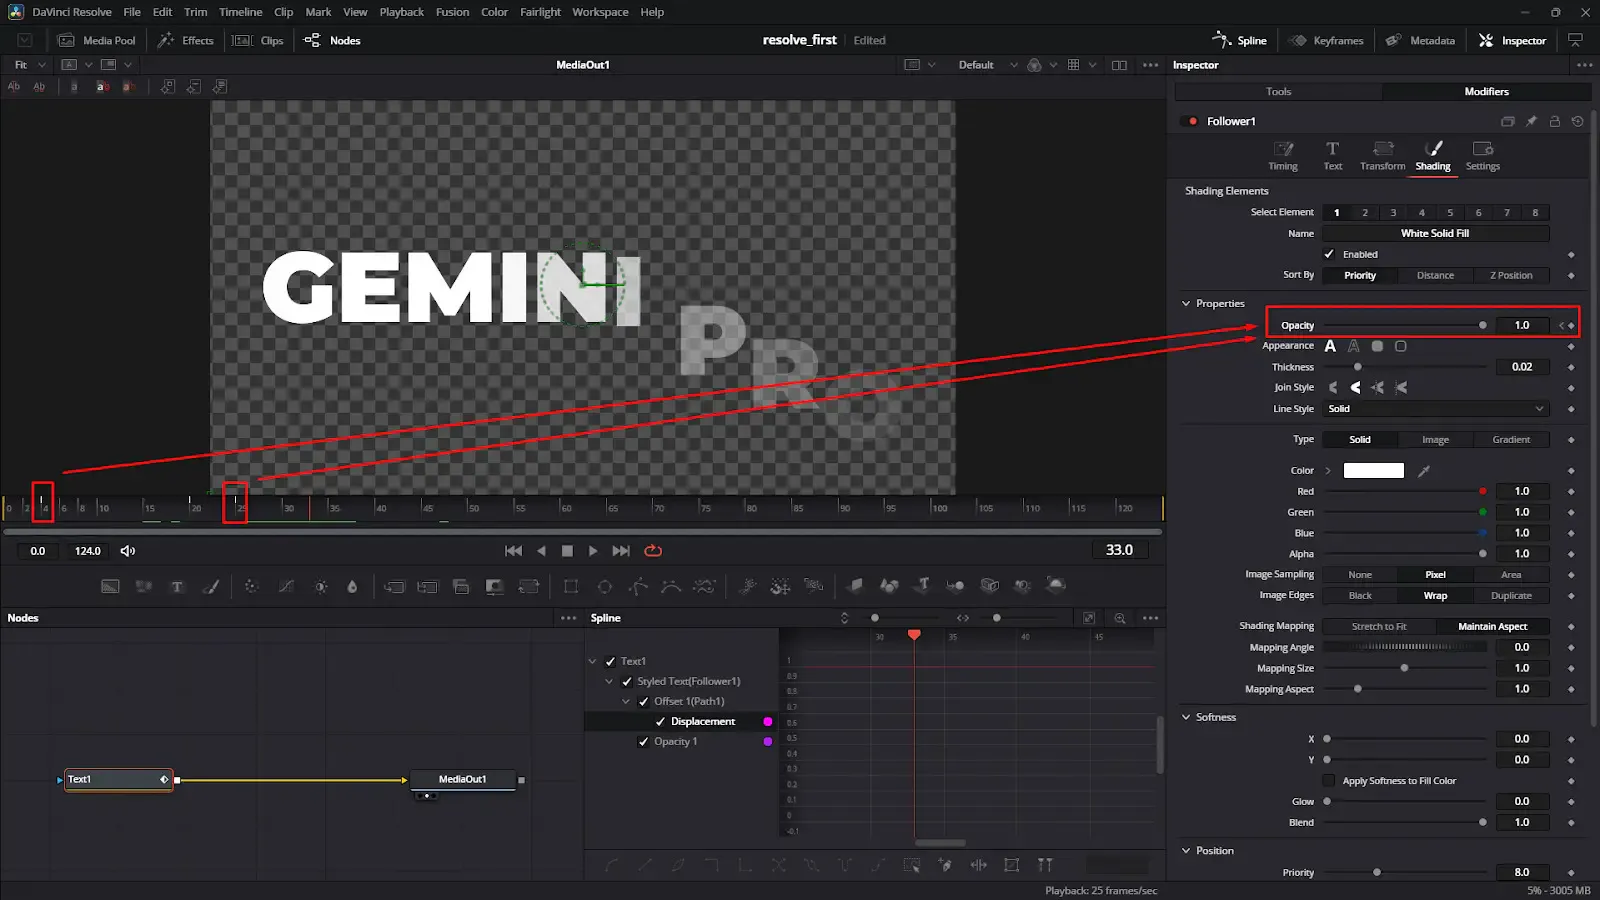
And there you have it! In just a few easy steps, you've completely customized a professional text reveal using DaVinci Resolve Fusion's Follower modifier. Keep experimenting with different paths, delays, and modifiers to see what kinds of wild motion typography you can create!
Happy editing! 📽️✨
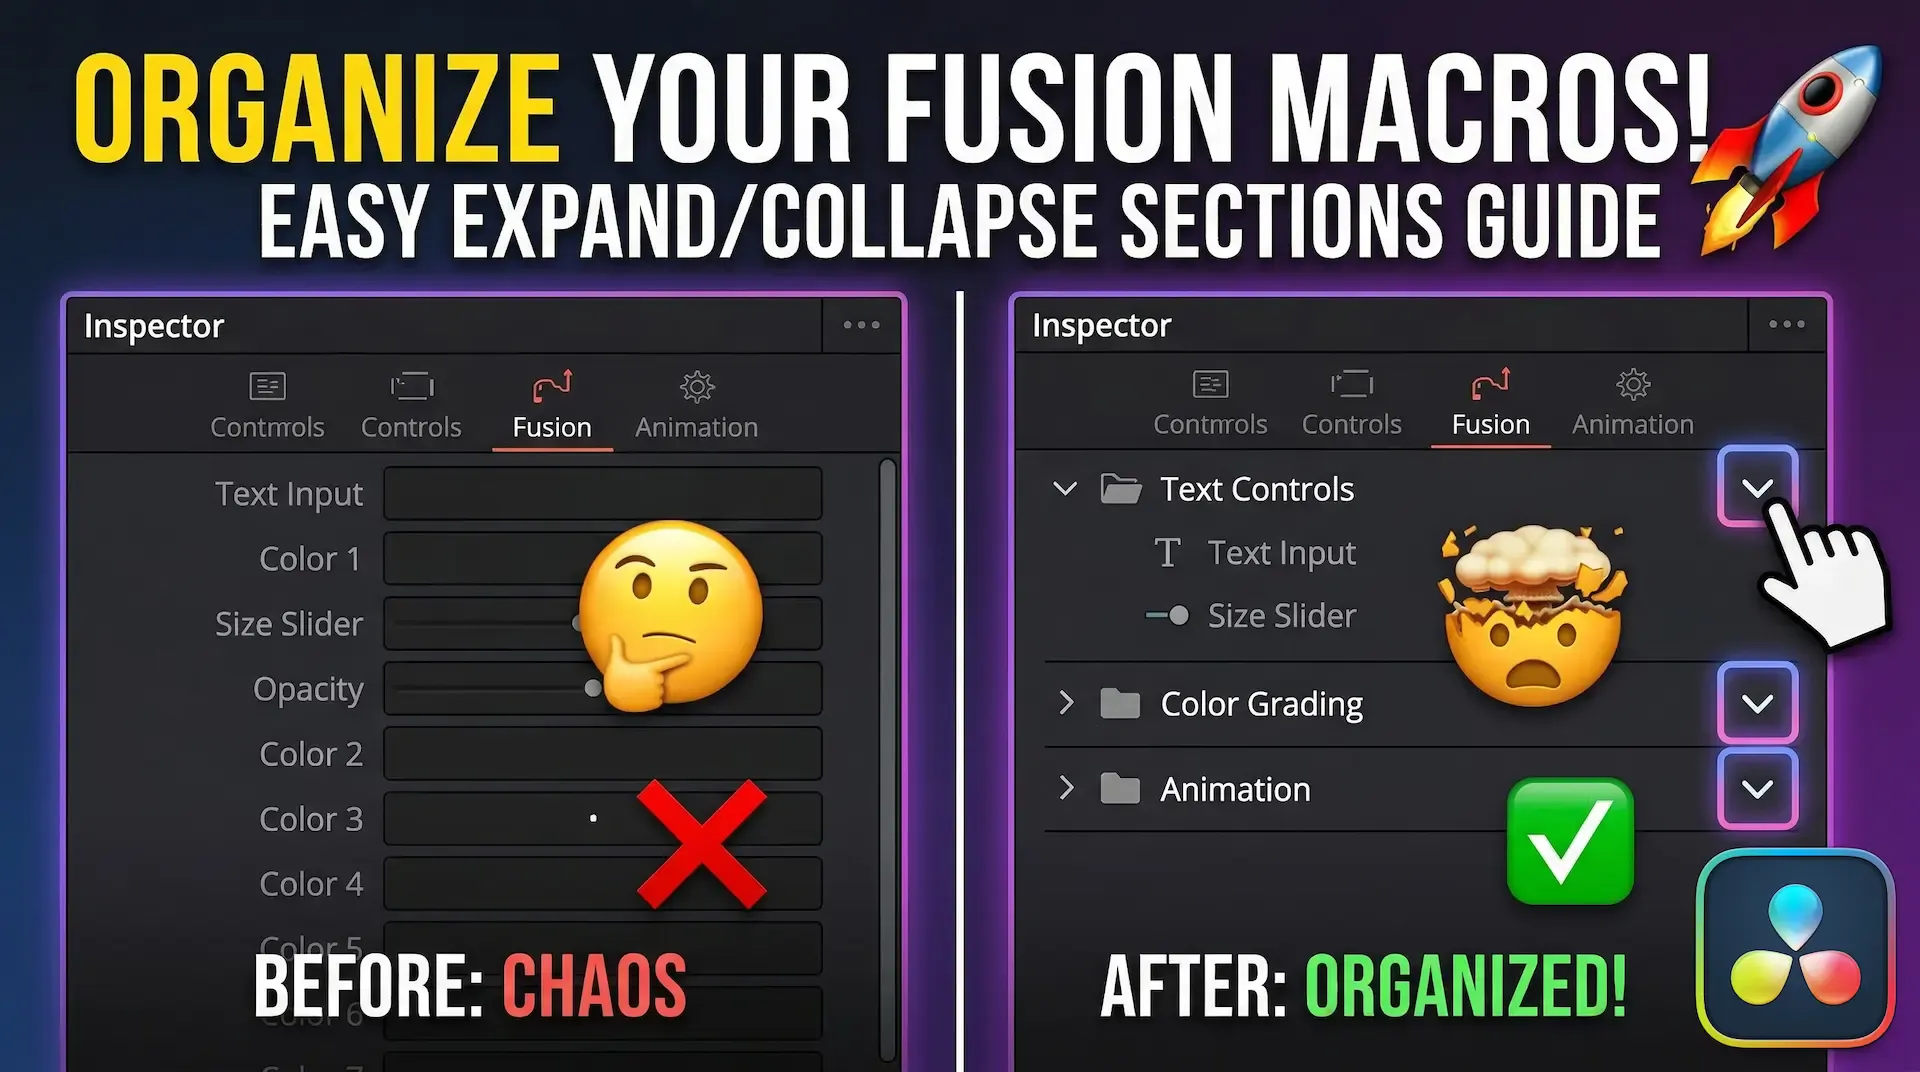
Discover how to group your controls into neat, drop-down accordion sections in DaVinci Resolve Fusion. Stop scrolling and start organizing today
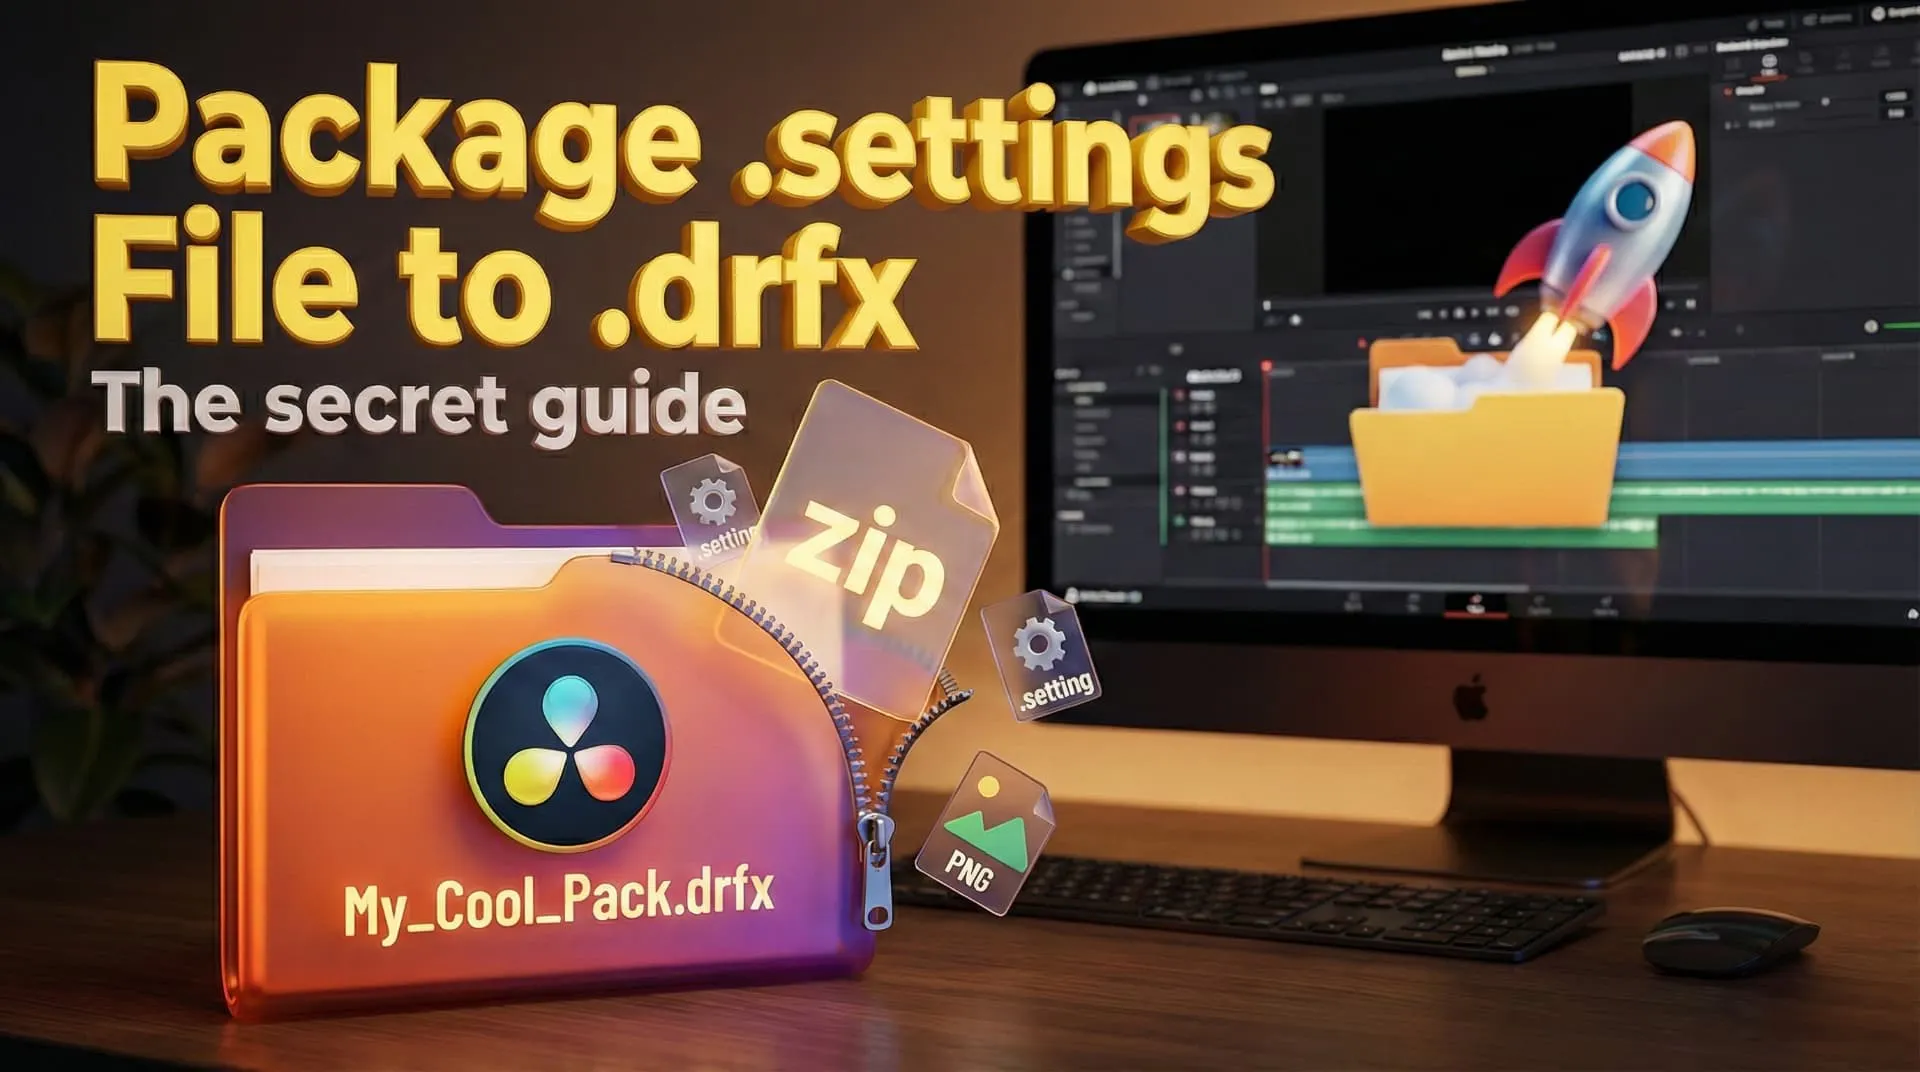
Stop sharing raw .setting files! Discover the professional way to bundles your DaVinci Resolve transitions, effects, and titles into a single, easy-to-install .drfx file
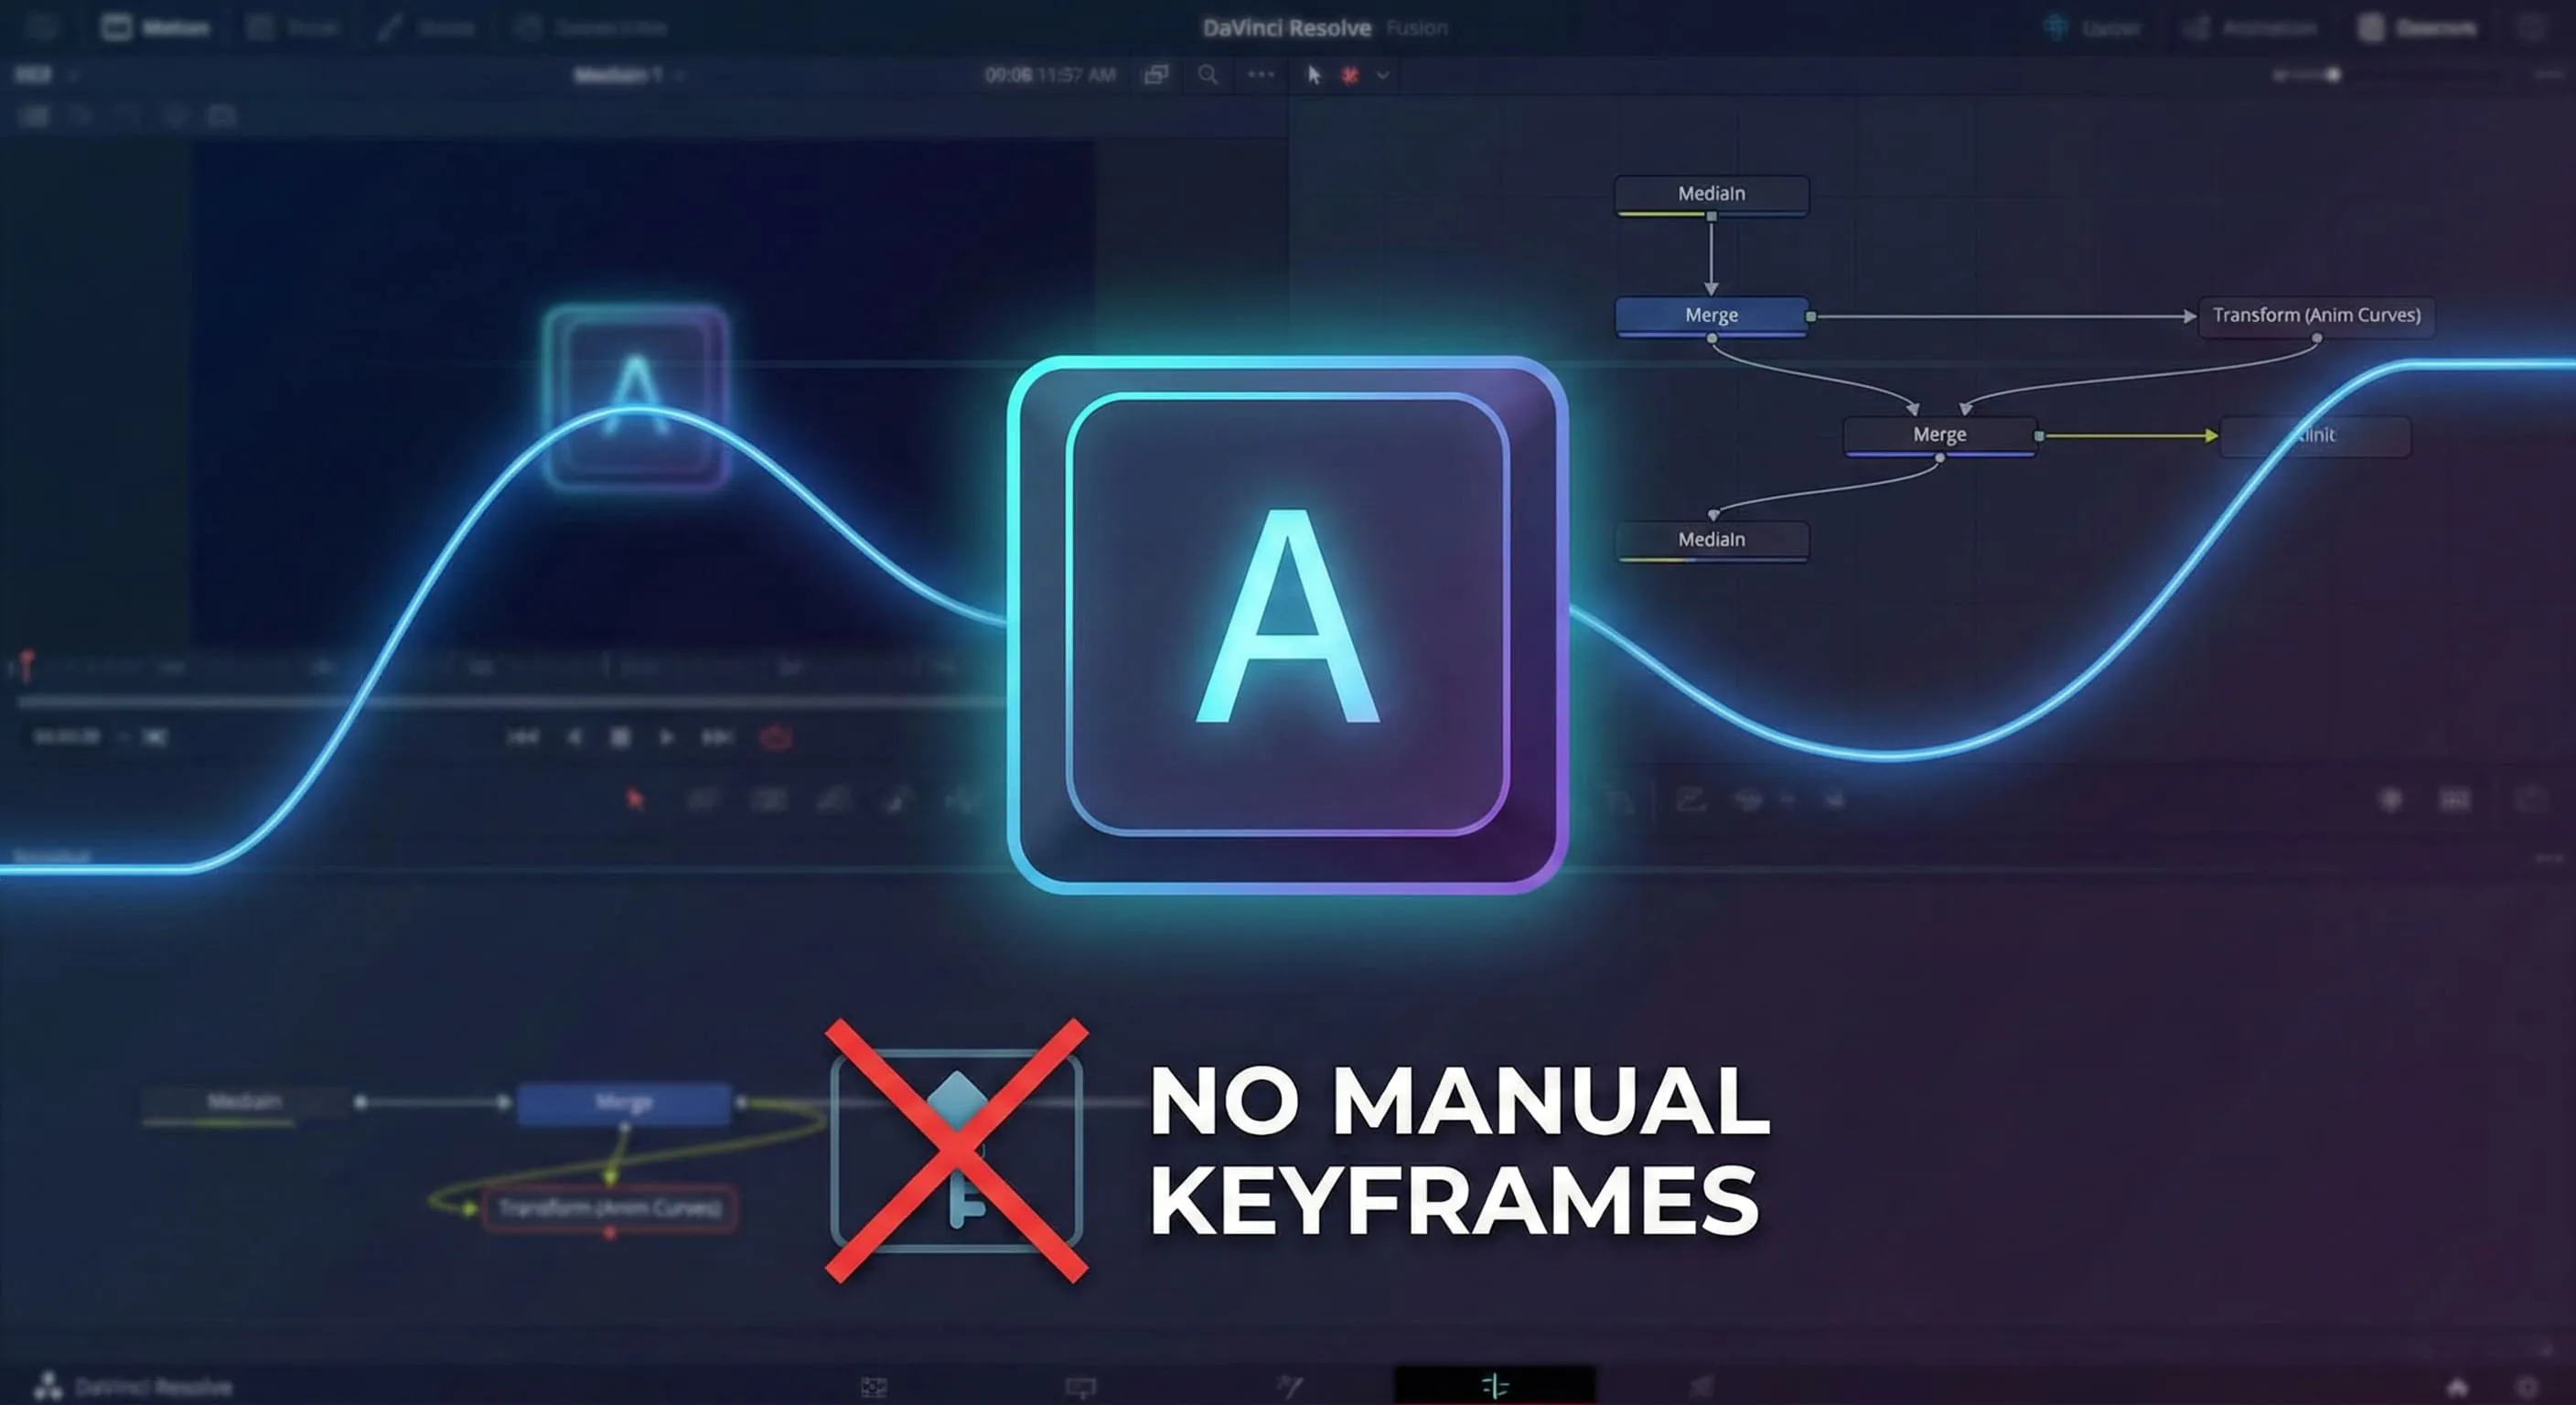
Learn to create dynamic, self-animating keyboard overlays in DaVinci Resolve Fusion using Anim Curves. No manual keyframes required! Perfect for tutorials and gaming videos.