Package Your DaVinci Macros Like a Pro: The drfx Guide
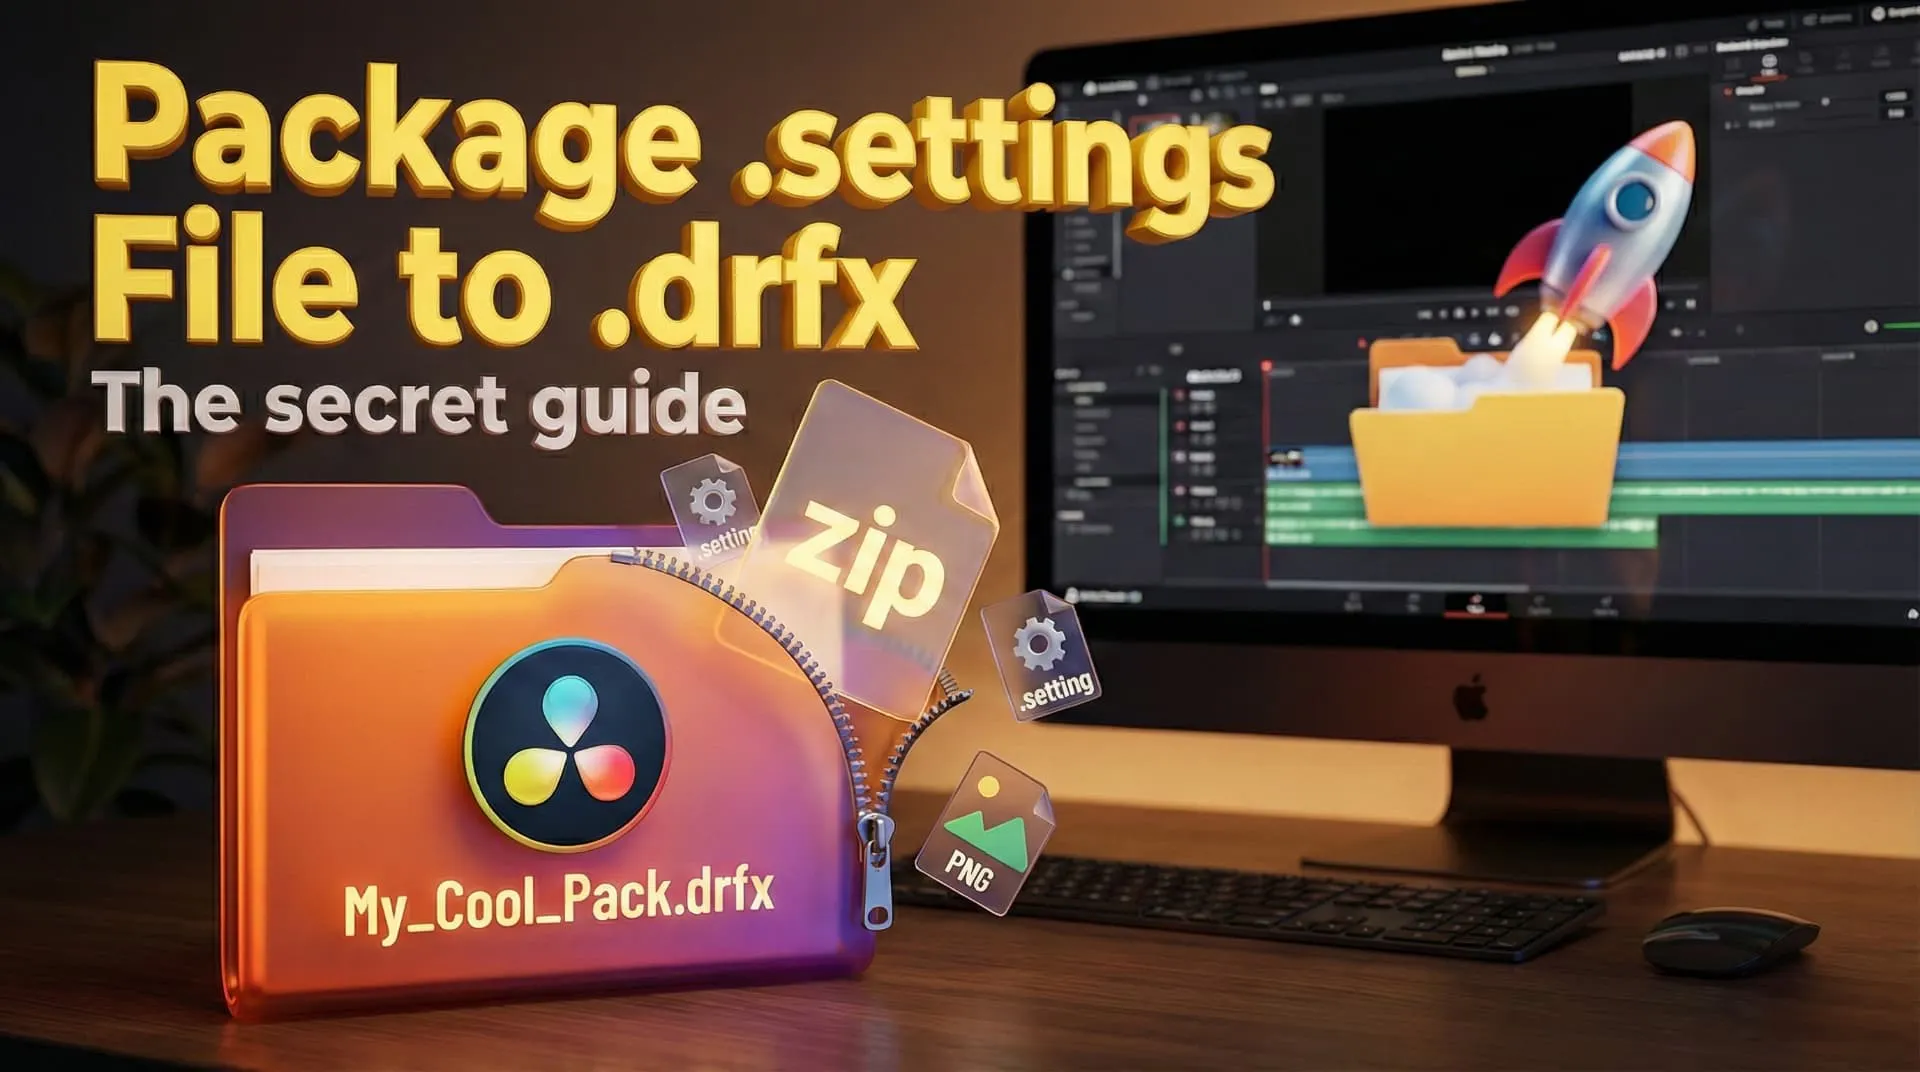
Sharing raw macro files with complex installation paths is messy and unprofessional.
Instead, use the .drfx format to turn your assets into a sleek, double-click installer for any user.
It’s surprisingly easy to do—let’s package your macros into a polished product right now! 📦✨
.drfx installer.Here is the big secret Blackmagic Design doesn’t explicitly tell you: A .drfx file is literally just a ZIP file with a different name.
That’s it. No special compiling, no complex software. If you know how to zip a folder, you know how to create a .drfx installer.
The most critical part of this process is getting your folder structure right. DaVinci Resolve needs to know exactly where to put your macros (e.g., are they Titles? Transitions? Generators?).
Create a main folder on your desktop (name it whatever you want, like My_Cool_Pack). Inside that, you need to mimic the Resolve directory structure.
For Edit Page Effects, build this hierarchy:
Edit/
├── Titles/
│   └── Your_Title_Macro.setting
├── Effects/
│   └── Your_Cool_Effect.setting
├── Generators/
│   └── Your_Background.setting
└── Transitions/
    └── Your_Wipe.setting
For Fusion Page generic macros:
Fusion/
├── Templates/
│   └── Edit/ ... (same as above)
└── Macros/
    └── Your_Fusion_Macro.setting
🔥 Pro Tip: You don't need all these folders! If you only made a Title, just create an
Editfolder, then aTitlesfolder inside it, and drop your.settingfile there.
Don't want to manually create all those folders? Let's use a quick script. First, make sure your terminal is looking at the right folder:
My_Cool_Pack folder.cd in a terminal window and drag your folder into it).Then run this command:
Mac / Linux:
mkdir -p Edit/{Titles,Effects,Generators,Transitions}
Windows (PowerShell):
md Edit/Titles, Edit/Effects, Edit/Generators, Edit/Transitions
Want your macro to visually pop in the effect library?
.setting file.
SuperGlow.settingSuperGlow.pngResolve will automatically pick this up as the thumbnail! 🖼️
Now for the transformation.
Edit or Fusion folder).Edit folder).You now have a file named Something.zip.
This is the final touch.
.zip file.F2 (Windows) or Return (Mac), or simply right-click and choose Rename..zip extension and replace it with .drfx.Windows/Mac might ask: "Are you sure you want to change the extension?" YES, you are sure! 😎
The icon should immediately change to the DaVinci Resolve installer icon.
Now, test it out!
Double-click your new .drfx file. DaVinci Resolve will pop up asking if you want to install "My_Cool_Pack".
Click Install, and boom! 💥 Your macros are instantly available in the Effects Library, exactly where they belong. No file system digging required.
Creating a .drfx is a 2-minute task that adds a world of value to your work.
Edit/Titles, Edit/Effects folder structure..zip to .drfx.Now go package your creativity and share it with the world! Happy editing! 🎬✨
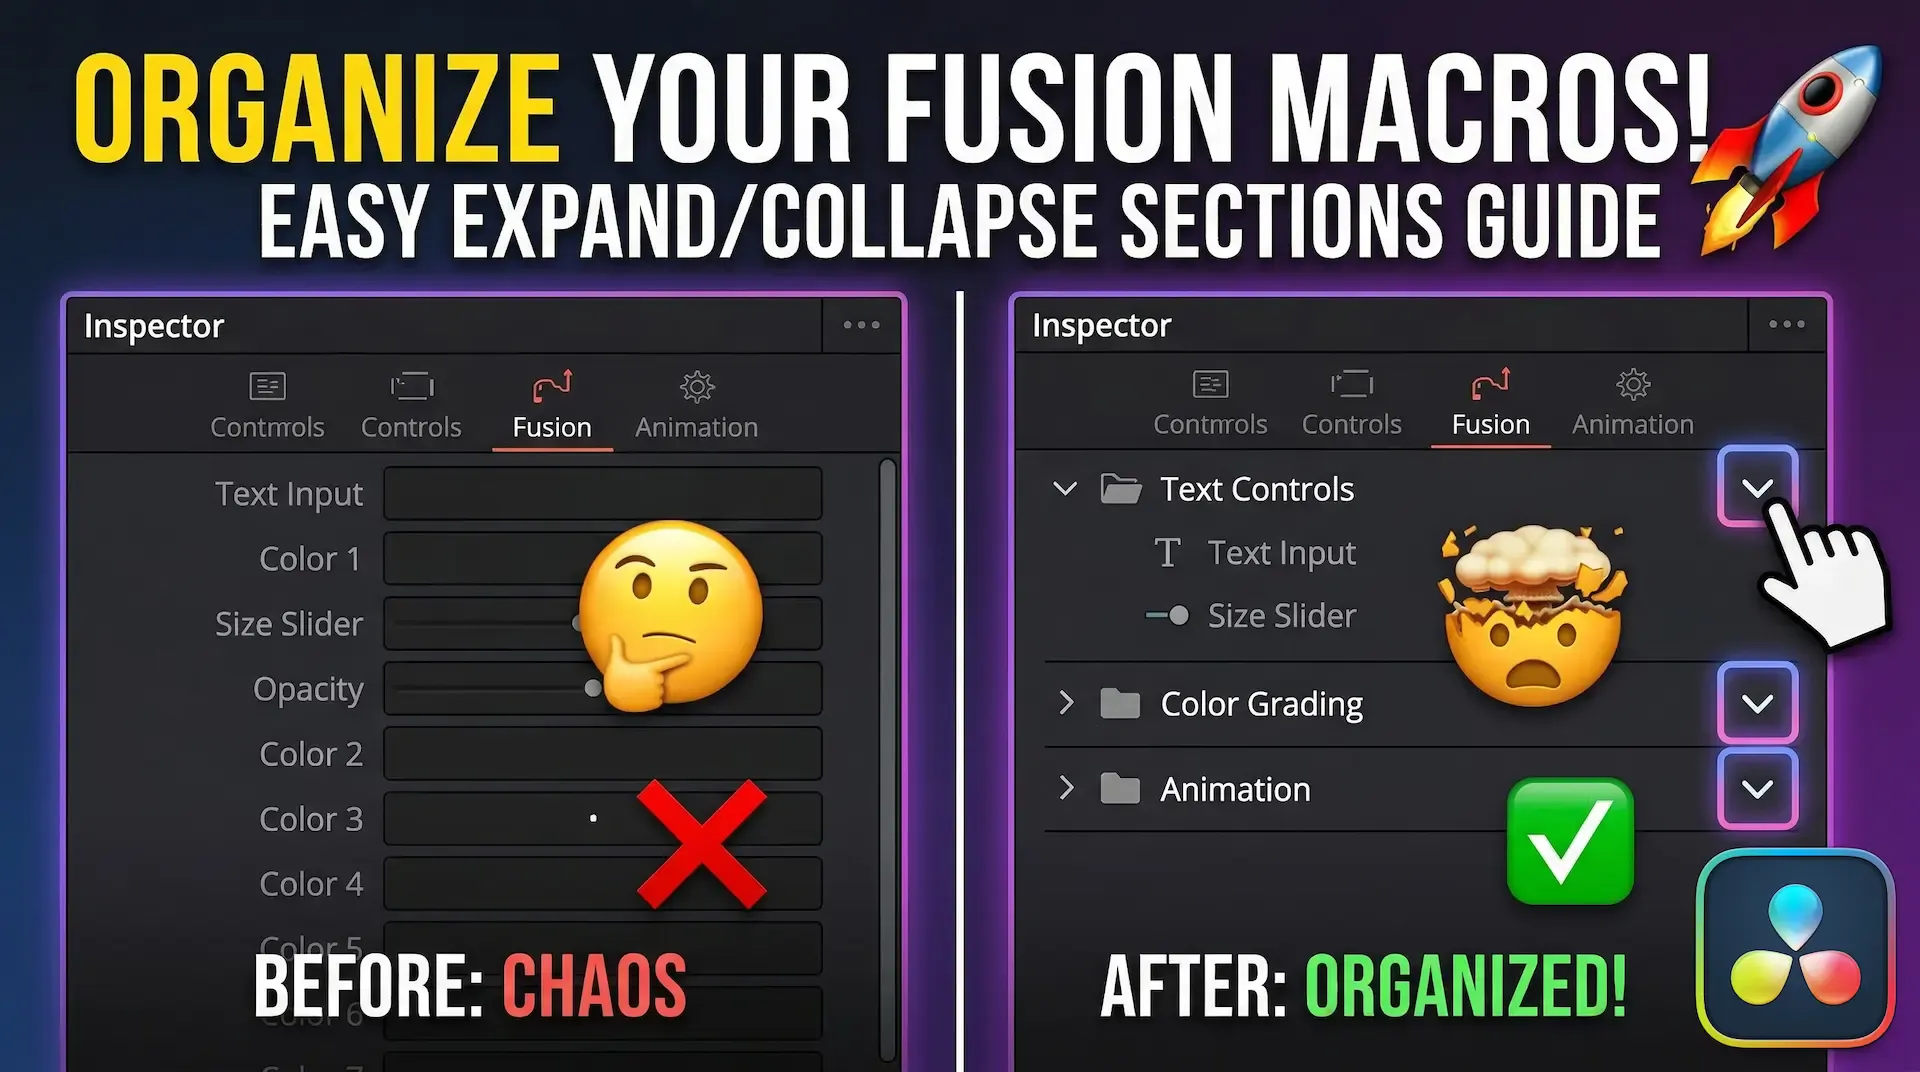
Discover how to group your controls into neat, drop-down accordion sections in DaVinci Resolve Fusion. Stop scrolling and start organizing today
Learn how to create dynamic, character-by-character text animations in DaVinci Resolve Fusion using the Follower modifier, Path keys, and Spline tool
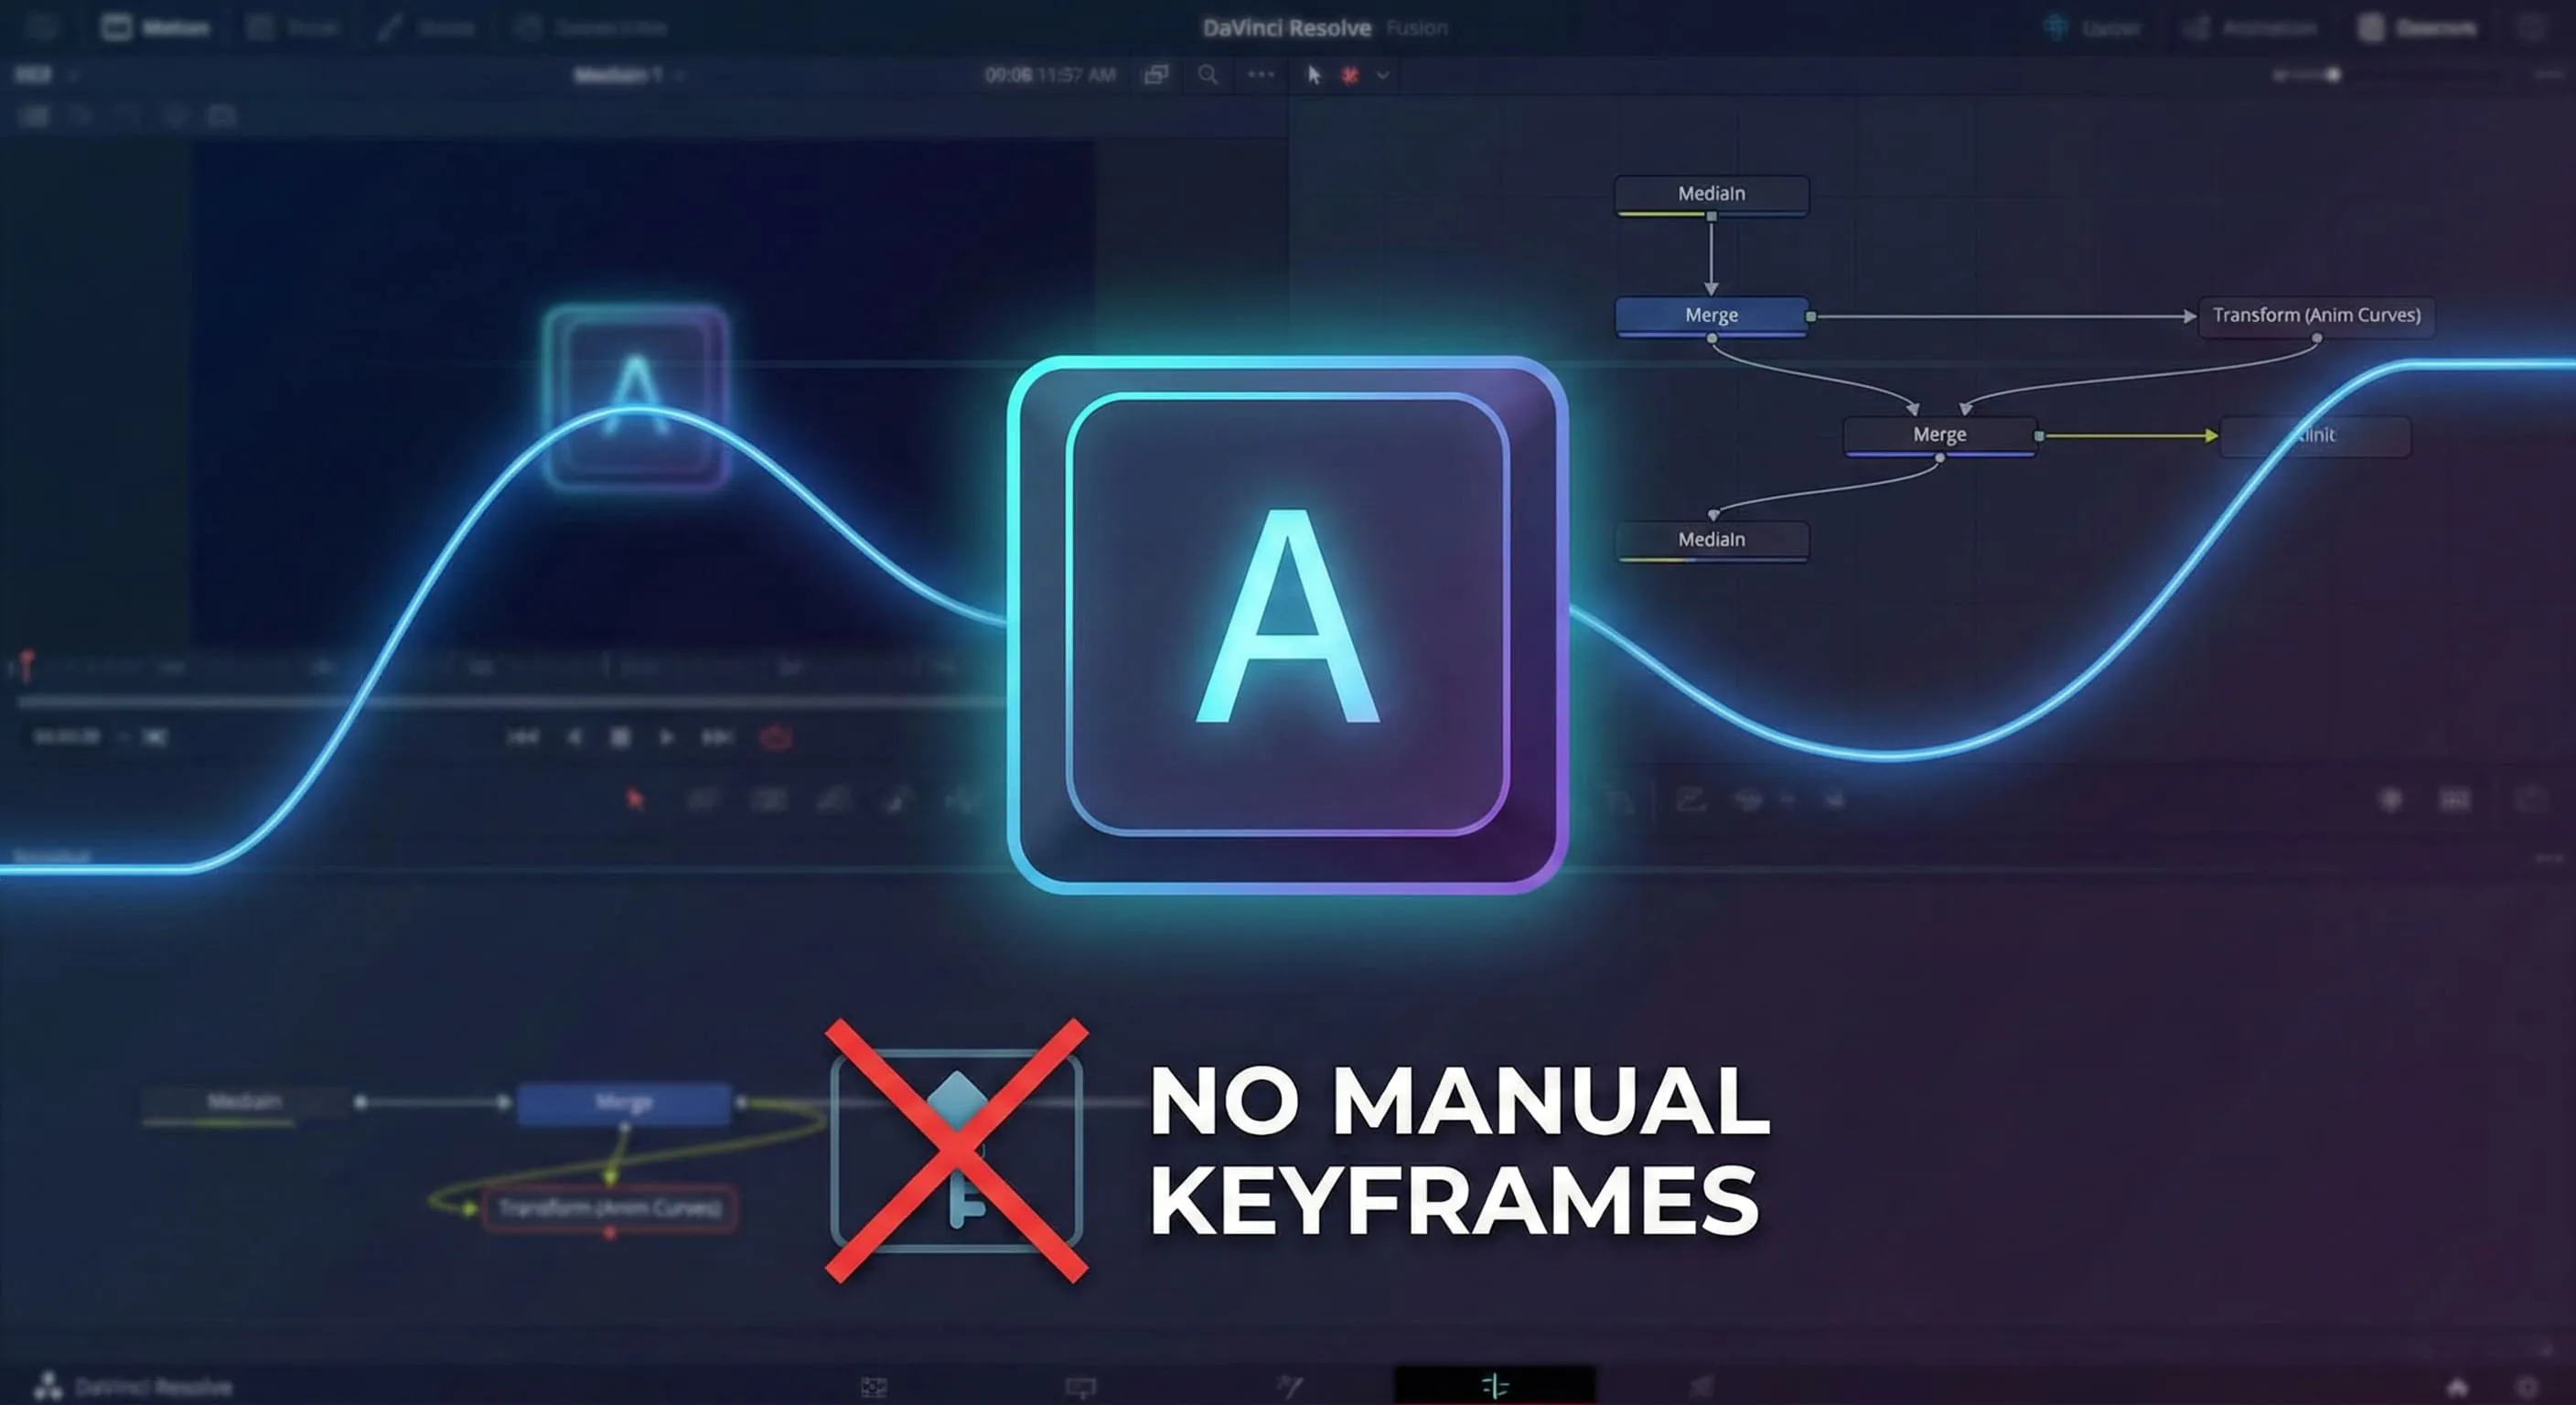
Learn to create dynamic, self-animating keyboard overlays in DaVinci Resolve Fusion using Anim Curves. No manual keyframes required! Perfect for tutorials and gaming videos.