How to Organise DaVinci Resolve Macro Settings with Custom Tabs
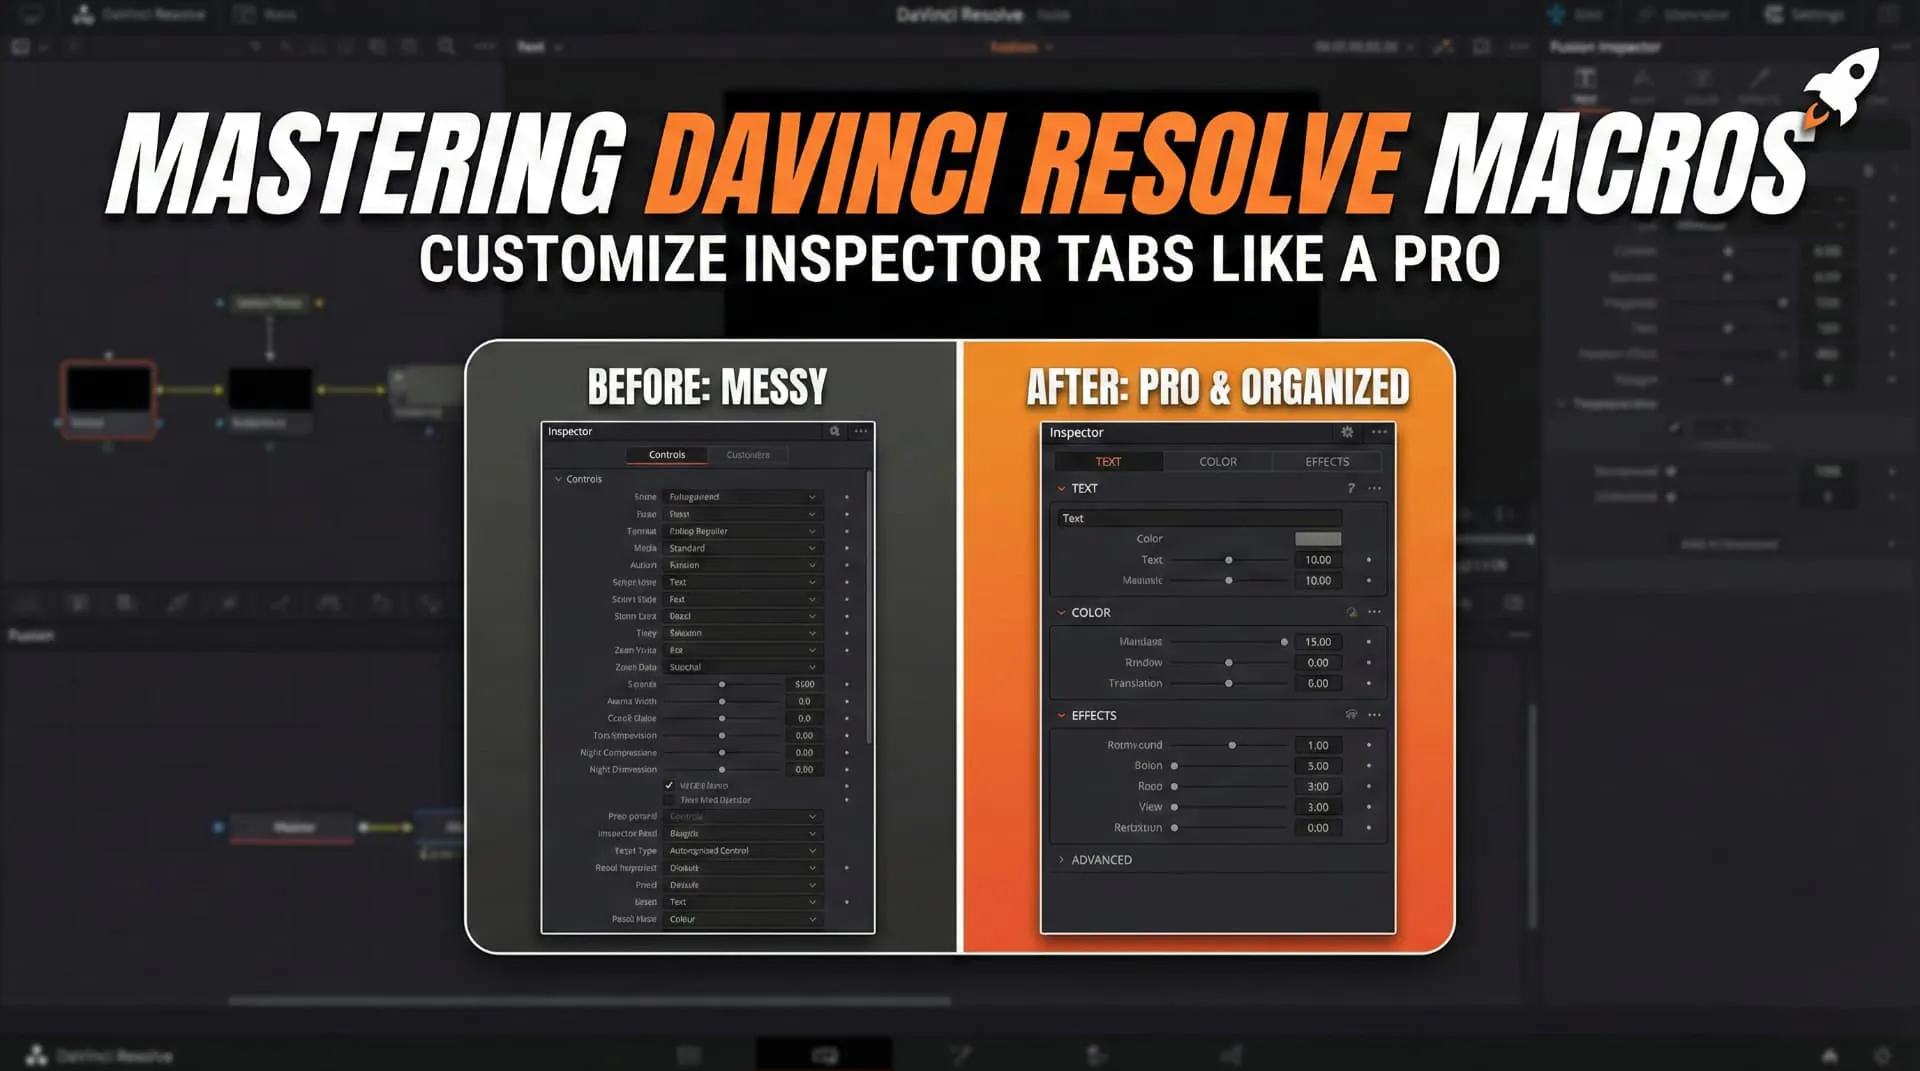
Creating macros in DaVinci Resolve (specifically within the Fusion page) is a superpower for editors and motion graphics artists. It allows you to package complex node structures into reusable, drag-and-drop tools. 🛠️
However, a raw macro often dumps every single setting into a messy list. If you want your tools to feel premium, user-friendly, and professional, you need to organize those controls.
In this guide, we’ll dive into the code behind the nodes to organize your macro's Inspector panel. We’ll look at how to rename your tools, create custom tabs (pages), and organize your setting logic for a seamless user experience.
First impressions matter. When you open your macro file (usually a .setting file which is essentially Lua table syntax), you'll see a Tools object. This is where the magic begins.
To distinguish your tool in the node graph, you should give it a proper, descriptive name.
Step: locate the main variable name under the Tools object and rename it to something recognizable.
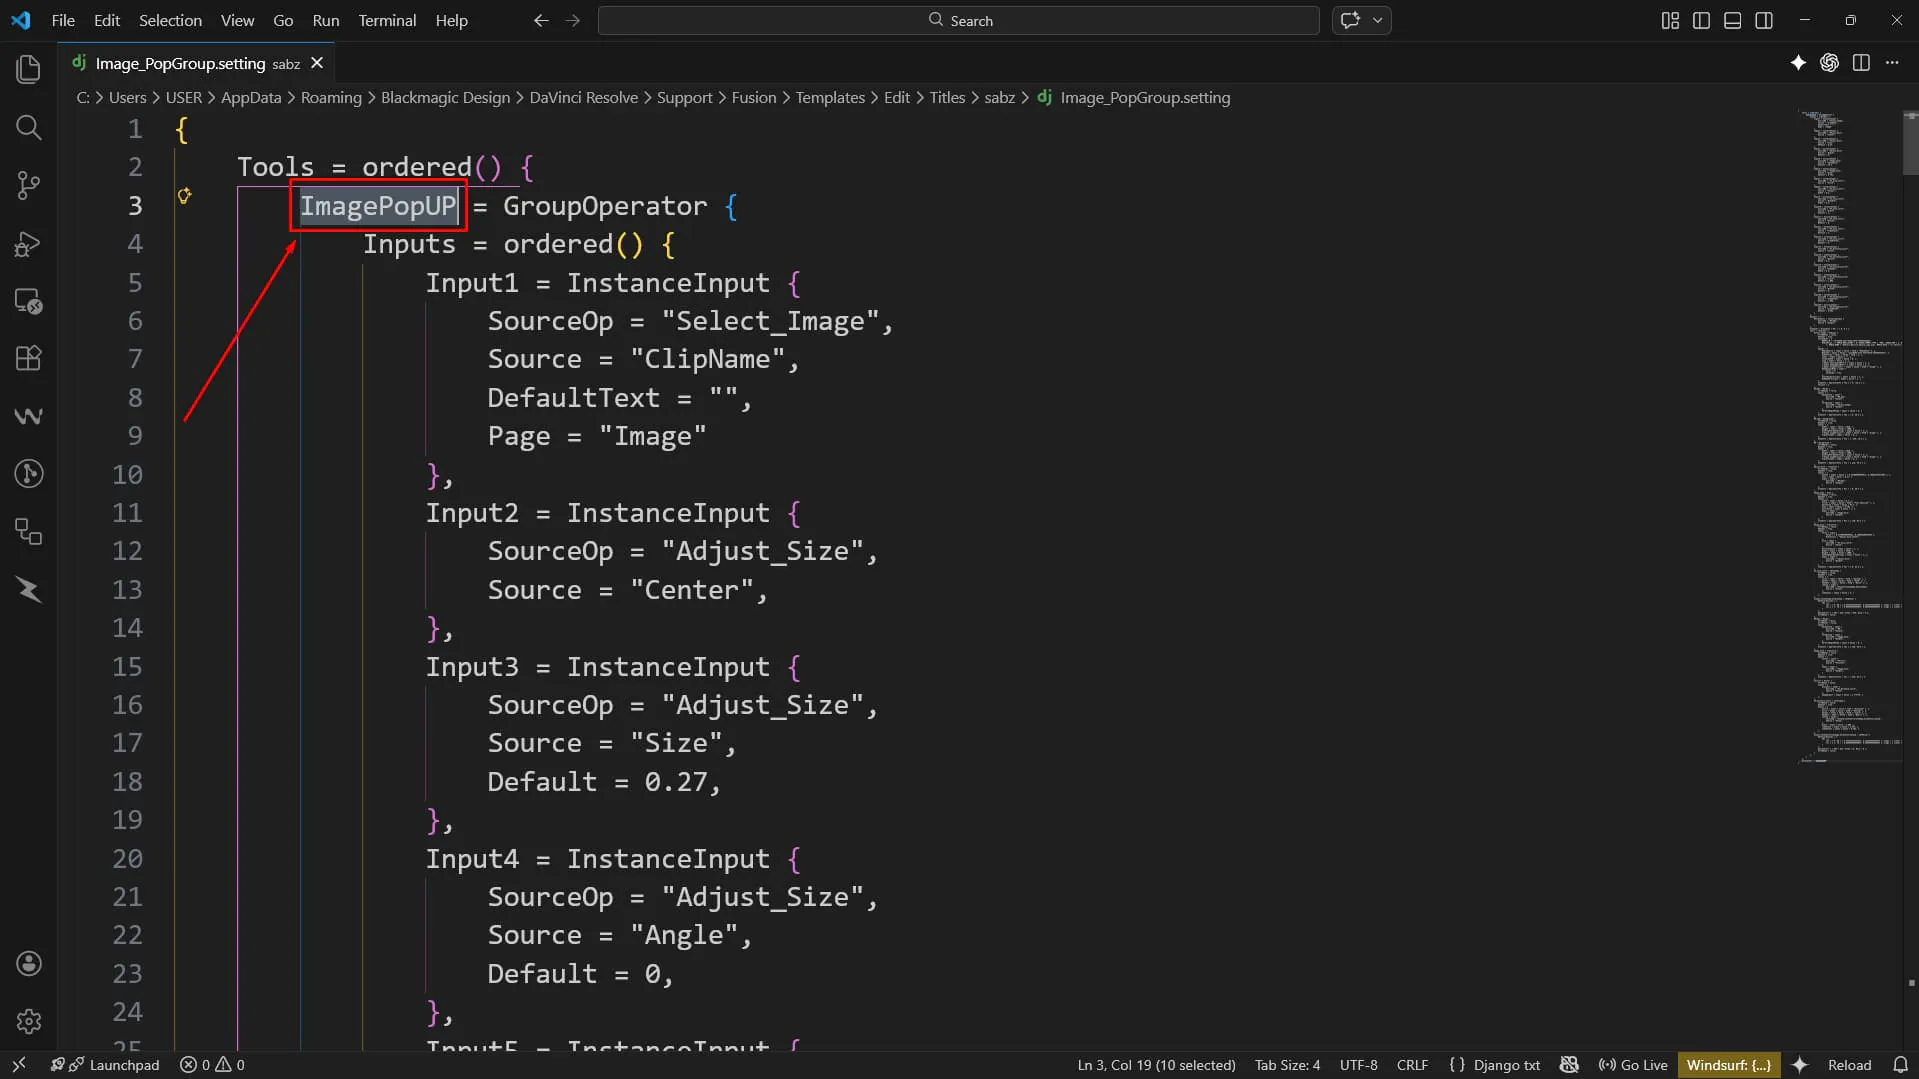
(Note how the internal script name and the user-facing name can be managed here)
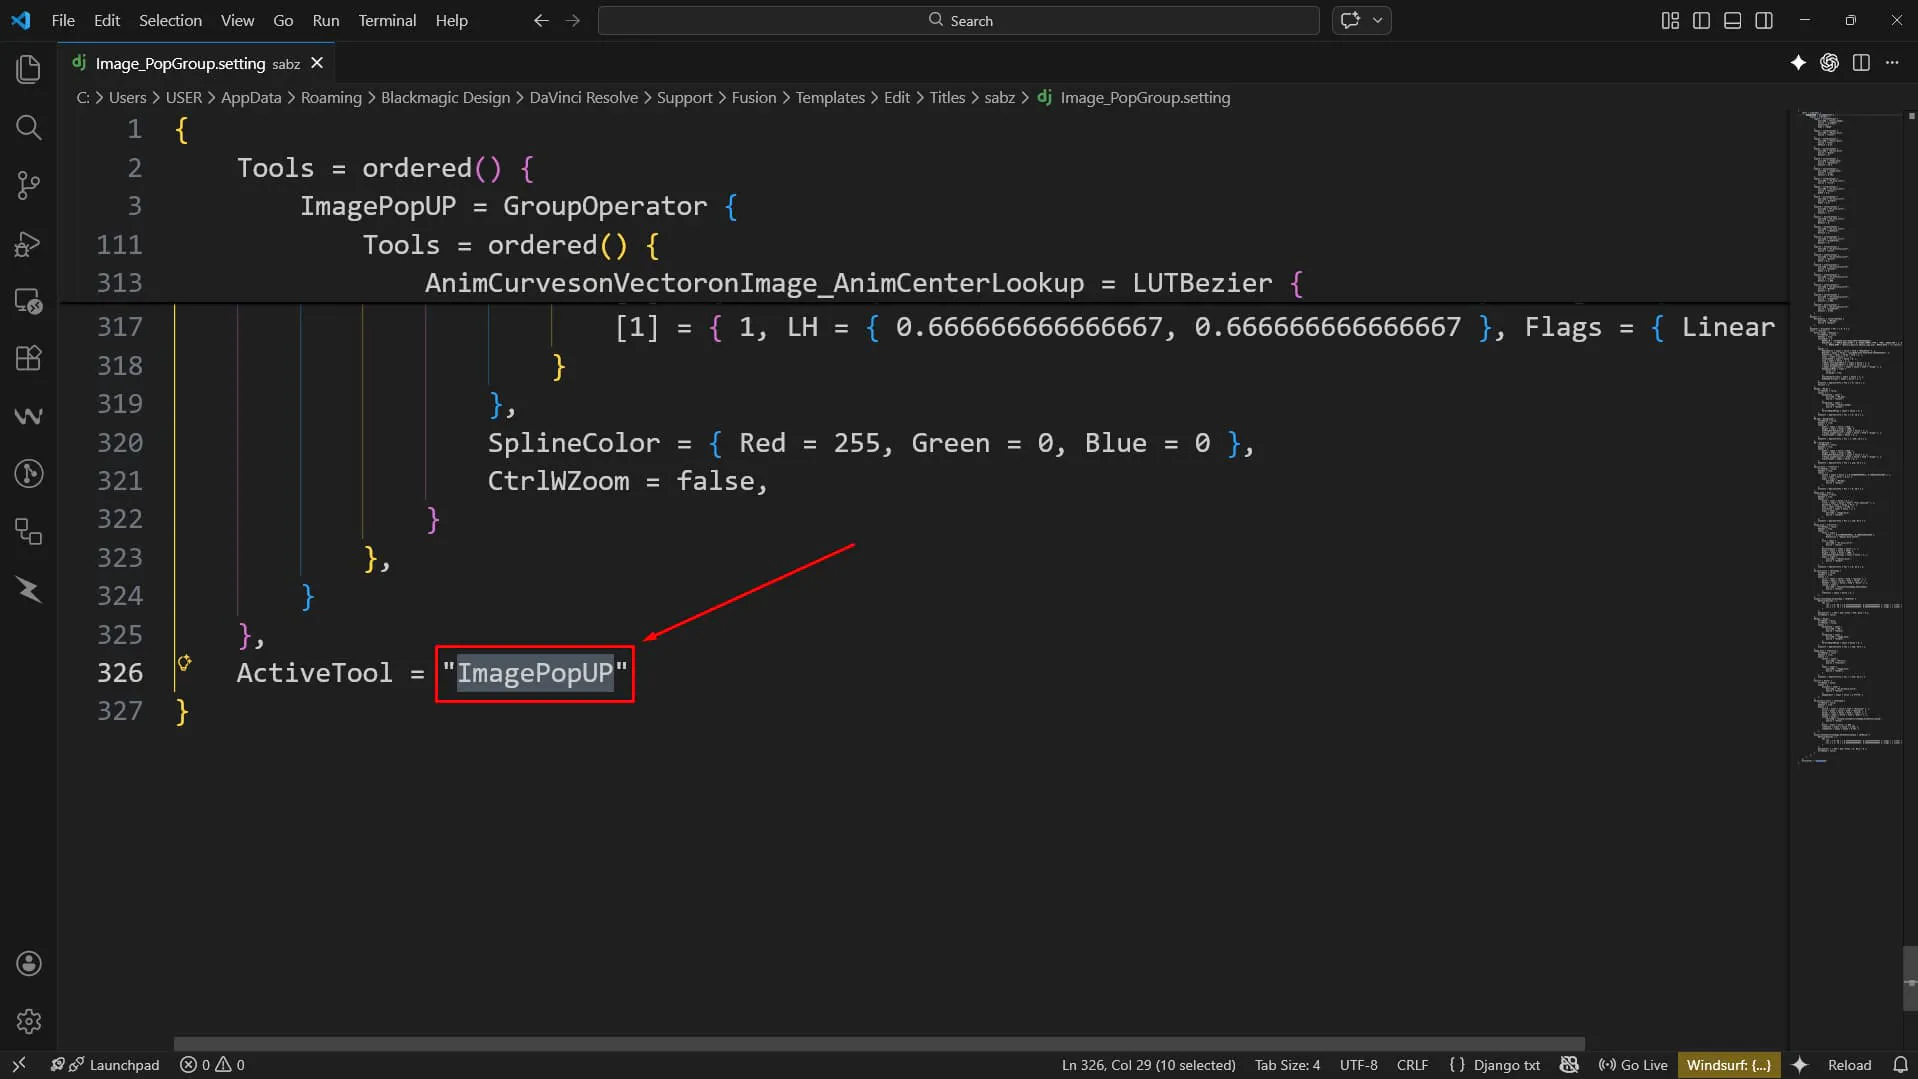
By default, Fusion dumps arguably too many controls into a single tab often named Controls. As your macro grows, this becomes a scroll-wheel nightmare.
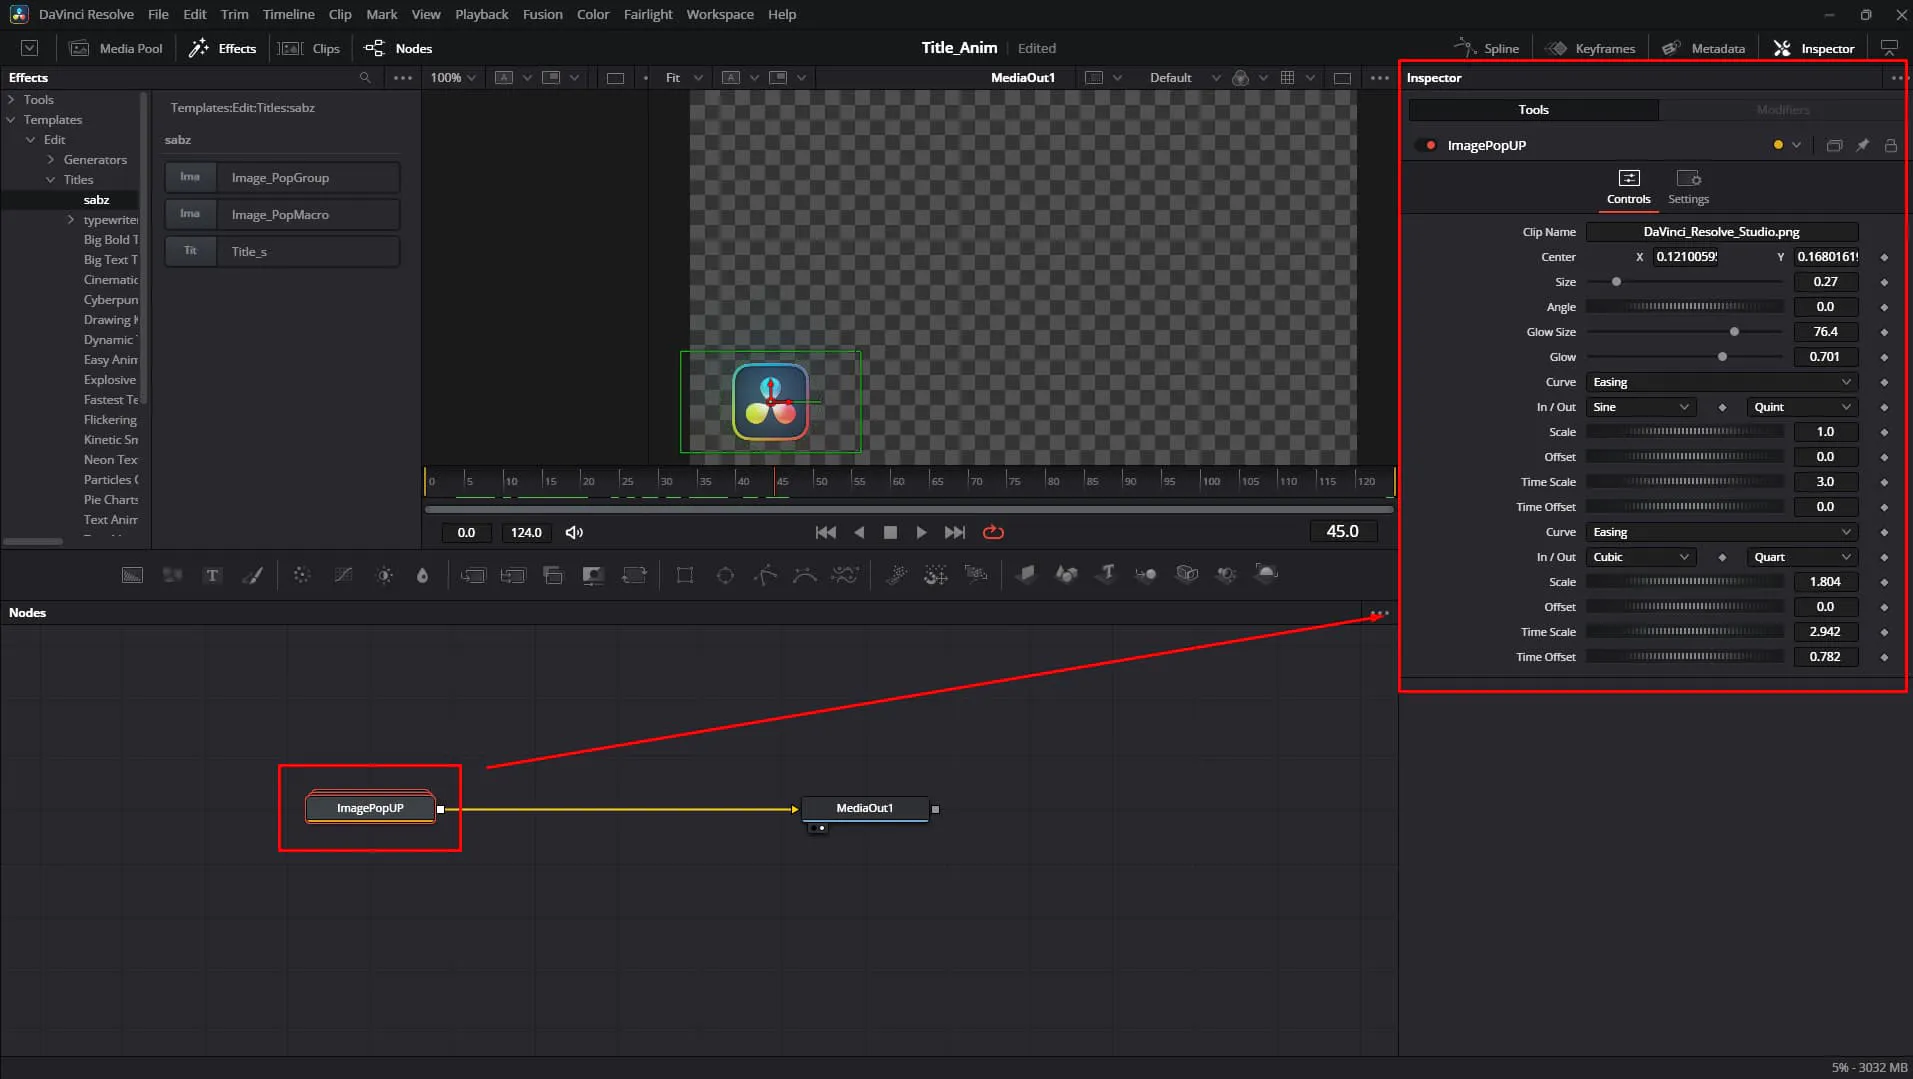
Page SecretTo fix this, we can group related settings into their own tabs—or as Fusion calls them, Pages.
You can do this by adding a Page key-value pair inside the input definition of any control.
💡 Pro Tip:
- If you add a
Pagekey to just one input, Fusion will attempt to group inputs.- If subsequent inputs don't have a
Pagekey, they will automatically inherit the last defined page. This means you don't have to type it for every single line—just when you want to switch tabs!
How it looks in the code:
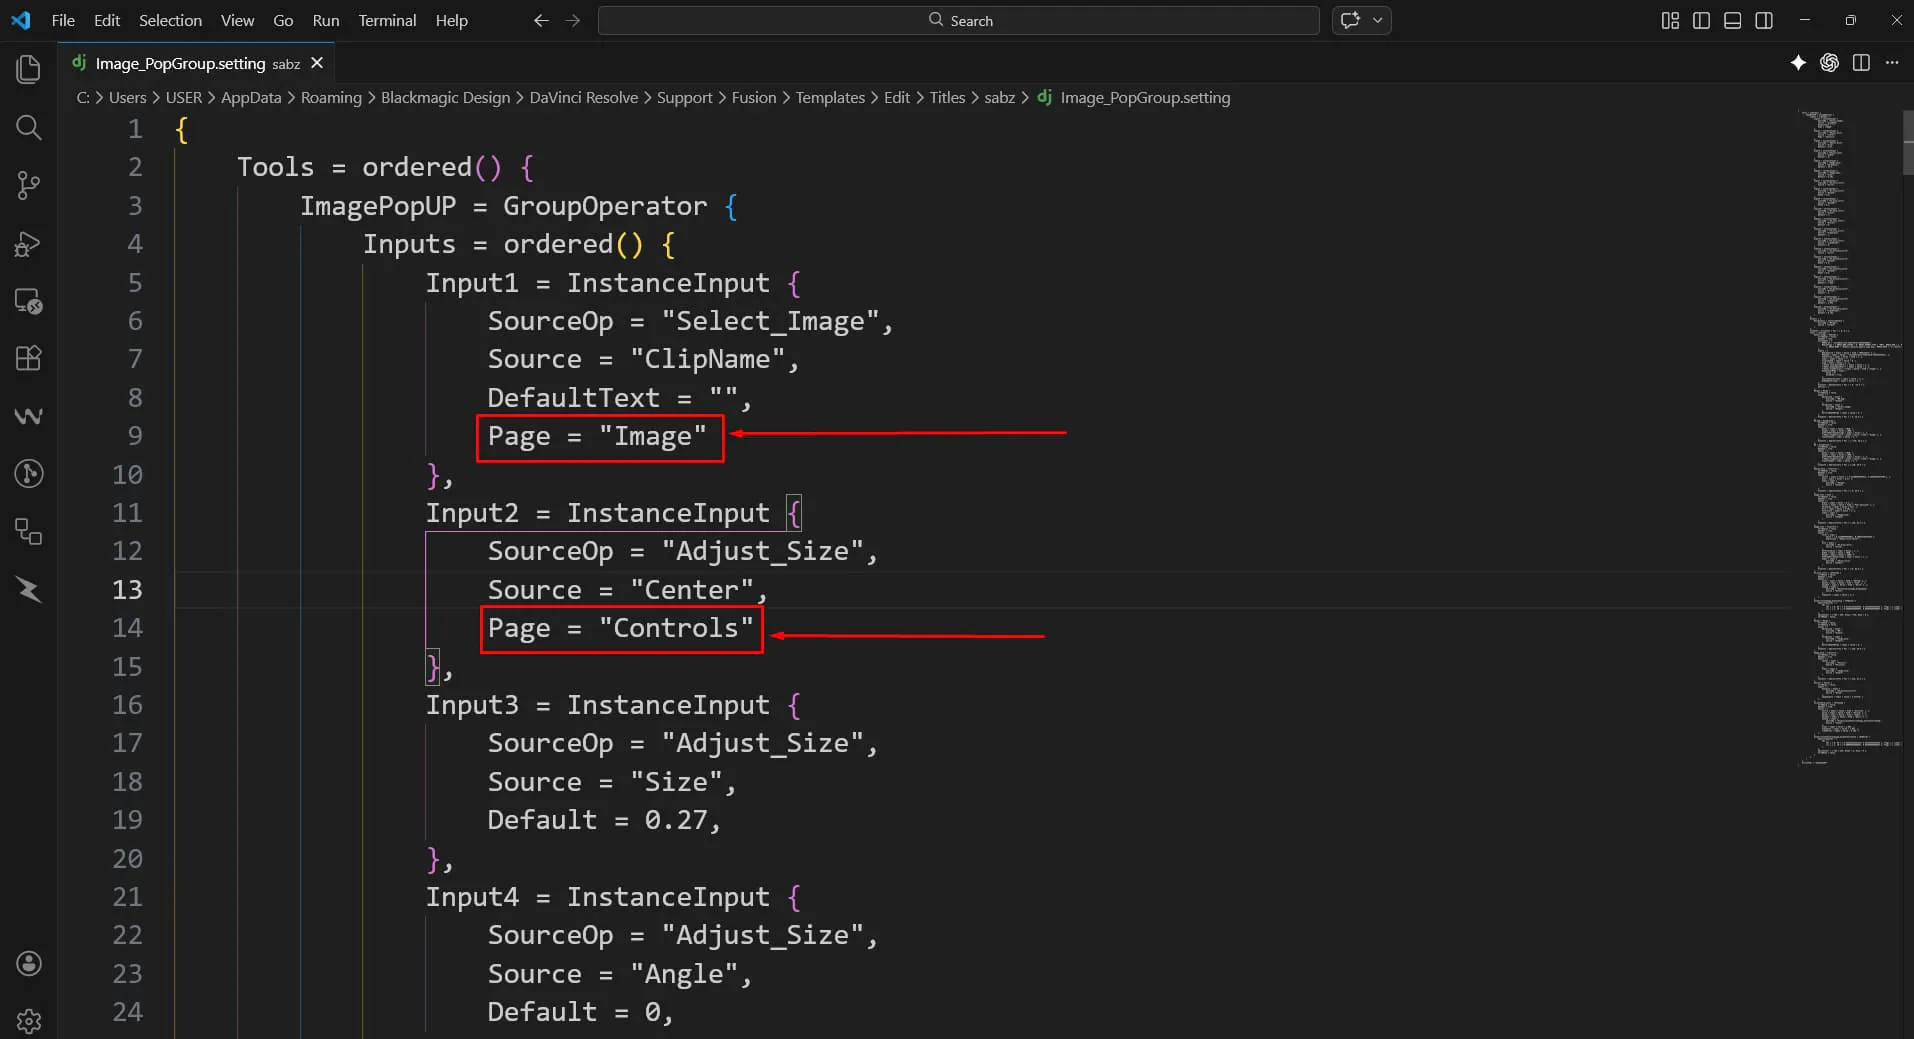
Once you save and reload your macro, you'll see your interface transform.
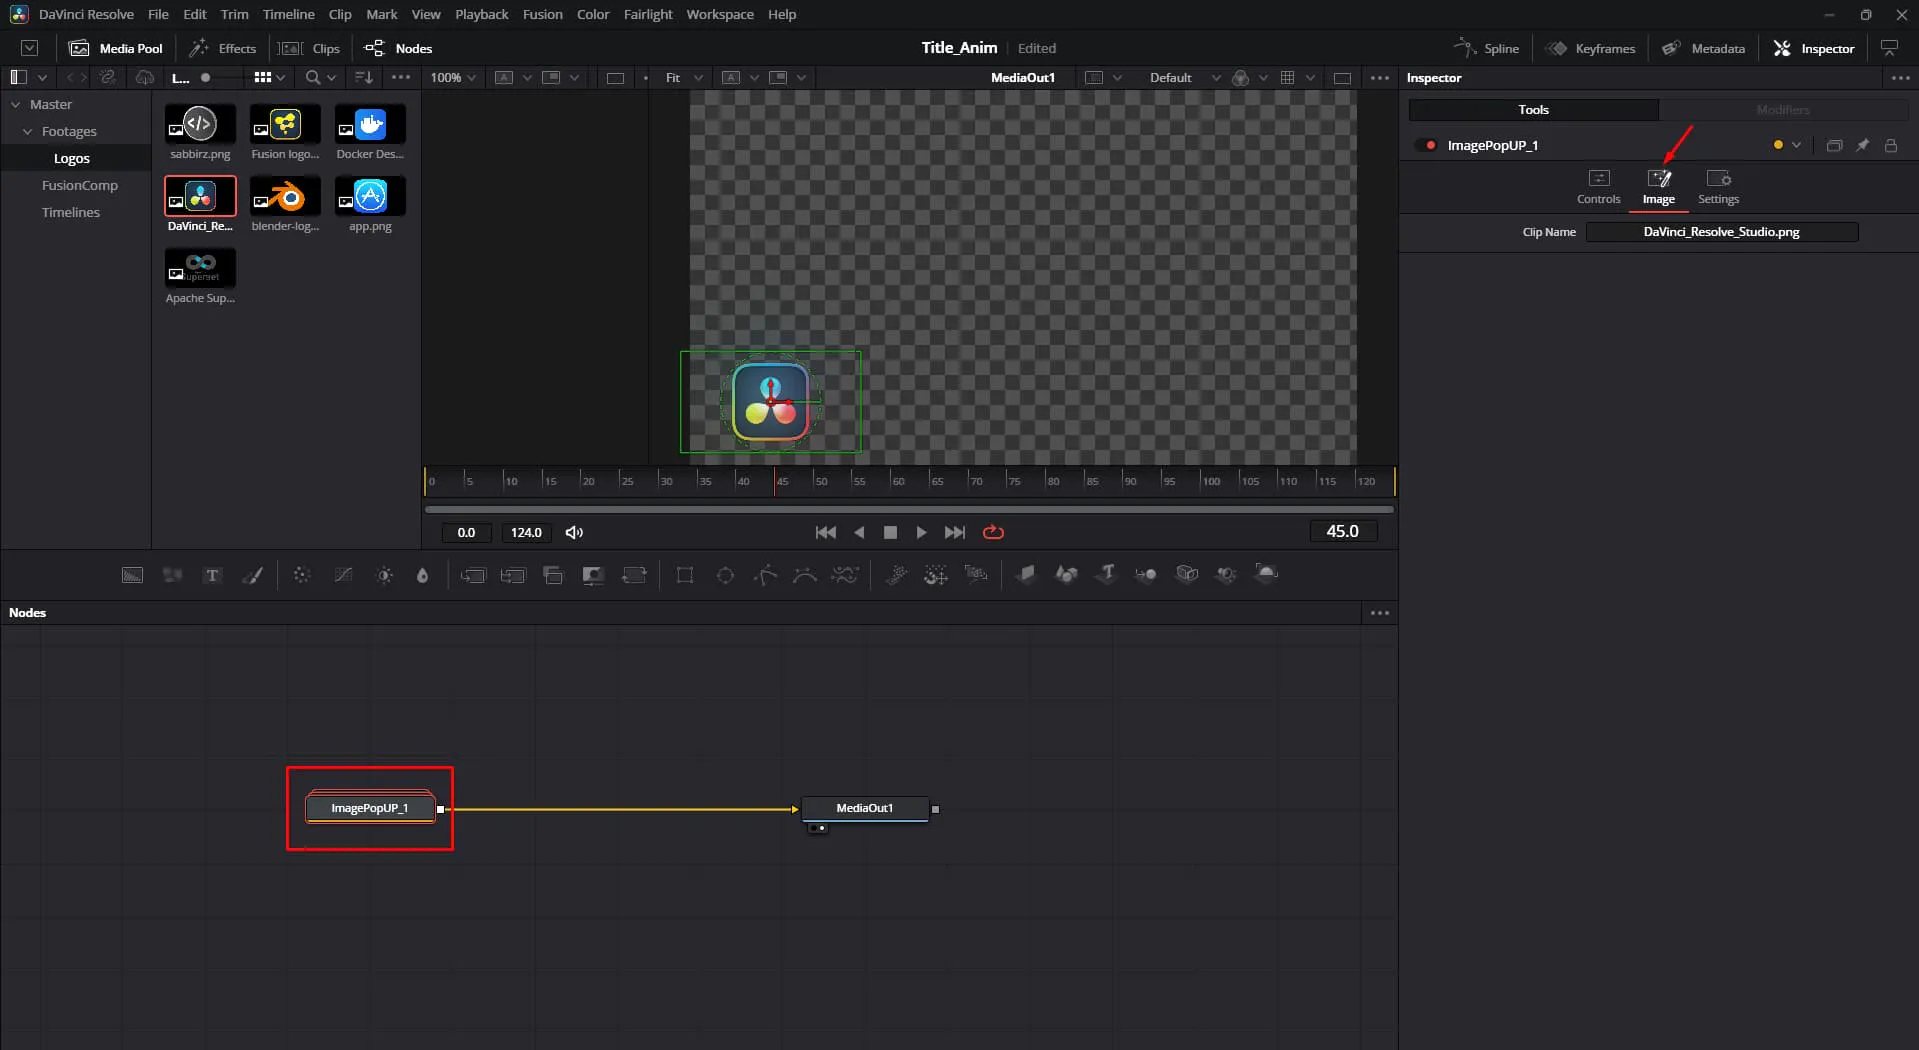
On the Fusion Page: Notice how clean the inspector looks with dedicated tabs?
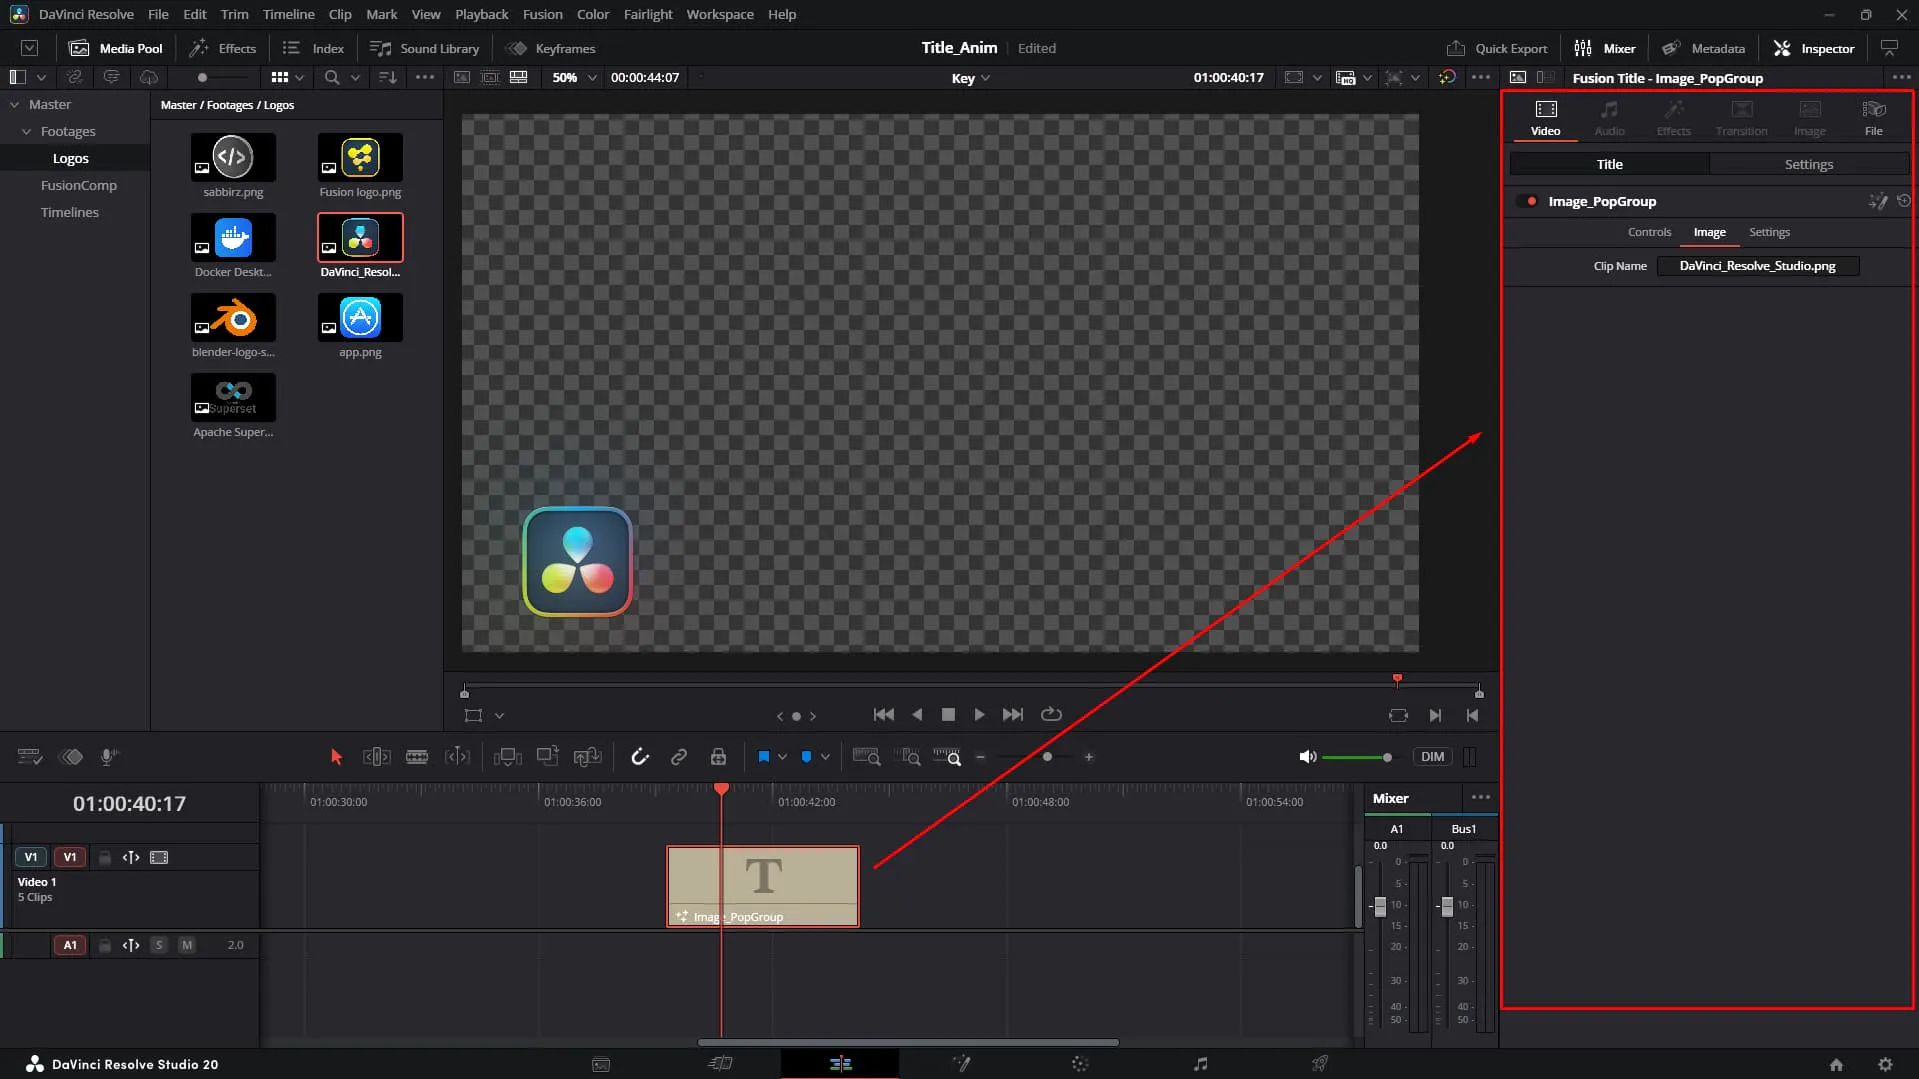
On the Edit Page: This translates perfectly to the Edit page inspector as well, ensuring your specific "lower thirds" or "color controls" are exactly where users expect them.
Here is the tricky part that trips up many beginners: Positioning.
There is no direct way to reposition the page/tab. The page/tab order is determined by the order of the inputs in the tools object.
⚠️ Detailed Note: The order of your tabs (Pages) is determined strictly by the order of the inputs in the
Toolsobject of your code.
If you want the "Text" tab to appear before the "Color" tab, you must physically move the code blocks for the text inputs above the code blocks for the color inputs in your file.
Thinking about this flow before you start coding (or copy-pasting code blocks) will save you a headache later!
Polishing your DaVinci Resolve macros elevates them from "hacked together" to "store-ready product".
Page to group inputs into clean tabs.Now go build something awesome! 🎨✨
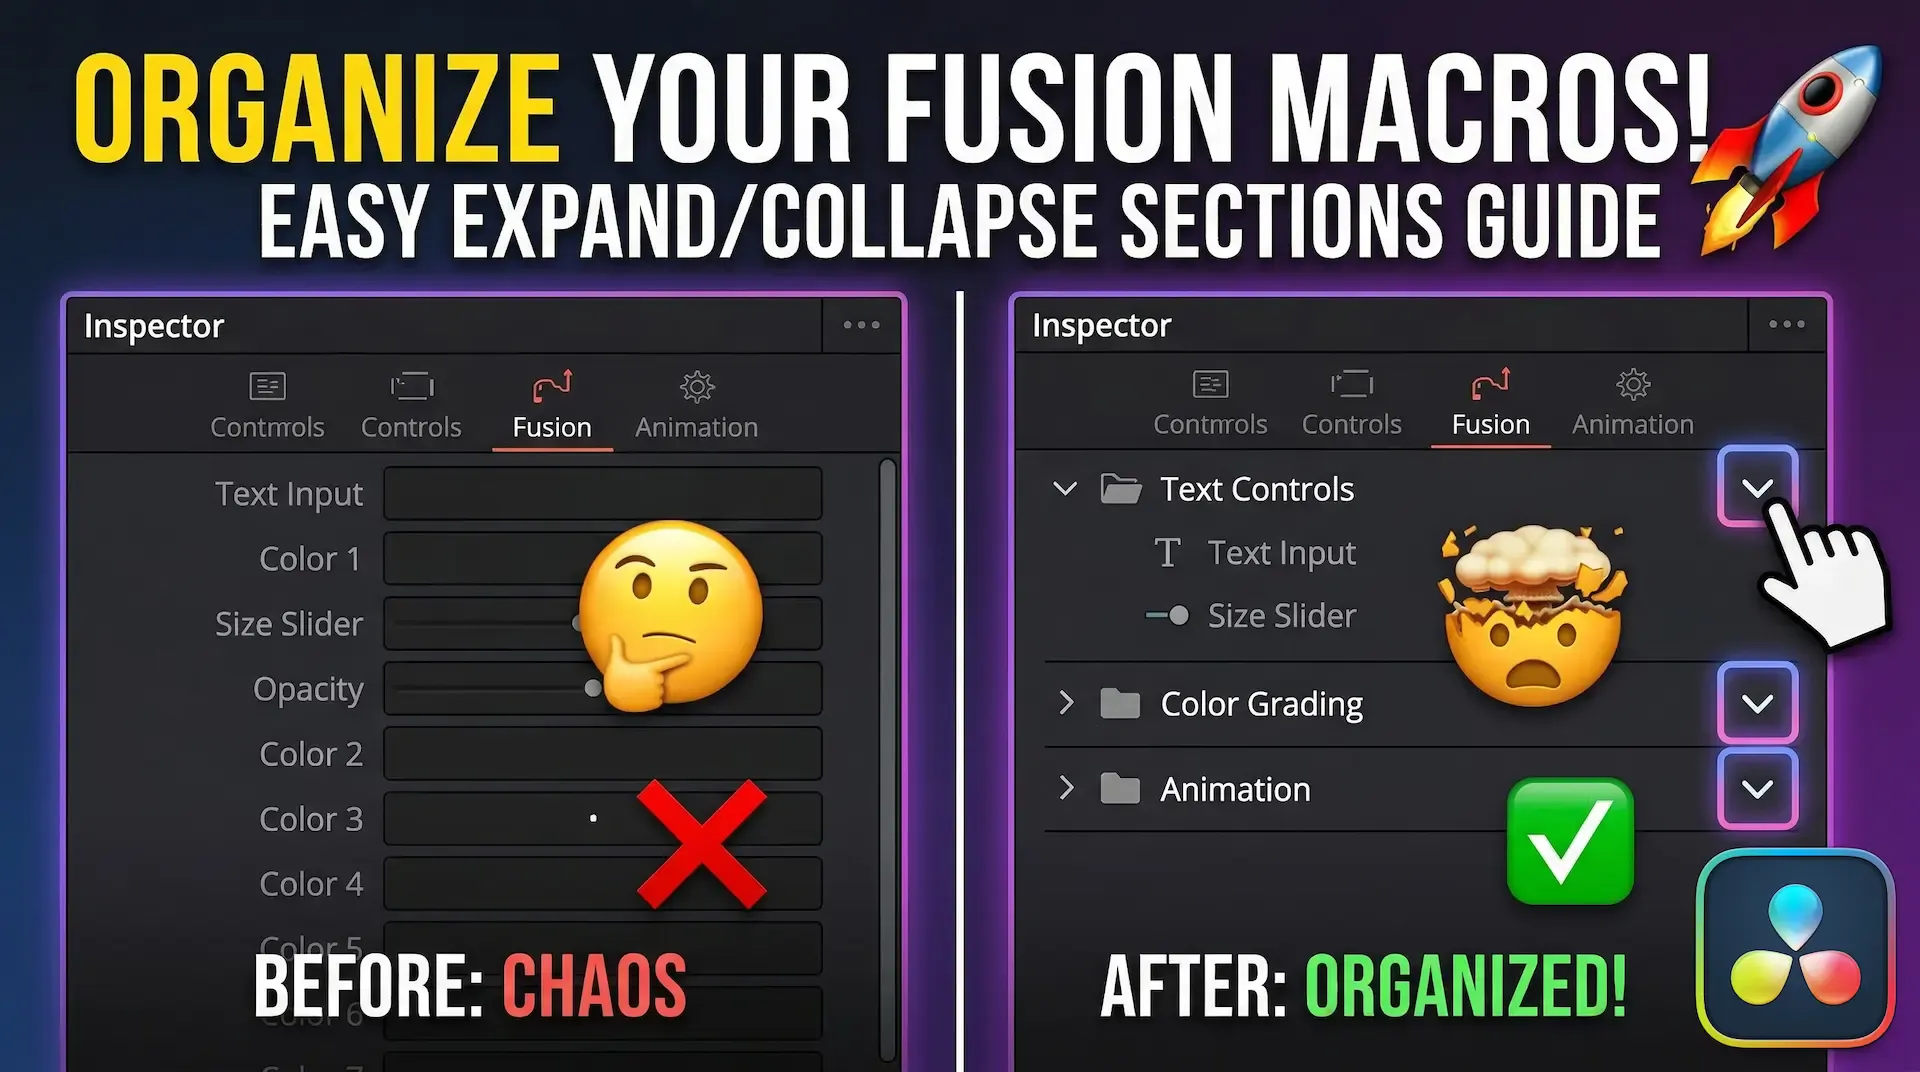
Discover how to group your controls into neat, drop-down accordion sections in DaVinci Resolve Fusion. Stop scrolling and start organizing today
Learn how to create dynamic, character-by-character text animations in DaVinci Resolve Fusion using the Follower modifier, Path keys, and Spline tool

Stop sharing raw .setting files! Discover the professional way to bundles your DaVinci Resolve transitions, effects, and titles into a single, easy-to-install .drfx file